Purge Documents
Document types can be set up to have a pre-determined amount of time (in months or years) before the document types are eligible for purging.
All purging is performed on a manual basis. There is no job that automatically purges documents from the system.
When you purge a document:
The document image is deleted.
All database records are deleted for that document.
A purged document audit entry is created in a database table providing the Document ID, Vault ID, Document Type, Document Description, User ID (person performing the purge), and Purge Date.
Important
Deleted documents are not physically deleted from the Sage Paperless Construction system until they are purged. Deleted documents are marked Inactive.
From My Paperless, click .
In the Vault Settings navigation bar, click .
From the Retention dropdown, click .
The Purge Documents page displays.
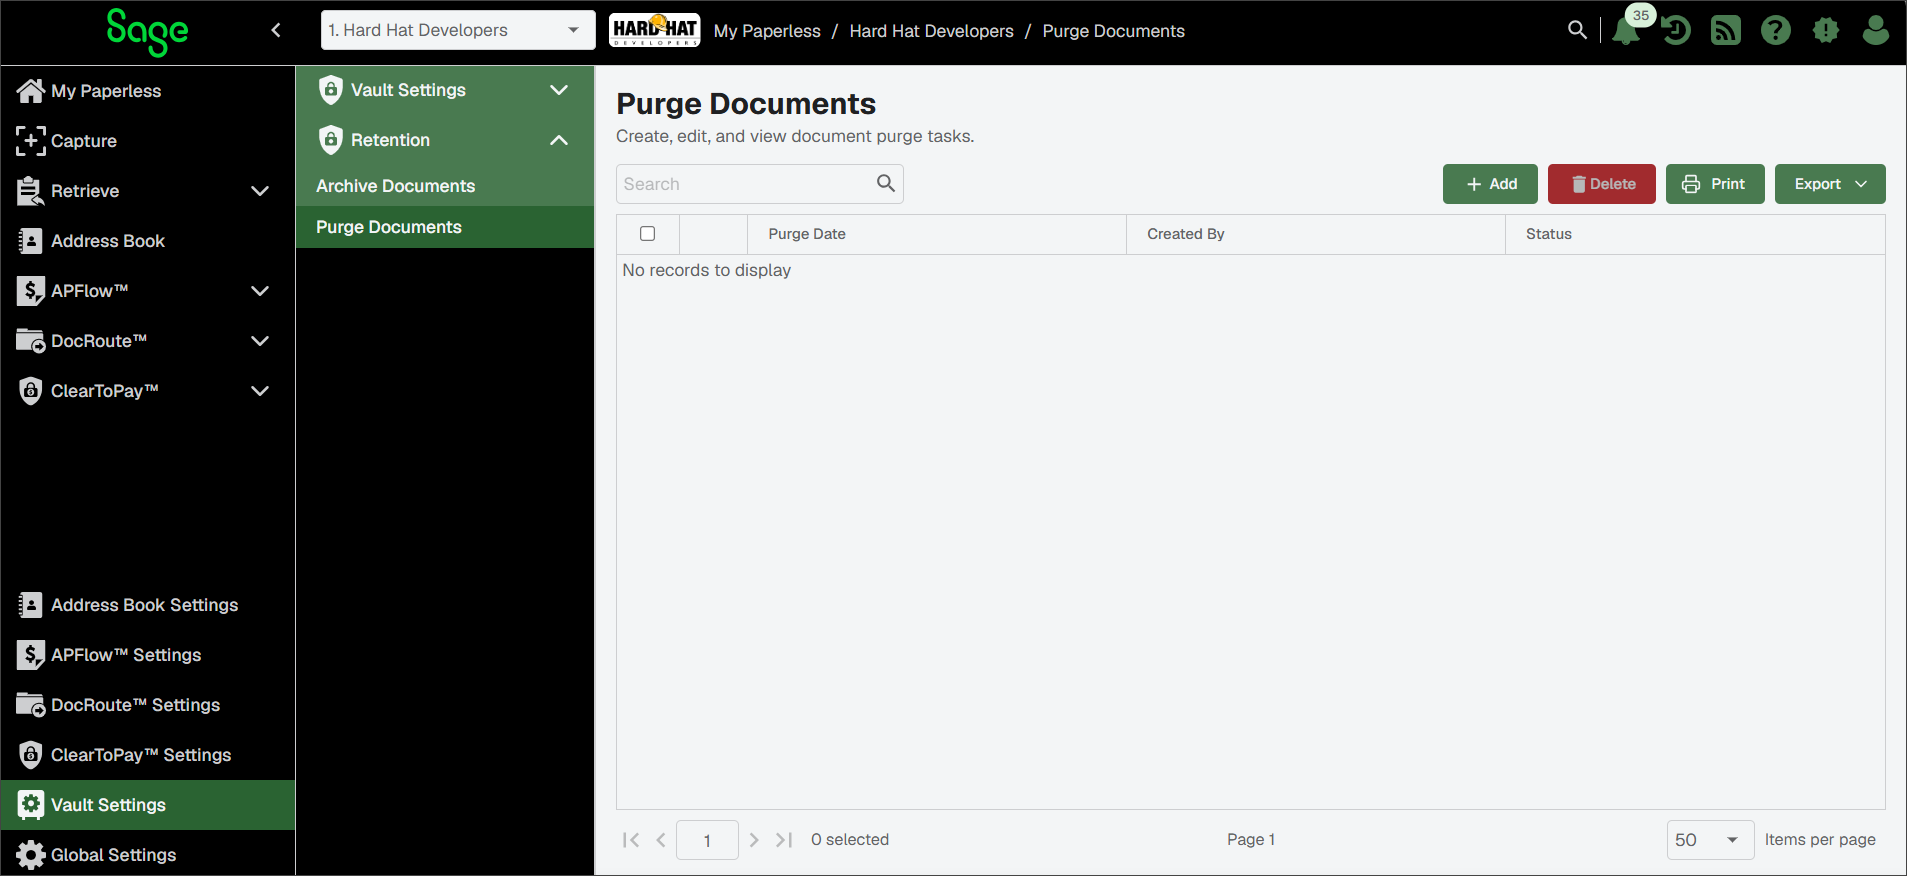
Click to select which documents to purge.
In the Create Purge page that displays, use the calendar icon to select the date the purge should occur.
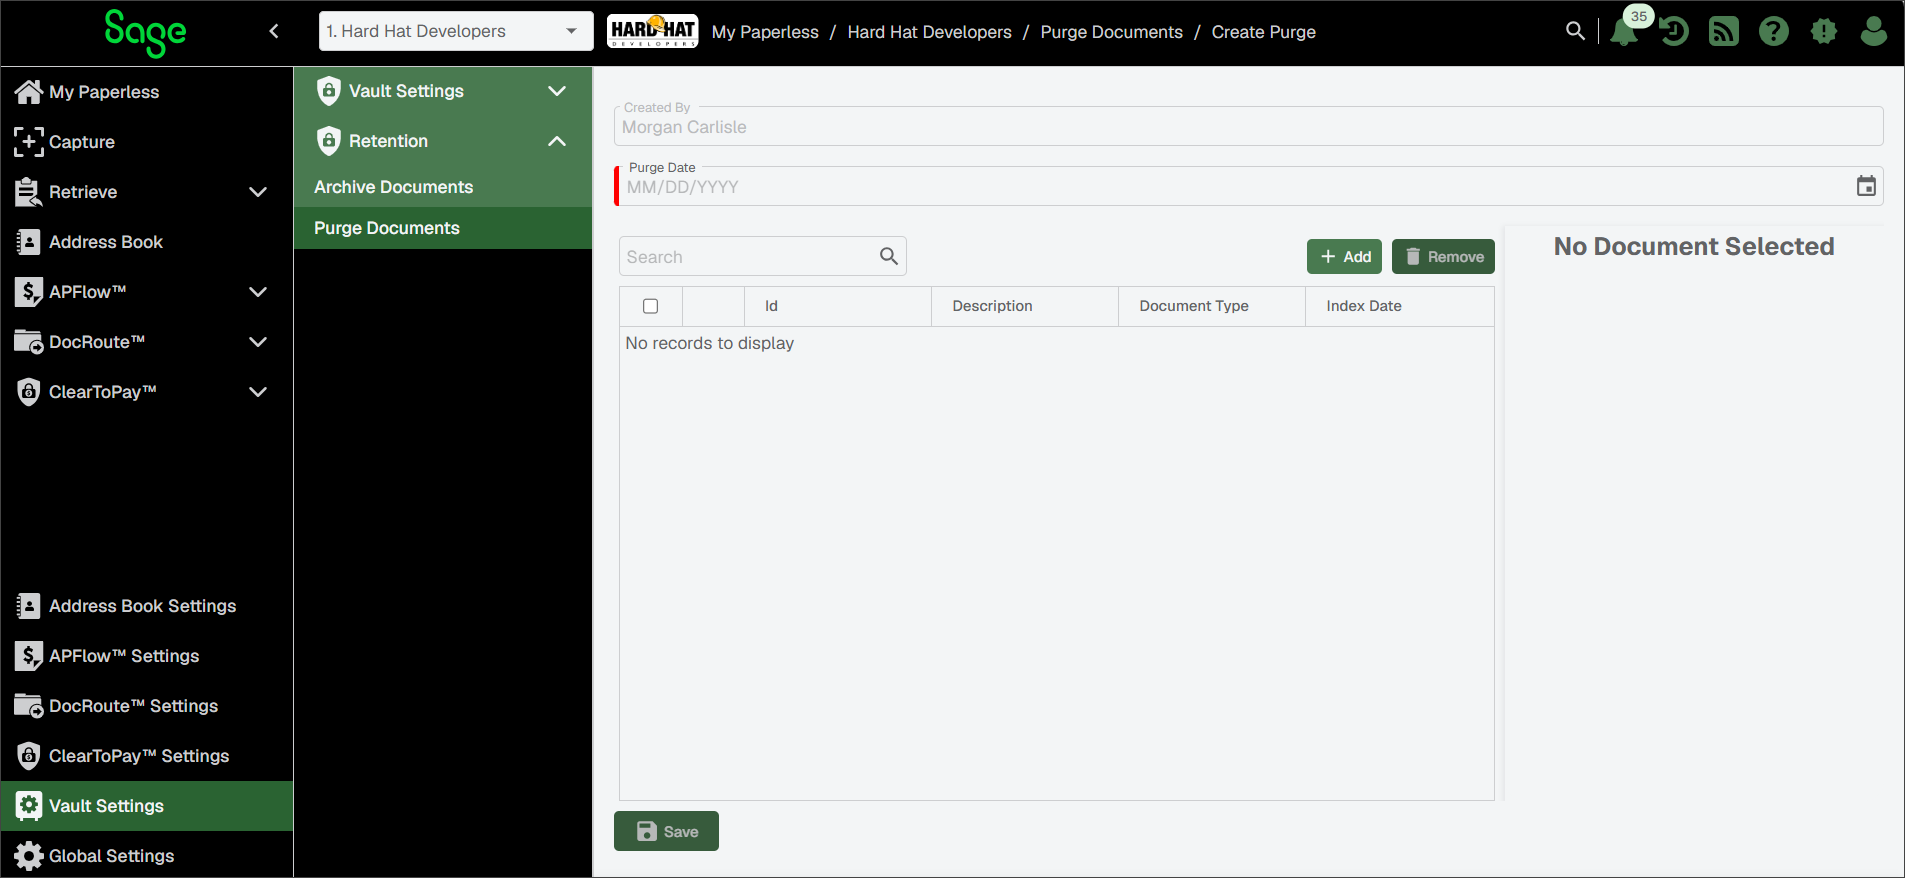
Click .
The following Add Documents to Purge dialog displays with the Criteria tab active:
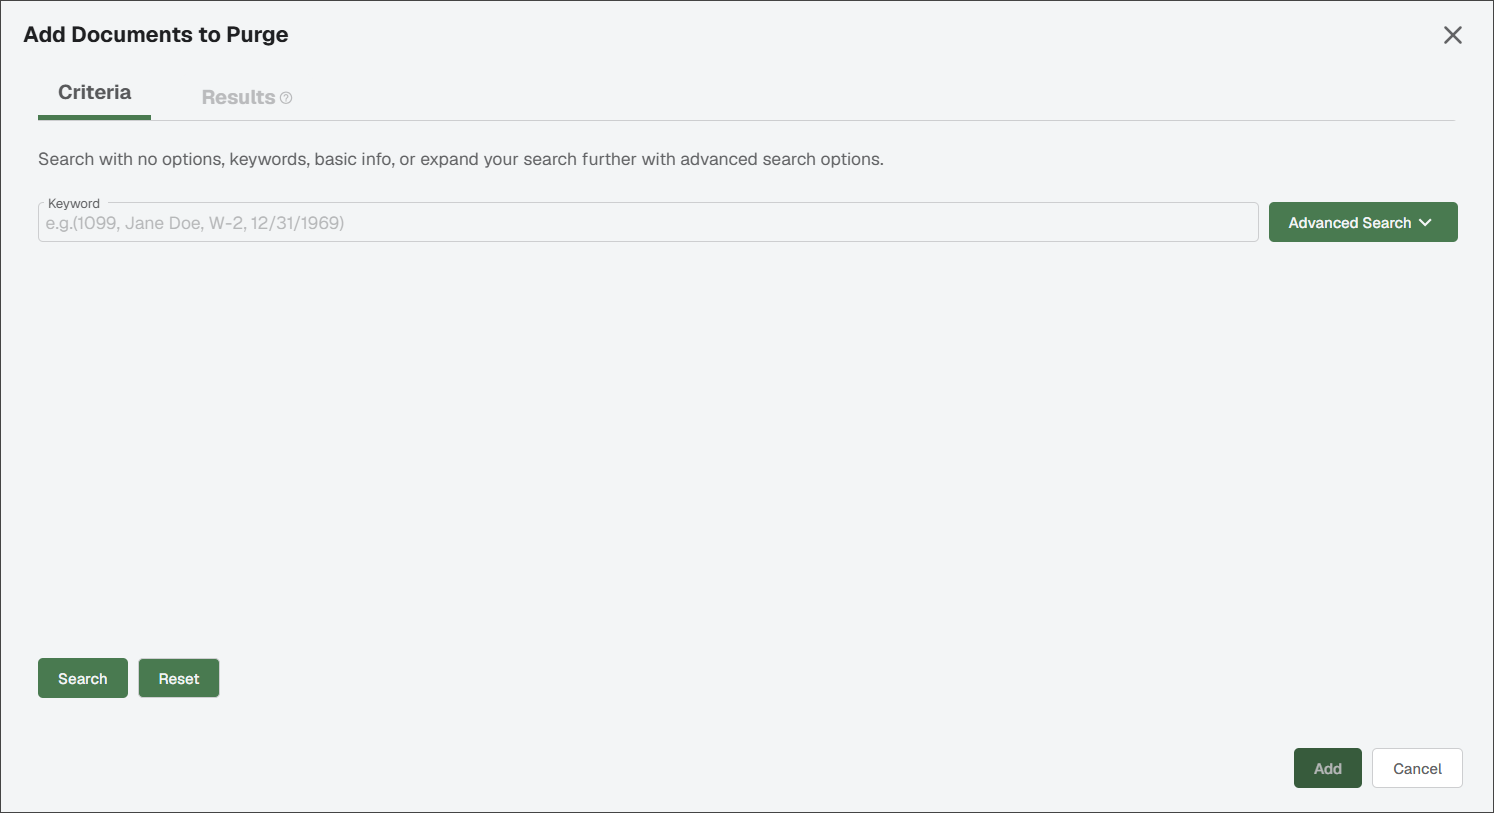
In the Keyword field, enter the appropriate search criteria to locate the documents you want to purge.
(Optional) Click the dropdown arrow to display additional fields to help narrow down your search.
The Criteria radio button within Search Options is selected by default. You can also select if you would like to narrow your search by document ID.
Note
If you select Specific Documents, your Advanced Search options are reduced to the Document IDs field. In this field you can enter specific identification numbers or leave the field blank to include all.
In the Document Type(s) field, use the dropdown to search for documents suitable for archiving. If using several index criteria in the search, an And / Or option is available. AND allows the combination of several index criteria in the search. All index criteria must be met to return a result. OR allows any one of the index criteria to return a result.

You can scroll through the Indexed by User(s) list or start typing a name to populate the field and select one or more users. If you do not know who indexed the document(s) you are searching for, leave this field blank.
In the Indexed fields, click the calendar icons to select the date range.
In the Types section, select either , or . The Production radio button is clicked by default.
When finished entering document search criteria, click .
The Add Documents to Purge dialog re-displays with the Results tab active:
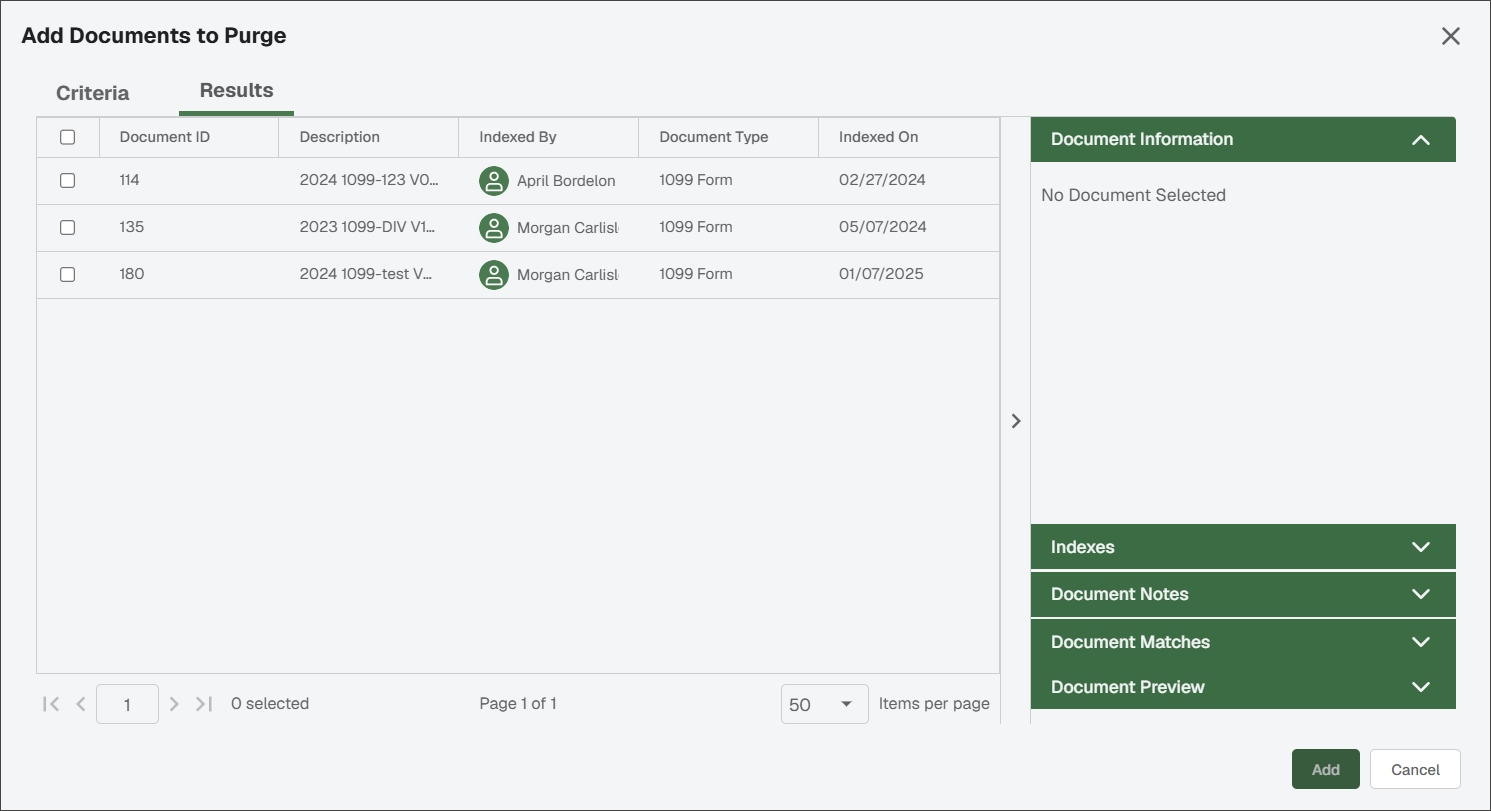
To further review your search results and determine if a document should be included in the purge, click the associated check box In the Document Information pane to view document information and a visual in the Preview section:
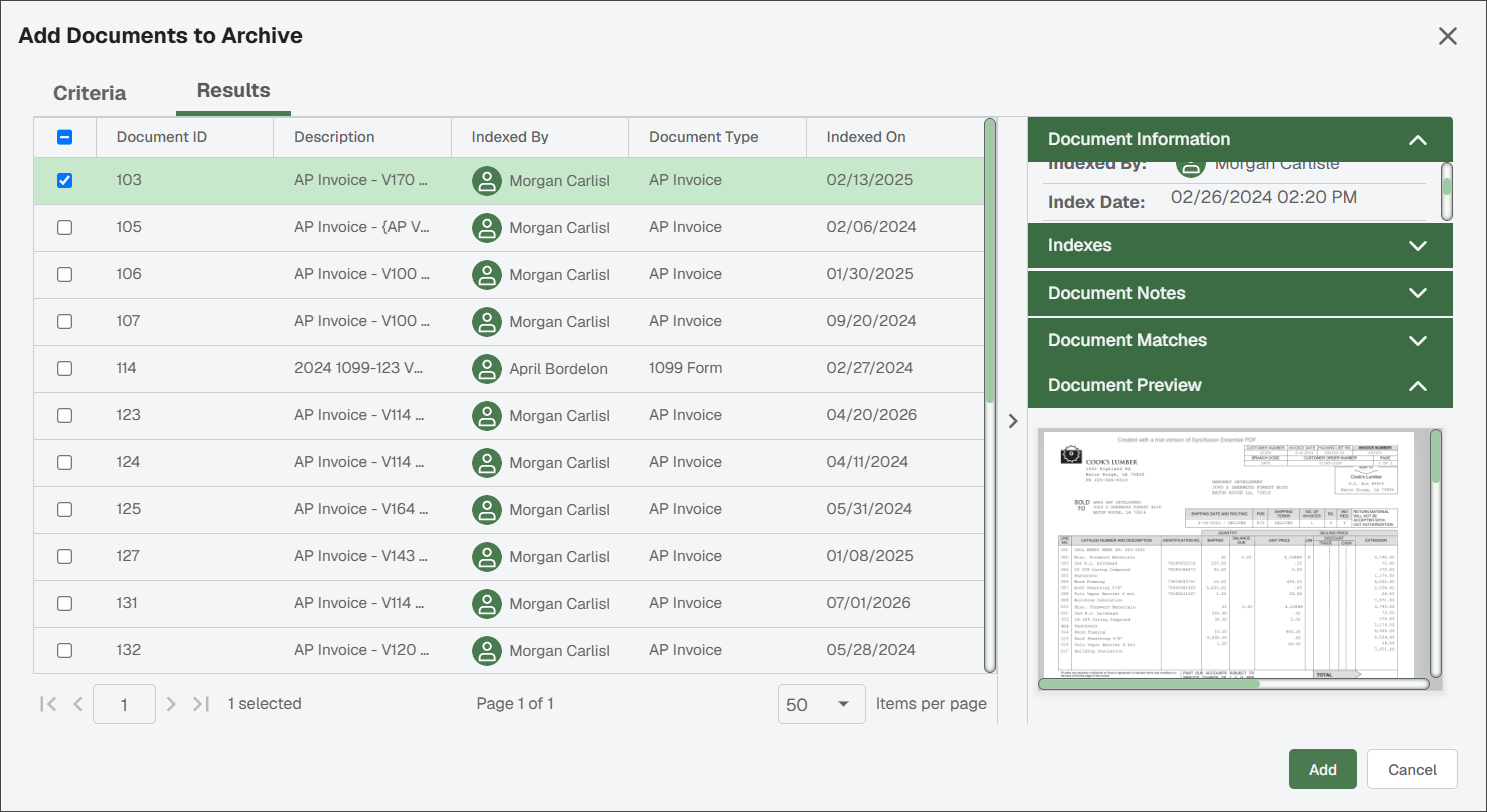
To select any of these identified documents for purging, click the associated check box(es). If all displaying documents should be included, select the check box located in the header.
Once the documents to be purged list is complete, click .
The Create Purge page re-displays:
Note
More documents can be added (or removed) by clicking either or as appropriate.
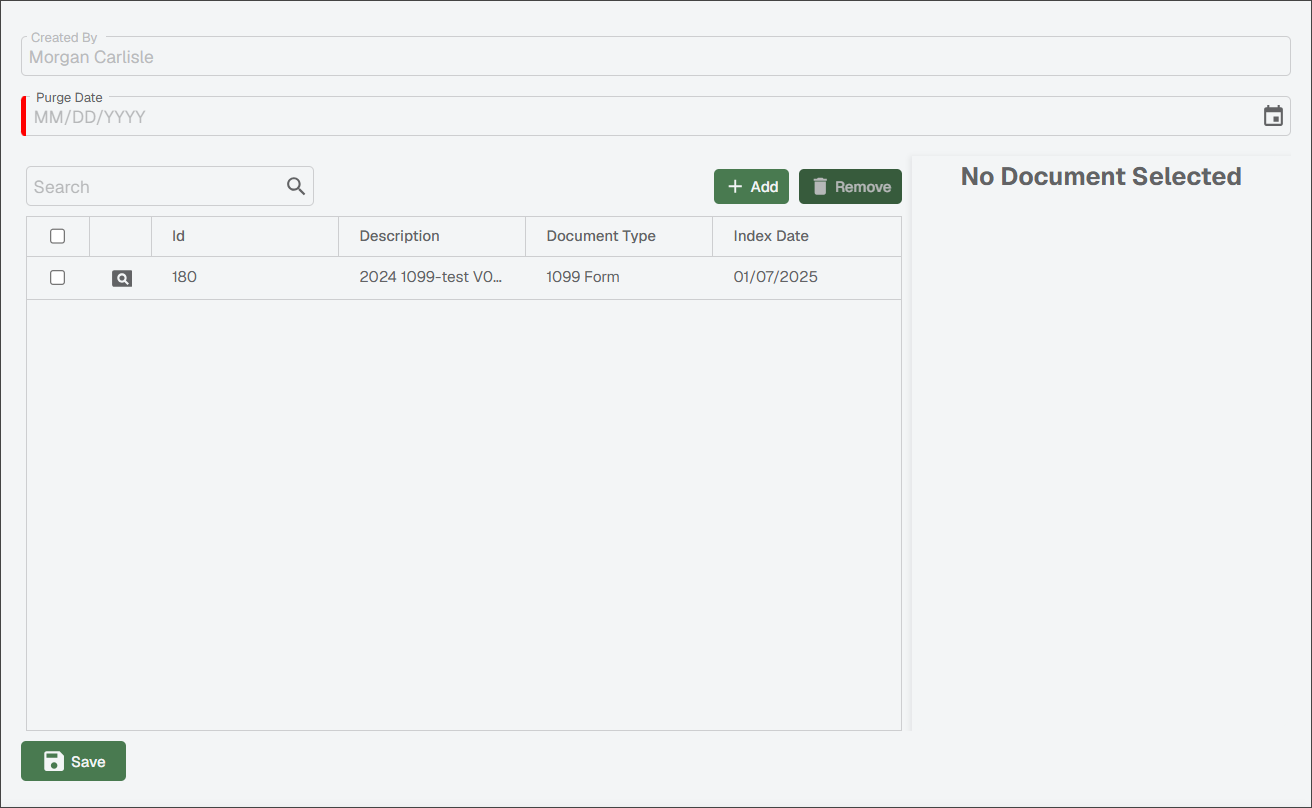
Manually enter a date or click the calendar icon to populate the Purge Date field.
Click .