Route Statuses
There are ten different statuses that a route can go through.
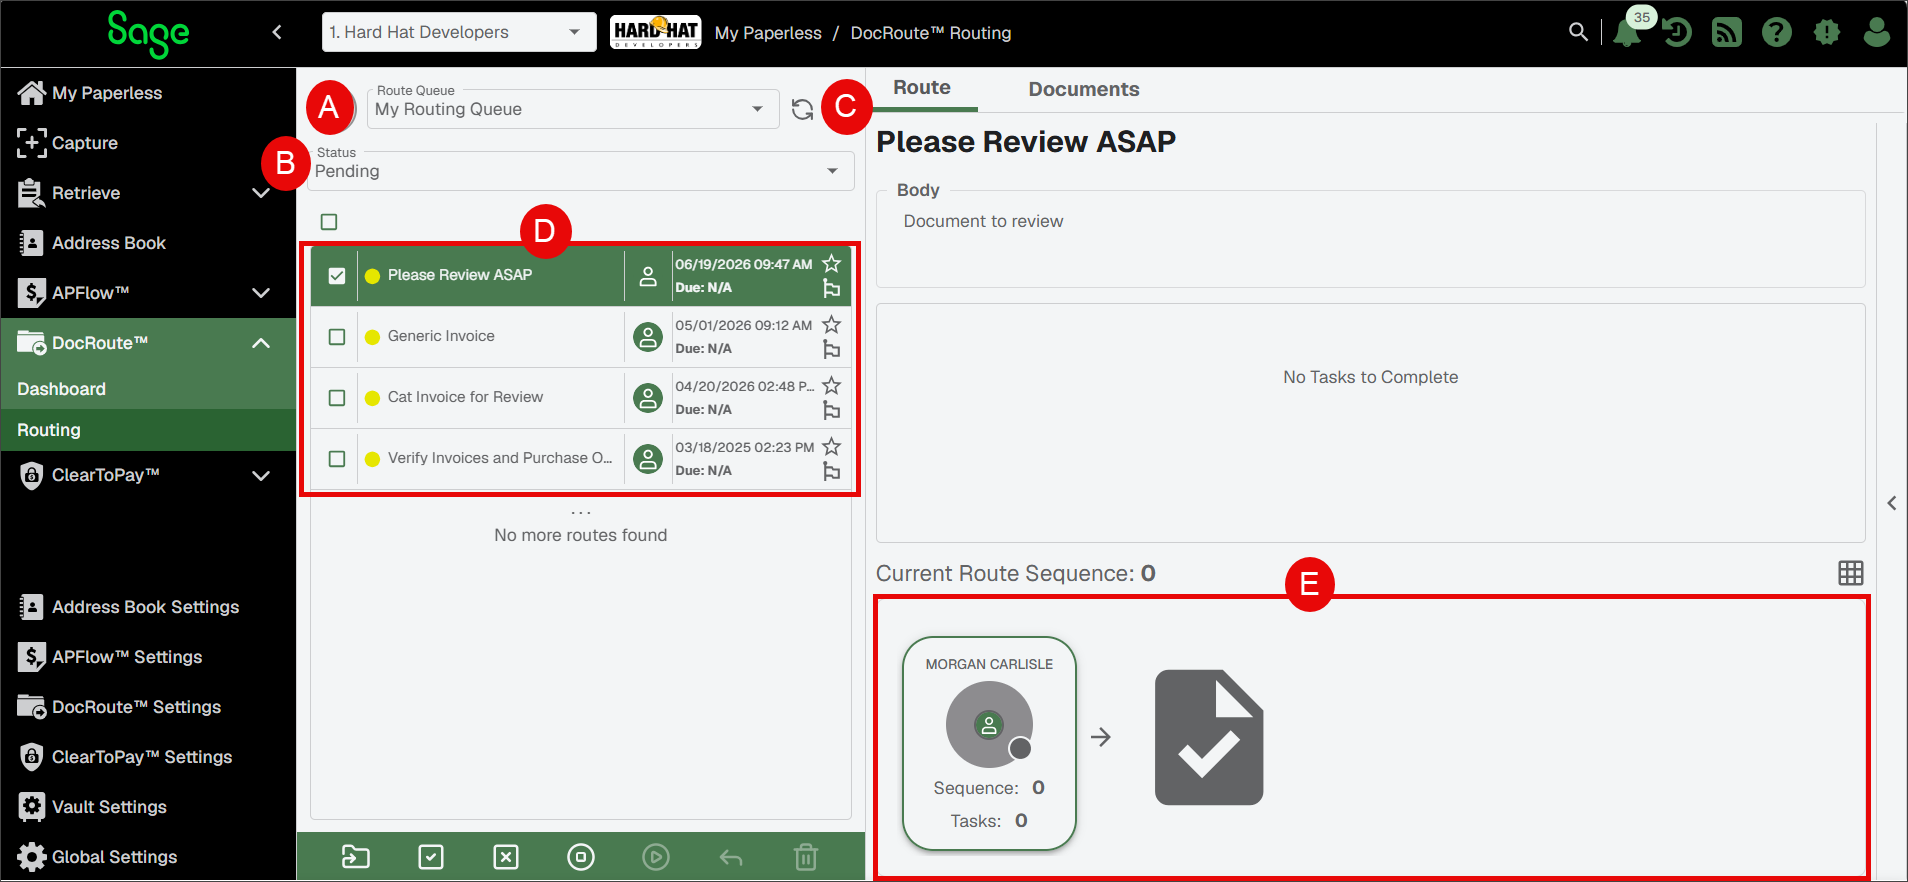
| A: Route status can be chosen in the Route Queue pane. |
| B: Select the dropdown to pick a status to filter the list. |
| C: If a badge notification displays next to the Refresh Route List icon, it means new routes have been assigned to you. Click the icon to load the new routes into your queue. |
| D: The routes that fit your selected status display in the grid list. |
| E: The route highlighted in the list displays in the Route tab pane at right. |
This is where you can create a new route. See Setting up a Route in DocRoute™ for more information.
A route can be designated as Important during its creation. To do so, select the check box.
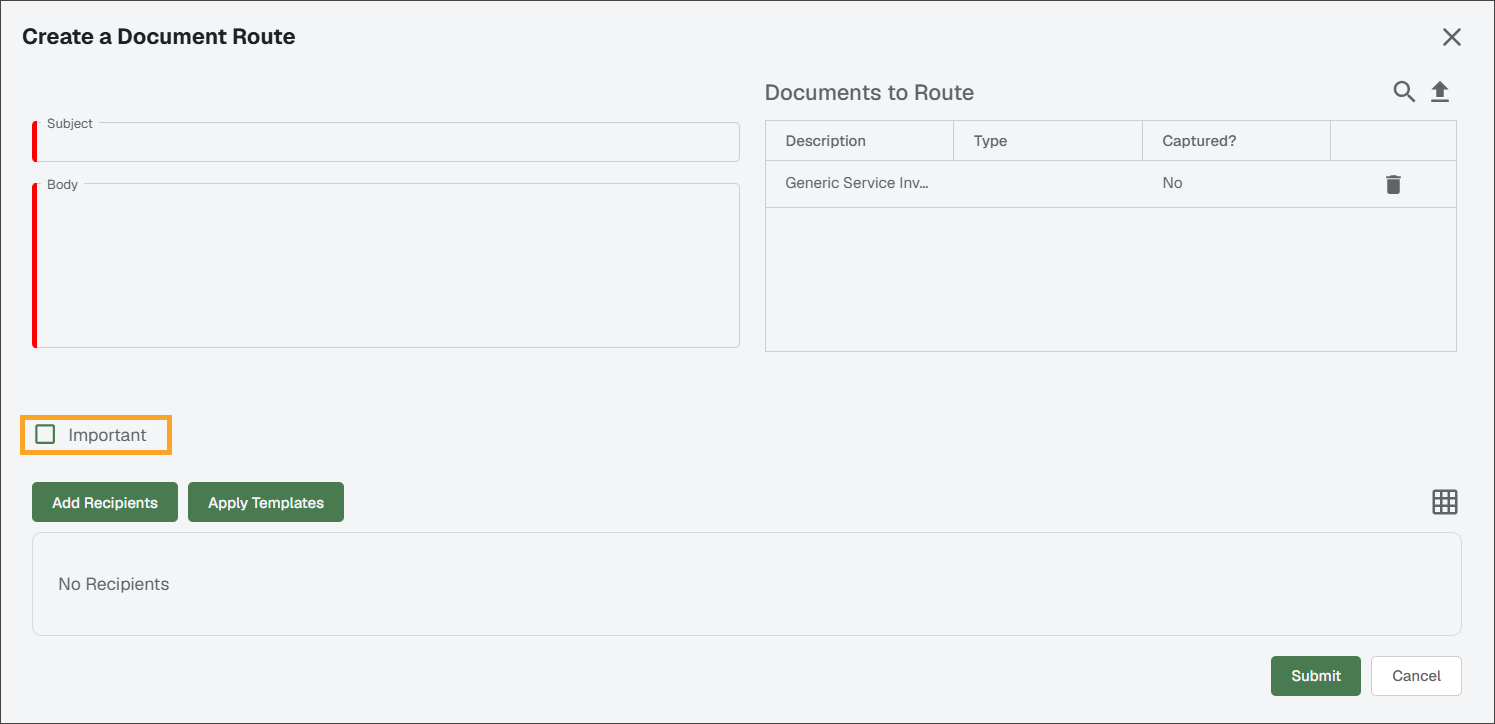
When the Important check box is checked on the Create a Document Route page and a route is submitted, the route displays with the red exclamation point similar to the following:
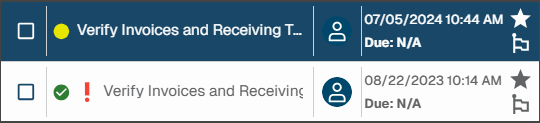
To flag routes, click the Flagged  icon located in the route displaying in the Route Queue pane. These routes display when you select from the Status dropdown.
Note
You may want to flag a route to call attention to it when you return to the queue later.

To favorite routes, click the Favorite  icon located in the route displaying in the Route Queue pane. These routes display when you select from the Status dropdown.

These routes display when you select from the Status dropdown. Any route that is waiting for your response because you are next in line in the route sequence) displays as Pending.
Prior to approving, you may need to review an attached document in the Documents tab and/or complete a task in the Route tab. After you mark the task complete, the Approve  icon becomes active. Complete the following steps to approve a route and move it to the next step in the sequence:
Click the Approve
icon.The Approve Route dialog displays:
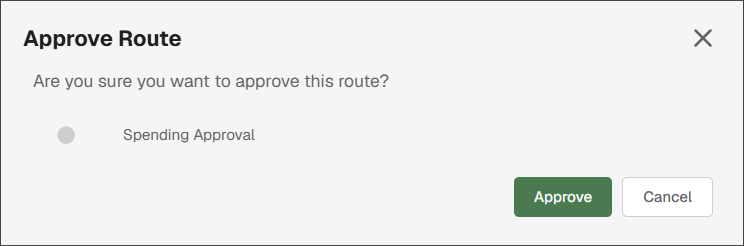
Click .
The route moves to Approved status and proceeds to the next step in the sequence.
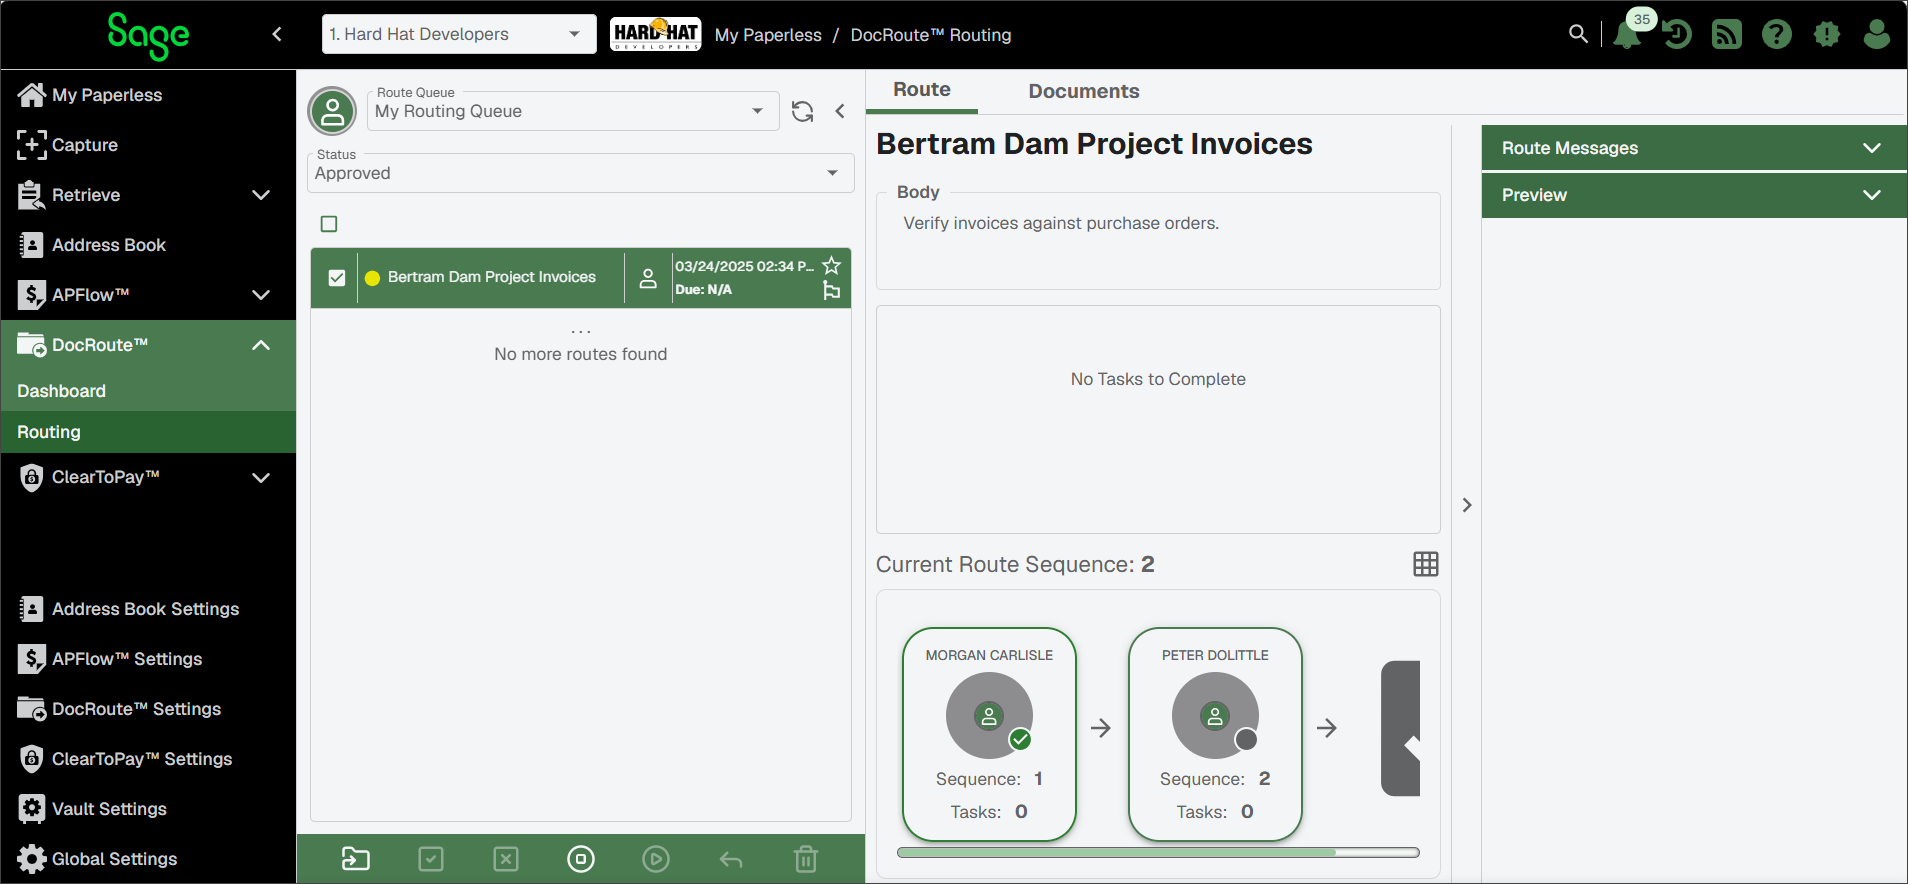
You can reject any route that is sent to you.
In the pane, click the Reject
 icon.
icon.The Reject Route dialog displays.
Enter the reason that this route is rejected in the Reject Message field.
Note
A reason is required. This note displays in the Route Messages sidebar and is part of the audit trail.
Click .
The route moves to the Rejected status and can be accessed by selecting in the Status dropdown. An
 is visible in the Route Queue pane and also displays on the card or grid (depending on your display) of the individual who entered the rejection.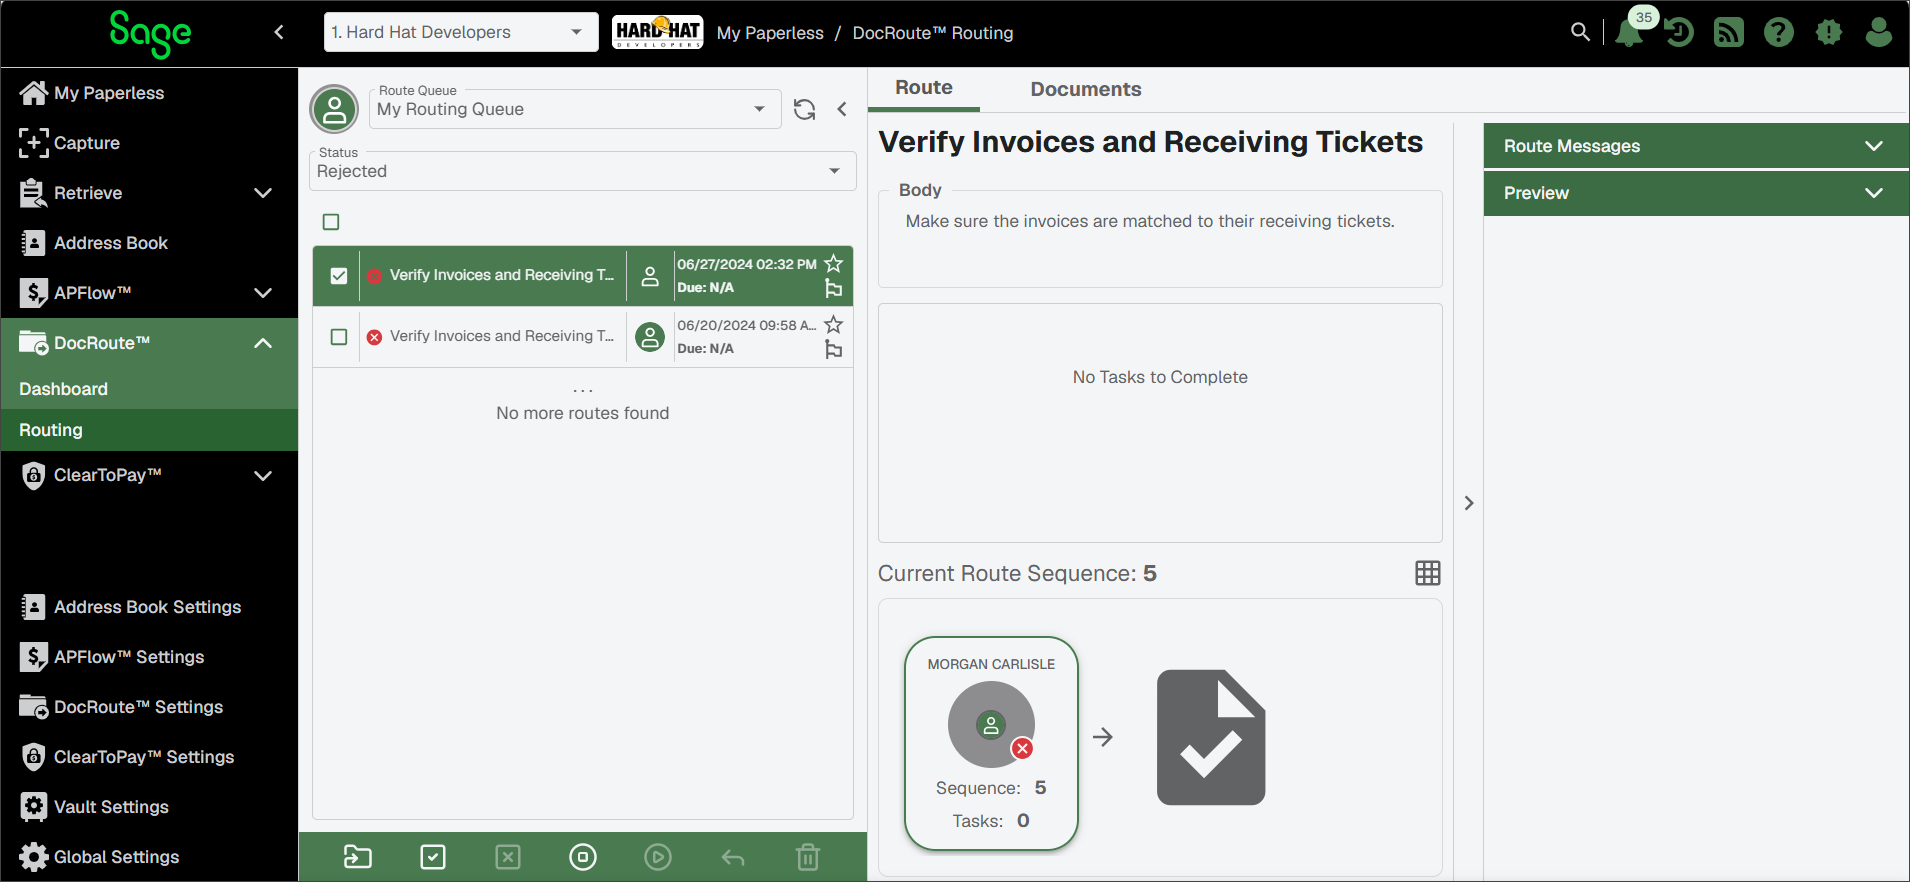
Once you click to send a new route (see Setting up a Route in DocRoute™), you can access that route by selecting in the Status field.
All routes that are underway are listed here.
After all individuals in a route sequence have approved it, that route moves to a Completed status for the route creator. For individuals involved in the route, the route remains visible in their Approved status.
Note
The route is also be visible in the route creator's Approved status list.
As the creator of a route, you have the ability to recall that route. It does not matter where in the sequence the route is or who has or has not approved it.
In the pane, click the Recall
 icon.
icon.The Recall Route dialog displays.
Click .
The route moves to the Recalled status and can be accessed by selecting in the Status dropdown.
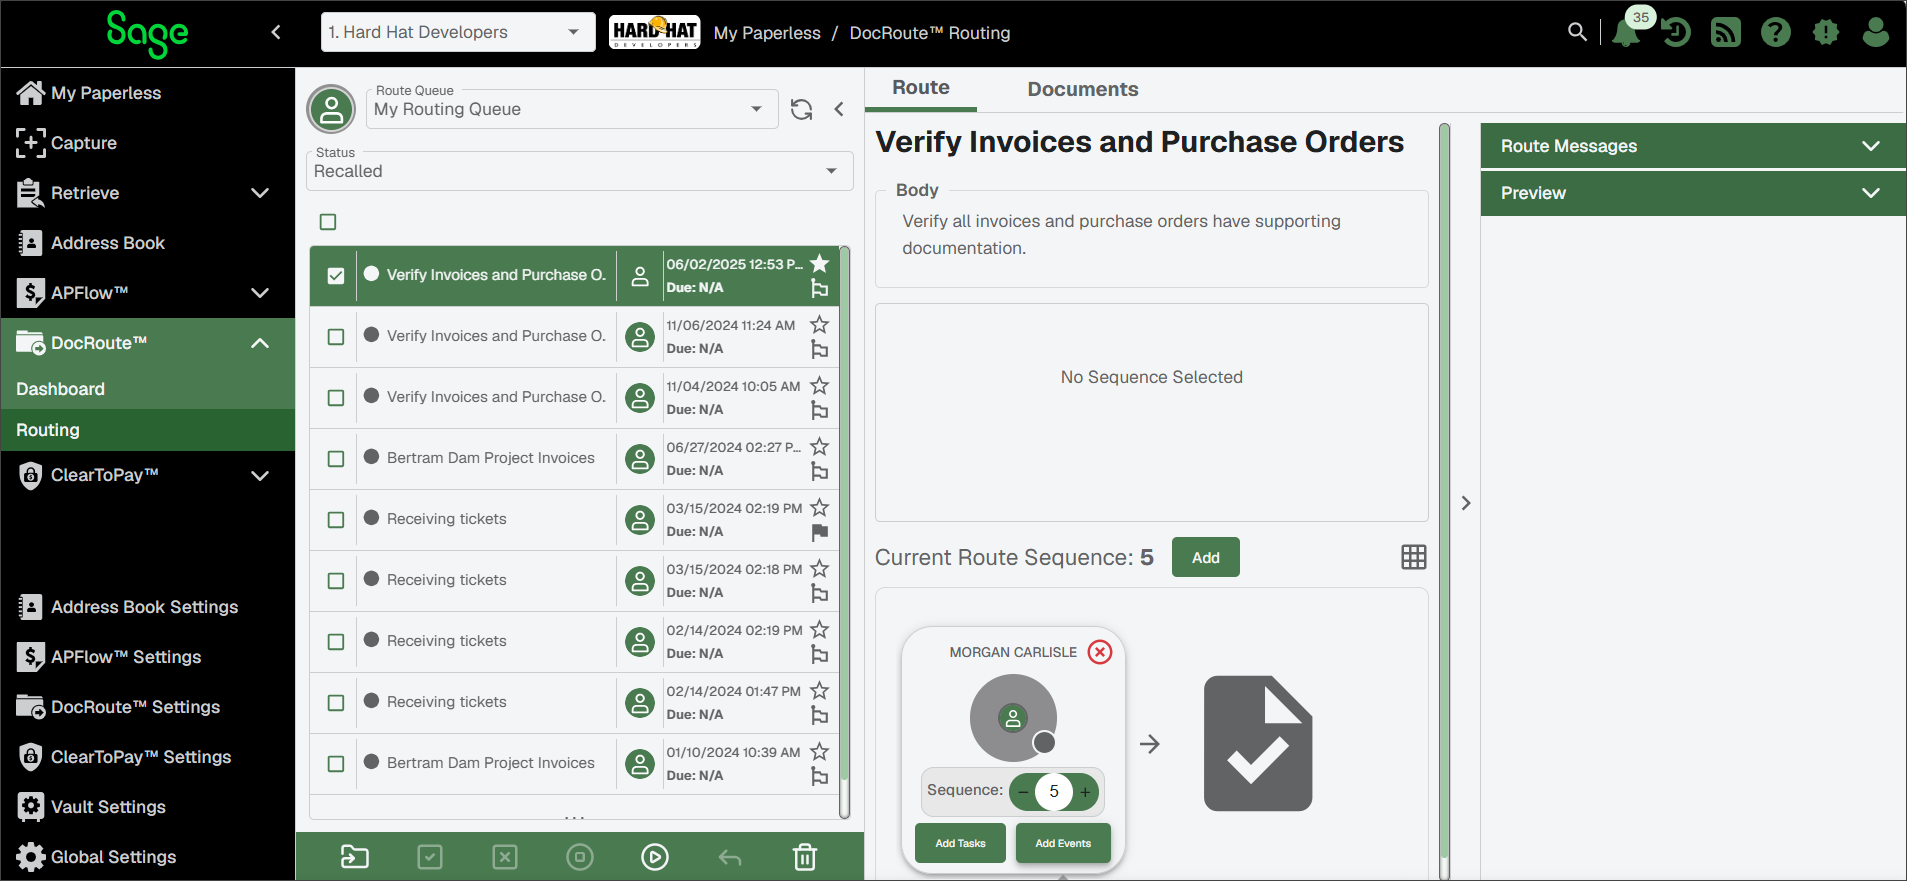
From here you can make changes to the route and Release
 or Delete
  it.
it.