List Types
Sage Paperless Construction provides the ability to make custom lists of items that can be selected as index values.
Important
You must have System Administrator permissions to view and manage list types.
From My Paperless, click .
In the Global Settings navigation bar, click .
A page similar to the following displays:
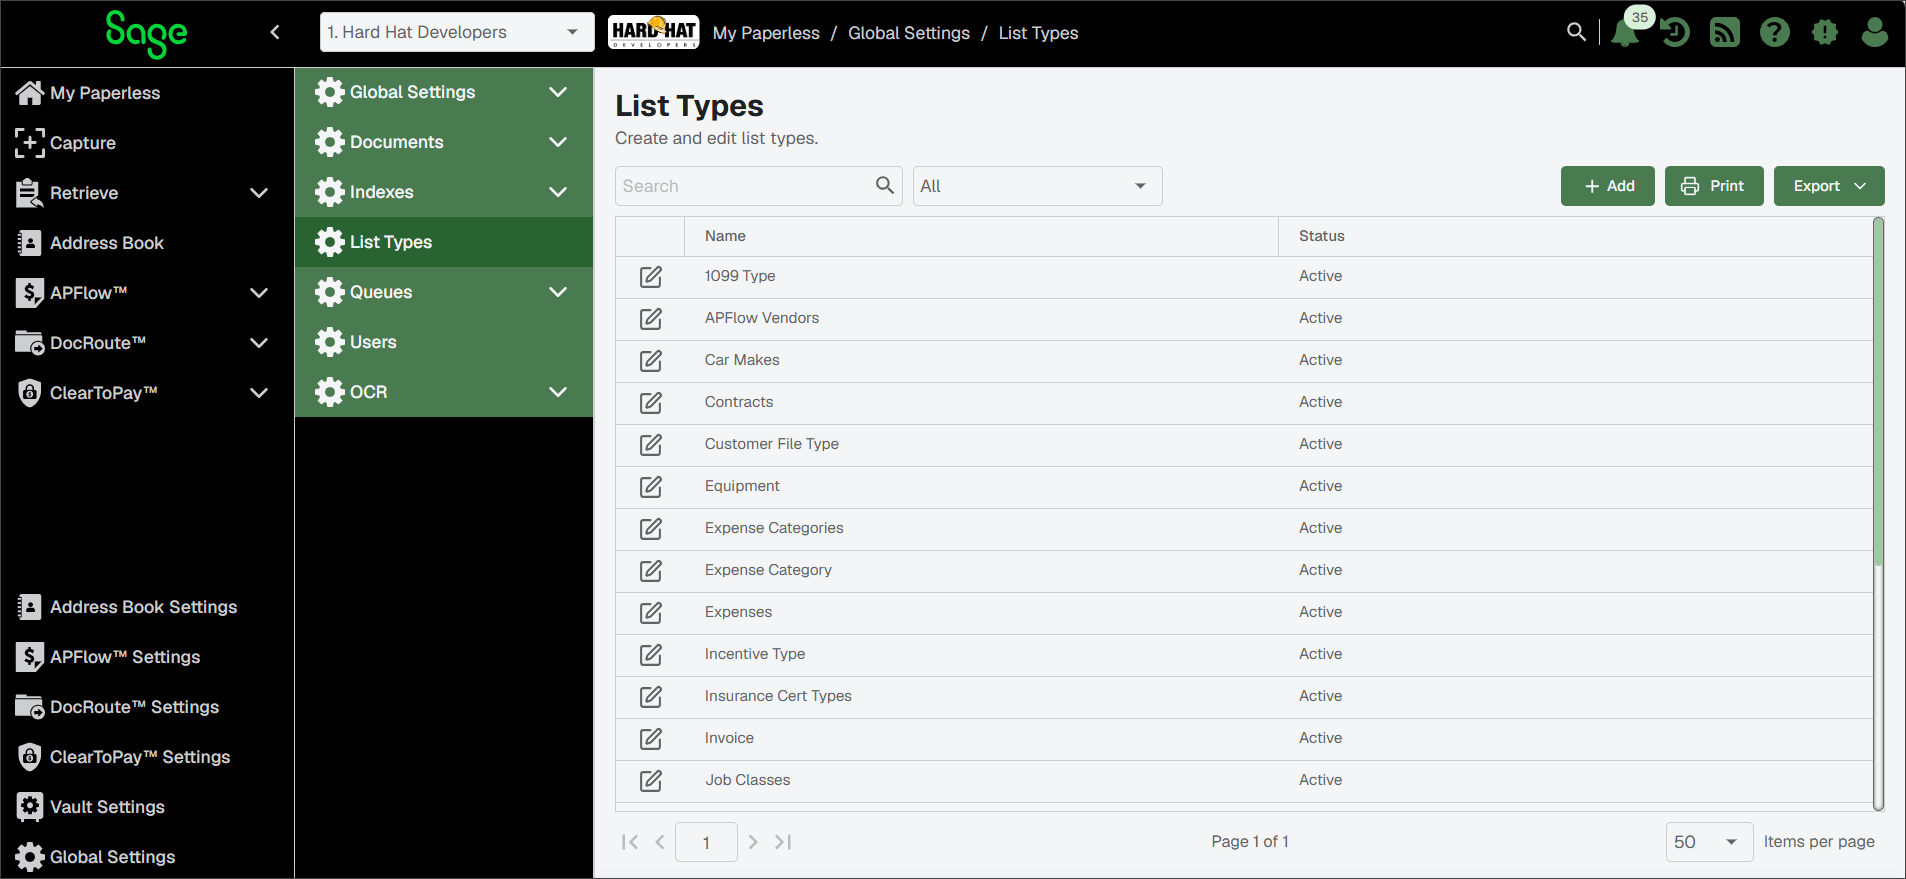
From the List Types page, click .
The List Type General Properties dialog displays with the General tab active:
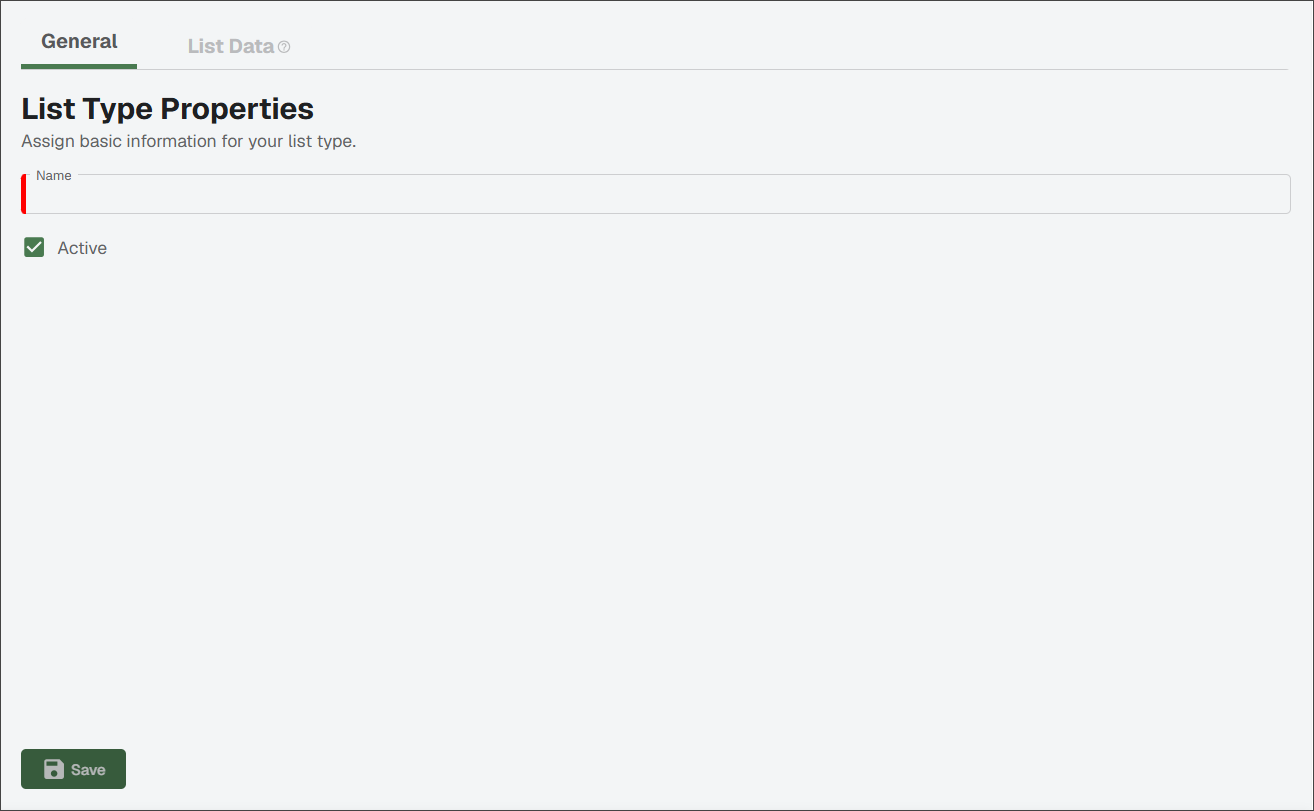
In the Name field, enter a list name. This is a required field.
Leave the Active check box selected if the list is ready to be used. If this list should not be active, deselect the check box.
Click .
Click the List Data tab.
The following page displays:
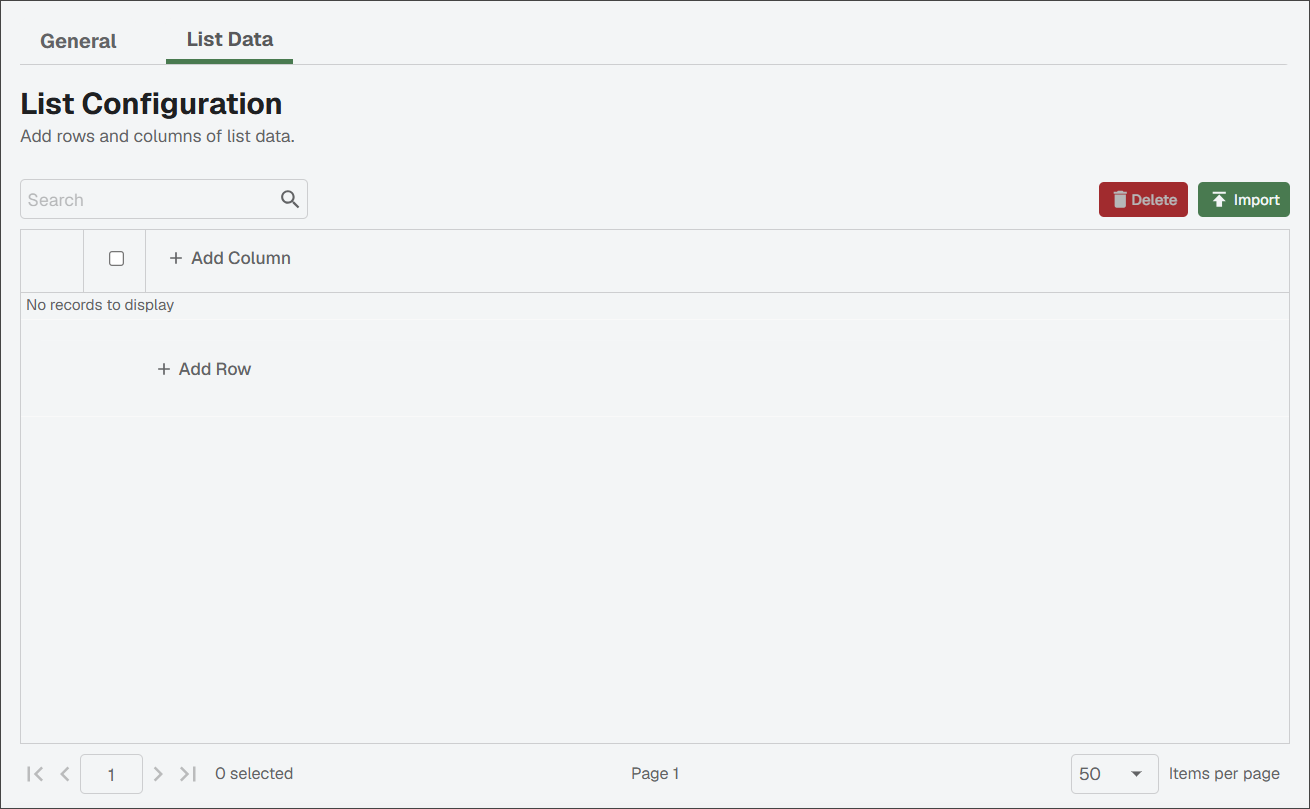
Use this page to add rows and add columns.
Note
When you import rows, these are "CSV Importer" style where column headers from the first line of the CSV file are read; where comma delimiter and double quotes are the defaults.
Click .
The following Add Column dialog displays:
Important
You must have at least one column before adding rows.
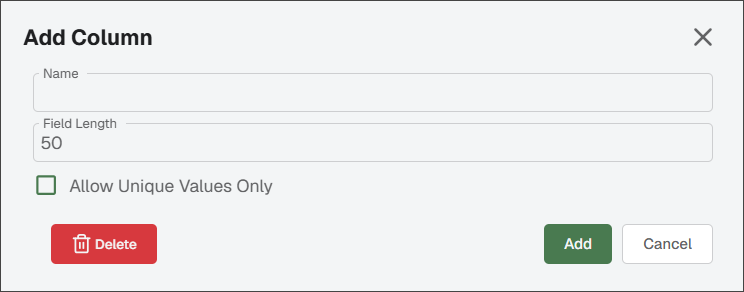
In the Name field, enter the column heading.
In the Field Length field, you can keep the default (which is 50), or lengthen or shorten the field length as appropriate.
Select the Allow Unique Values Only check box if two rows in the same column cannot have the same value. This is important when building a backfill for a custom list.
Click .
(Optional) Continue adding columns.
Click .
Type the row entry in the appropriate column(s).
Click .
Repeat steps 8-10 to add entries to your list.
The final list should resemble the following:
Note
You can change the row order by clicking Drag
 icon and dragging the row to the position you want it.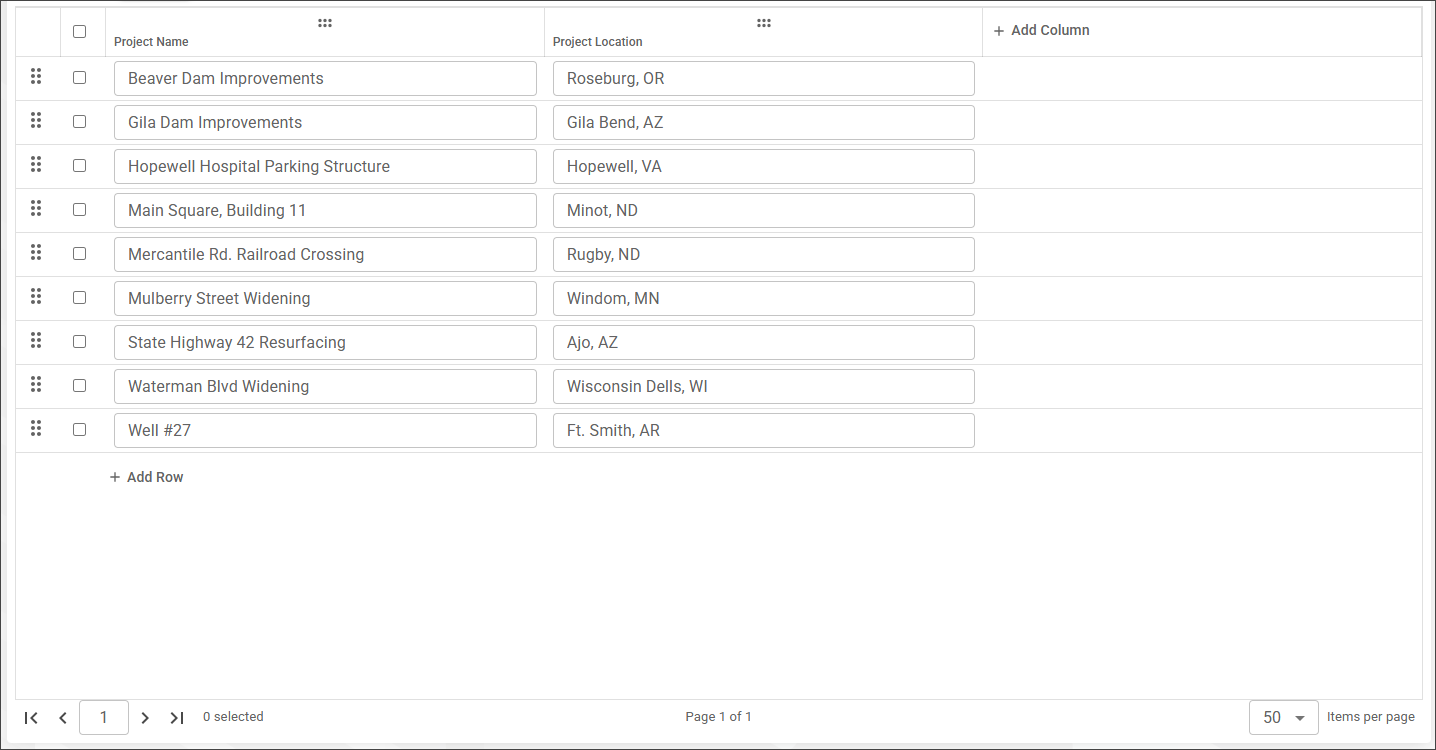
From the List Types page, click .
The List Type General Properties dialog displays with the General tab active:
In the Name field, give the list a descriptive name.
For example, "OCR Vendor Variant List."
Leave the Active check box selected if the list is ready to be used. If this list should not be active, deselect the check box.
Click .
Click the List Data tab.
The following page displays:
Complete the substeps below to add Vendor ID and Vendor Name columns.
Note
You can also add columns for other unique identifiers, such as Street, City, State, Website or Phone Number to help OCR recognize the vendor and populate their invoice information.
Click .
The Add Column dialog displays:
Important
You must have at least one column before adding rows.
In the Name field, enter the column heading.
In the Field Length field, you can keep the default (which is 50), or lengthen or shorten the field length as appropriate.
Select the Allow Unique Values Only check box if two rows in the same column cannot have the same value. This is important when building a backfill for a custom list.
Click .
While referencing the invoice for the vendor you need to create a variant for, click .
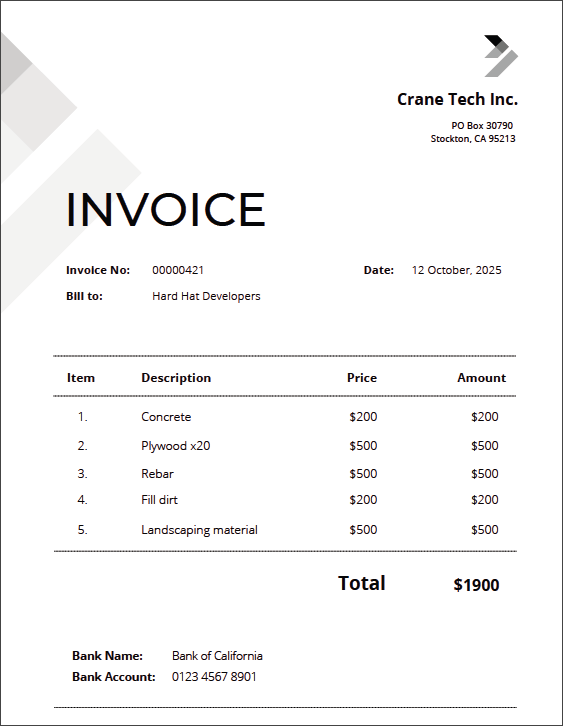
Type the row entries in the appropriate columns, ensuring you capture the correct vendor ID, the invoice's information and possible variations. Depending on the number of differing invoices, you may need to create multiple rows for a single vendor.
The final list should resemble the following:
Note
You can change the row order by clicking Drag
icon and dragging the row to the position you want it.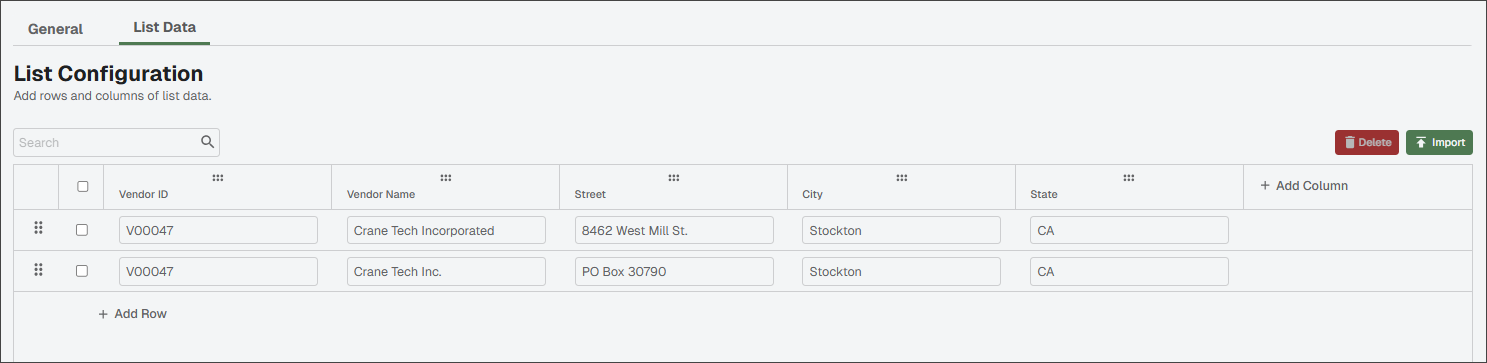
After creating or updating a vendor variant list, it is recommended that you make sure your OCR data list references the correct vendor variant list and refresh
 the list in . See Configure Data Lists for more information.
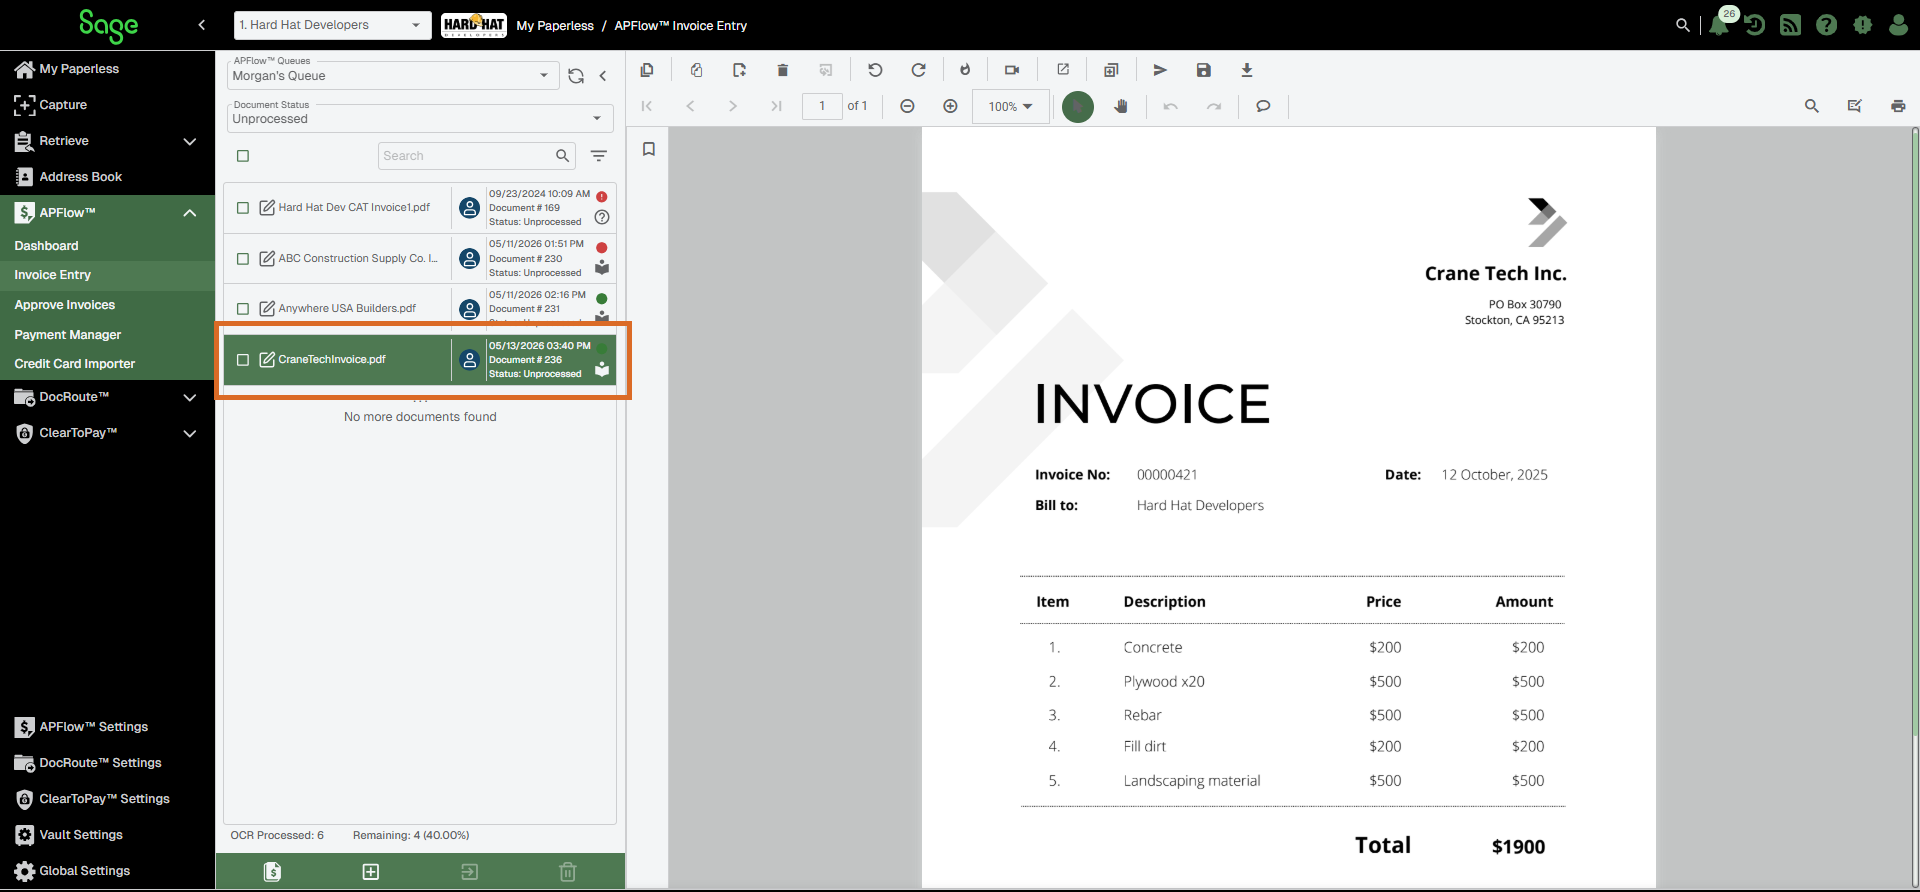
Add your invoice to your OCR Queue.
OCR should correctly read the invoice information and assign it to the mapped vendor.
Complete the following steps to import rows of list data from a source CSV file.
From the List Types page, click .
The List Type General Properties dialog displays with the General tab active:
In the Name field, enter a list name. This is a required field.
Leave the Active check box selected if the list is ready to be used. If this list should not be active, deselect the check box.
Click .
Click the List Data tab.
The following page displays:
Click .
The Import List Data dialog displays:
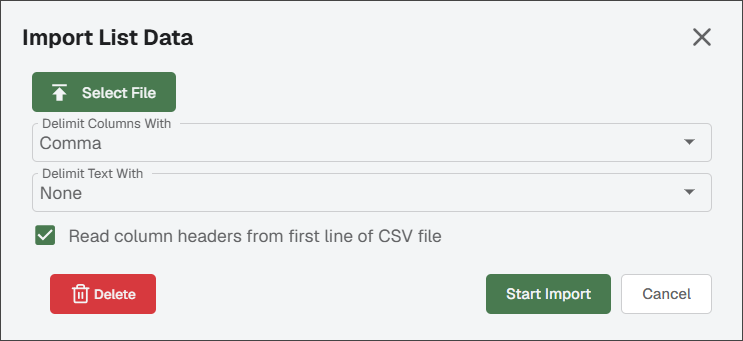
Click and locate the CSV file on your device.
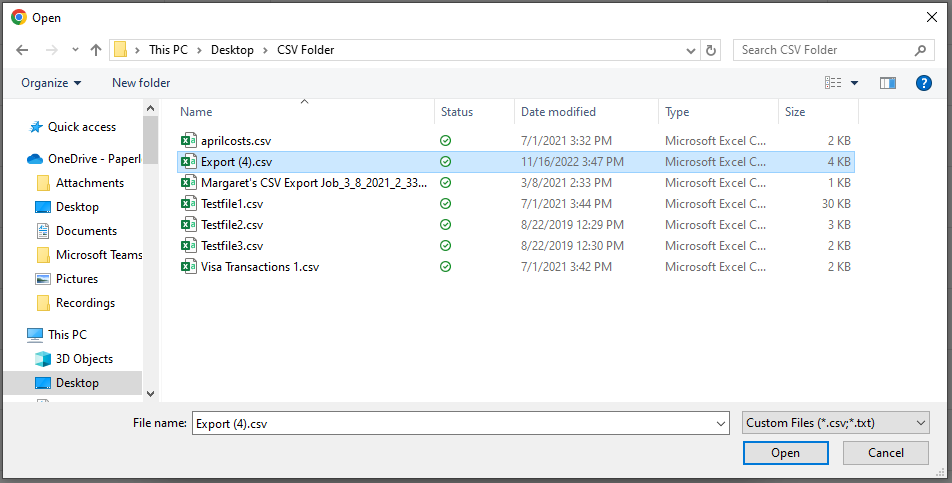
Select your file and click .
The Import List Data dialog redisplays:
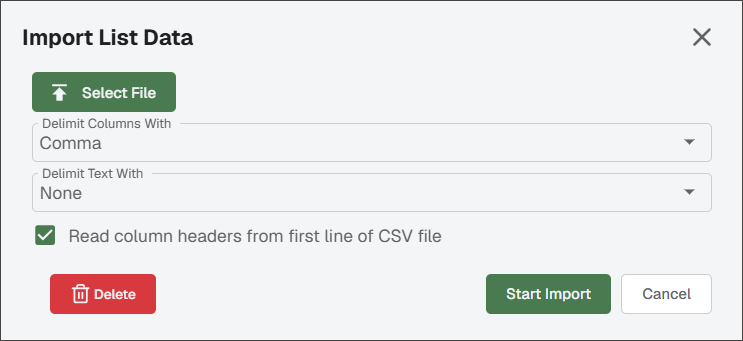
In the Import List Data dialog, enter the following:
Use the Delimit Columns With dropdown to select the appropriate delimiter. Comma is the default.
Use the Delimit Text With dropdown to select the appropriate quote marks. None is the default.
Verify that the Read column headers from first line of CSV file check box is selected. This is the default.
Click .
Note
When the import is complete, the page redisplays on the List Data tab with column headings and entries populated.