APFlow™ Allocations
Allocations allow you to set up "pre-defined" invoice line coding. These allocations are generally used for recurring invoices that are coded by the same percentage across several expense accounts or are the same amount every time.
There are two types of allocations:
Percentage based
Reoccurring fixed amount
Allocations must be configured by an Administrator before they can be used by Processors.
Allocations are vault specific. If an allocation is set up in Vault #1, that same allocation does not automatically exist in Vault #2.
From My Paperless, click .
In the APFlow™ Settings navigation bar, click .
A page similar to the following displays:
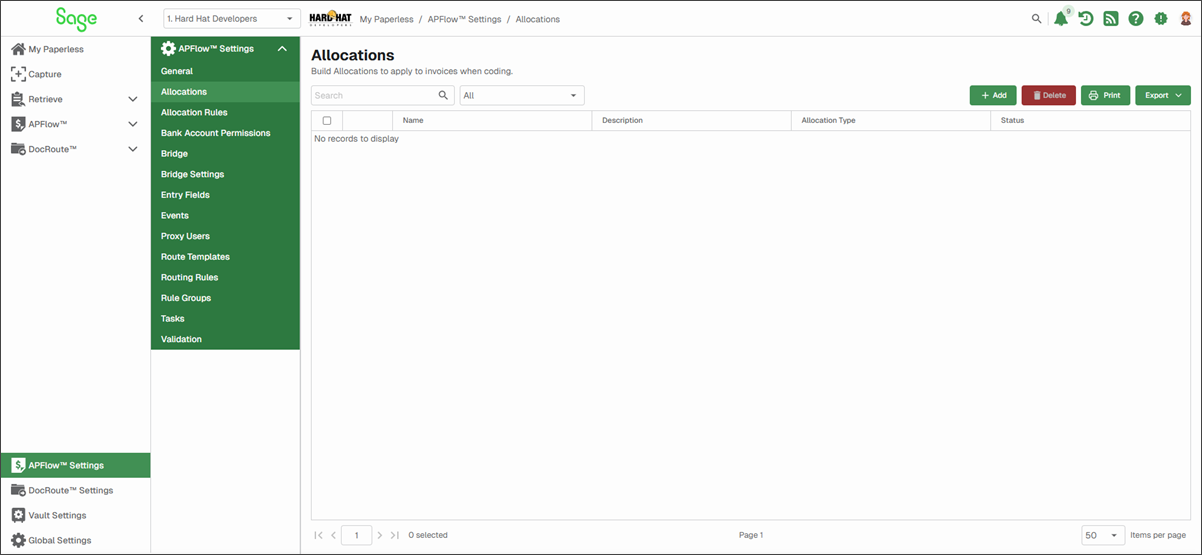
From the Allocations page you can add, edit or delete both percentage-based and fixed amount allocations.
You can create a percentage or amount-based allocation.
Note
Percentage-based allocations allow you to prefill information in the line coding section only, while amount-based allocations allow you to prefill any detail field.
Add a Percentage-Based Allocation
Important
Percentage-based allocations are based on the invoice total. Be sure to enter the invoice total before adding a percentage-based allocation, otherwise all lines brought in from the allocation are zero amounts.
Click .
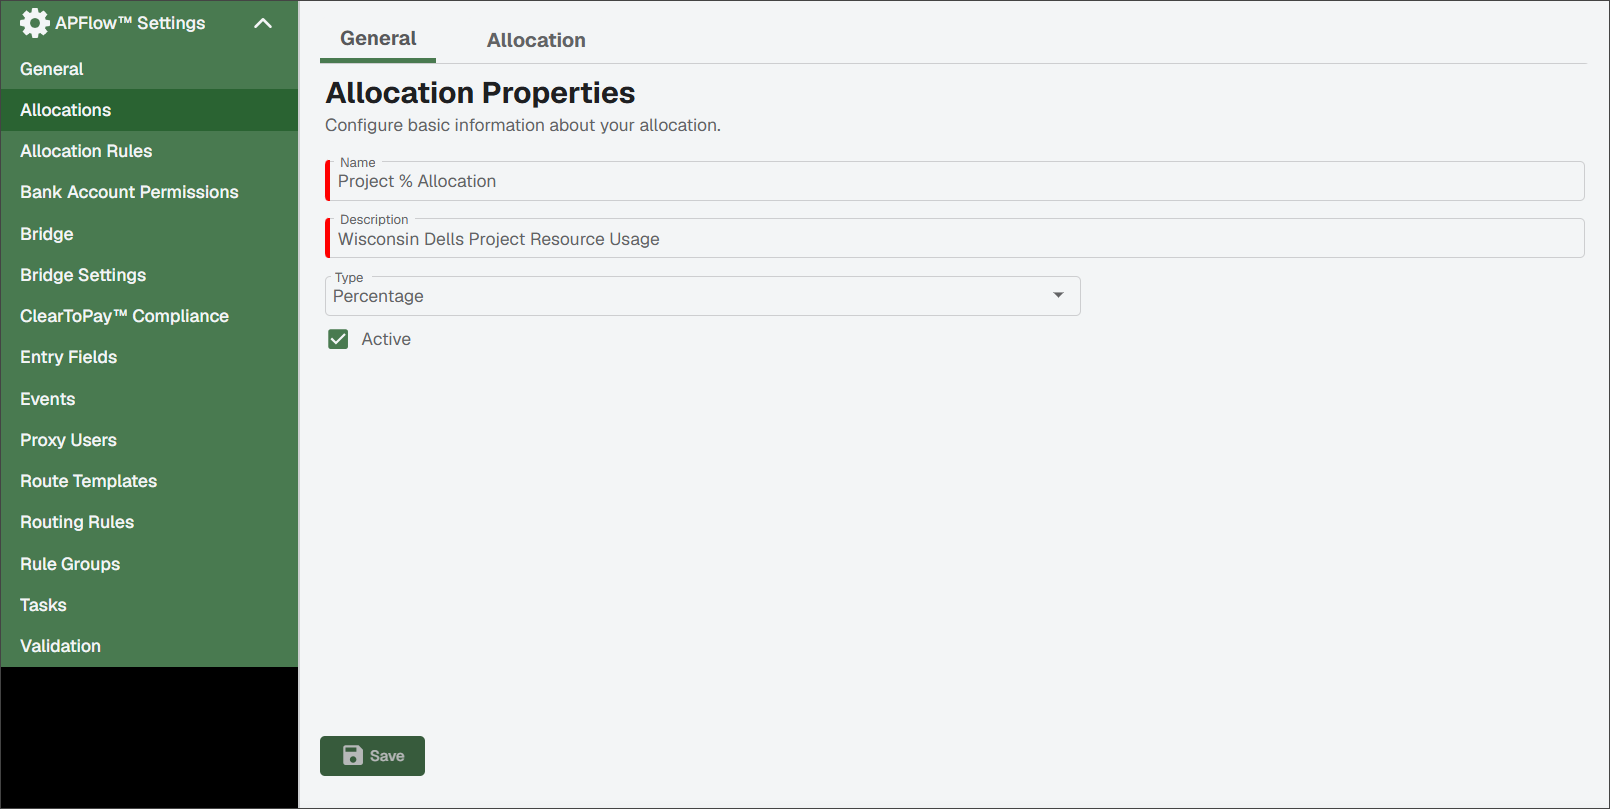
The Allocation Properties page displays with the tab active.
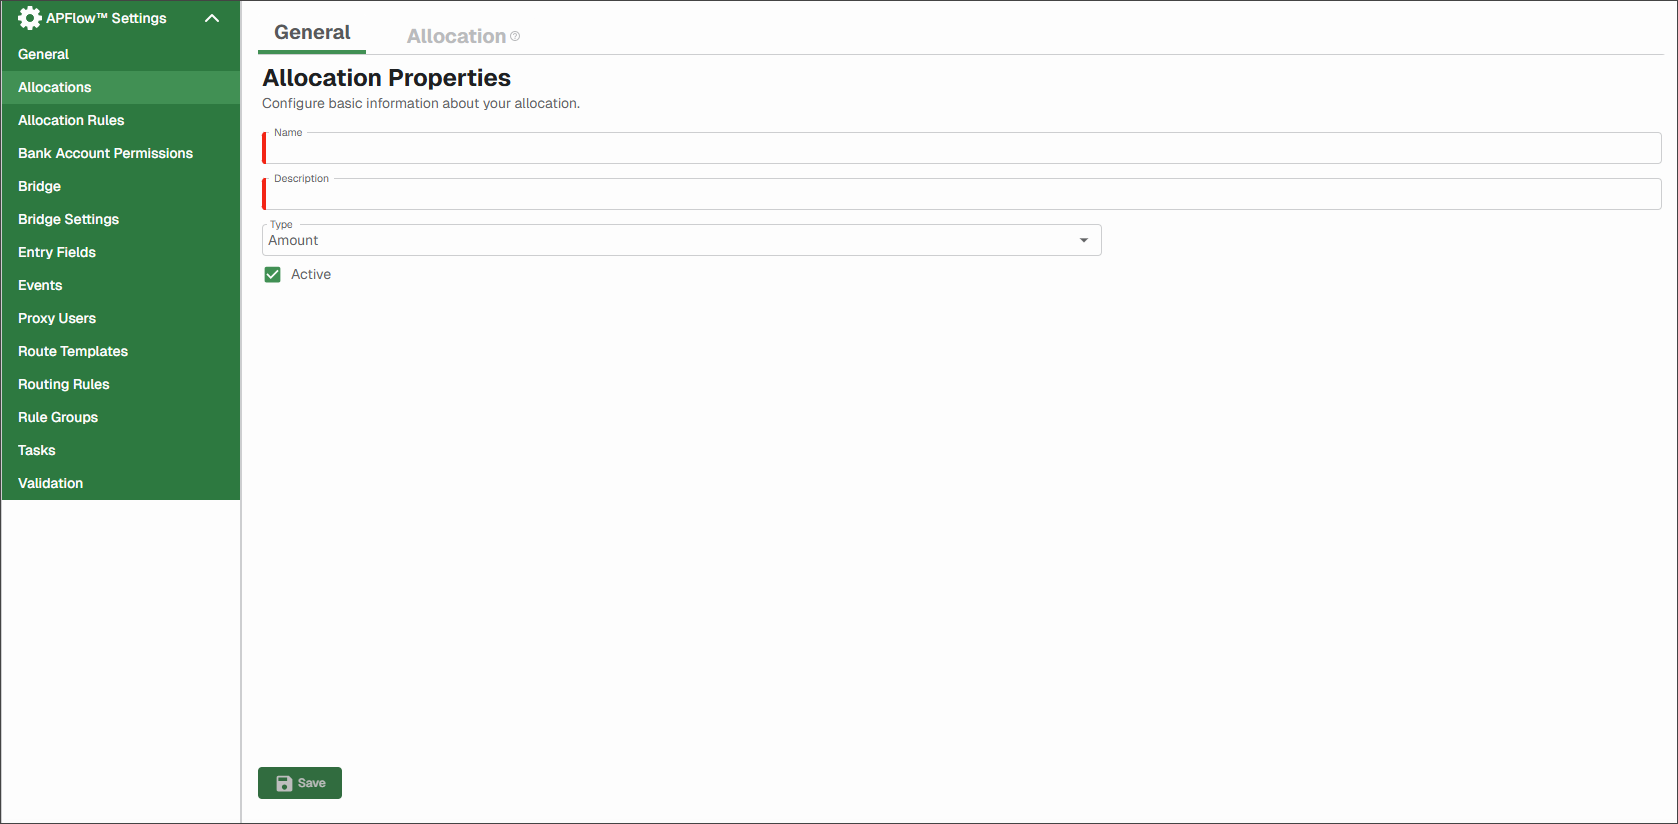
In the Name field, enter a meaningful name for the reoccurring percentage.
In the Description field, add information to identify the allocation.
Select from the Type dropdown.
If the allocation should be active, select the check box. Otherwise, leave it blank.
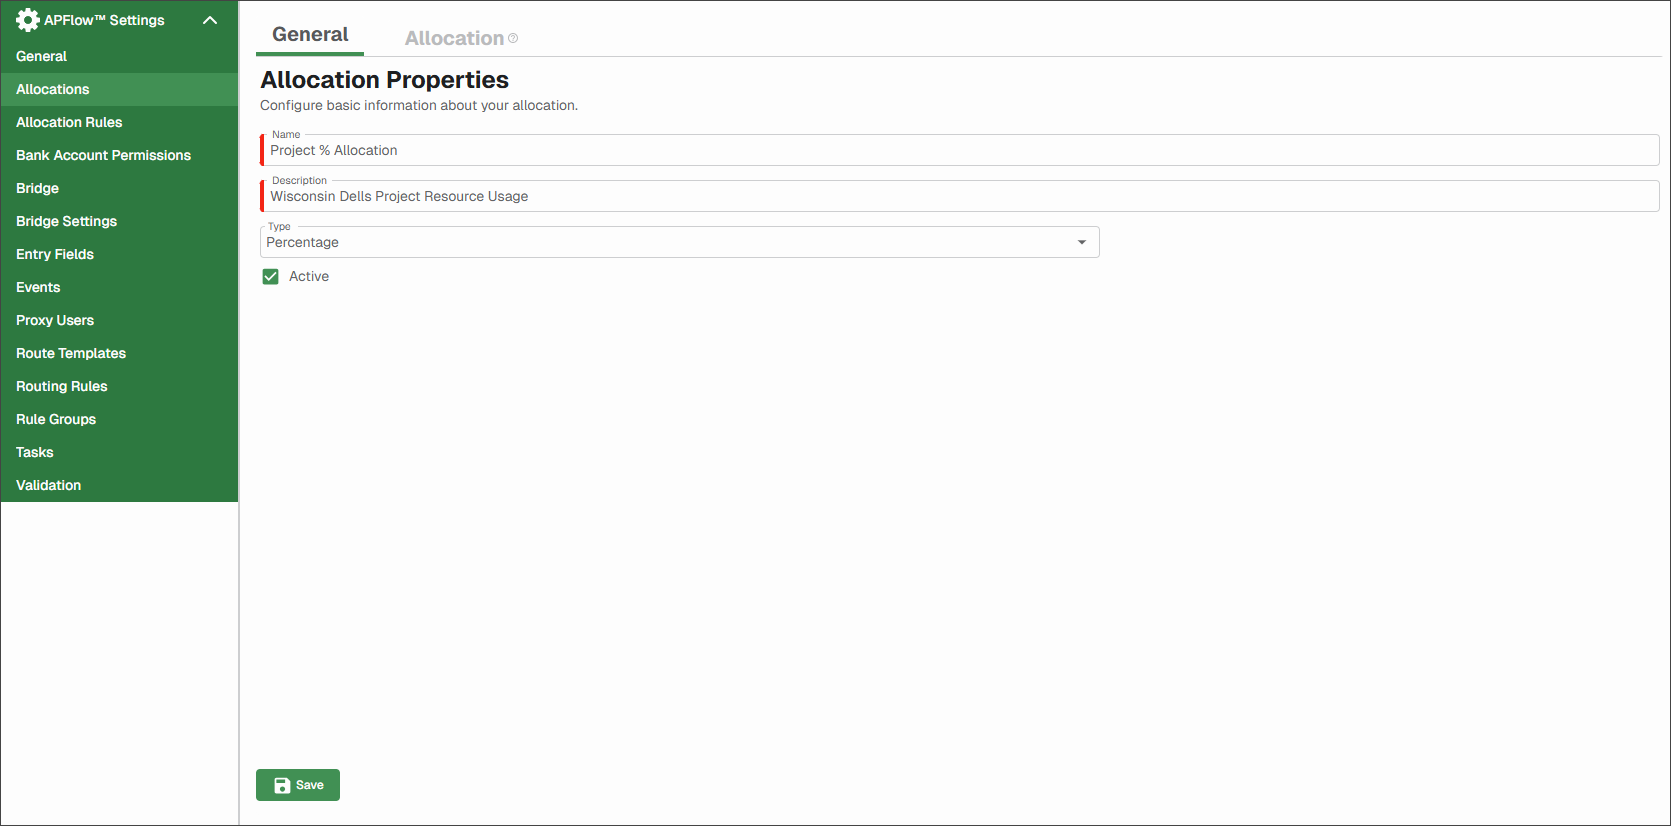
Click .
The Allocation tab becomes active.
Click the tab.
The following page displays:
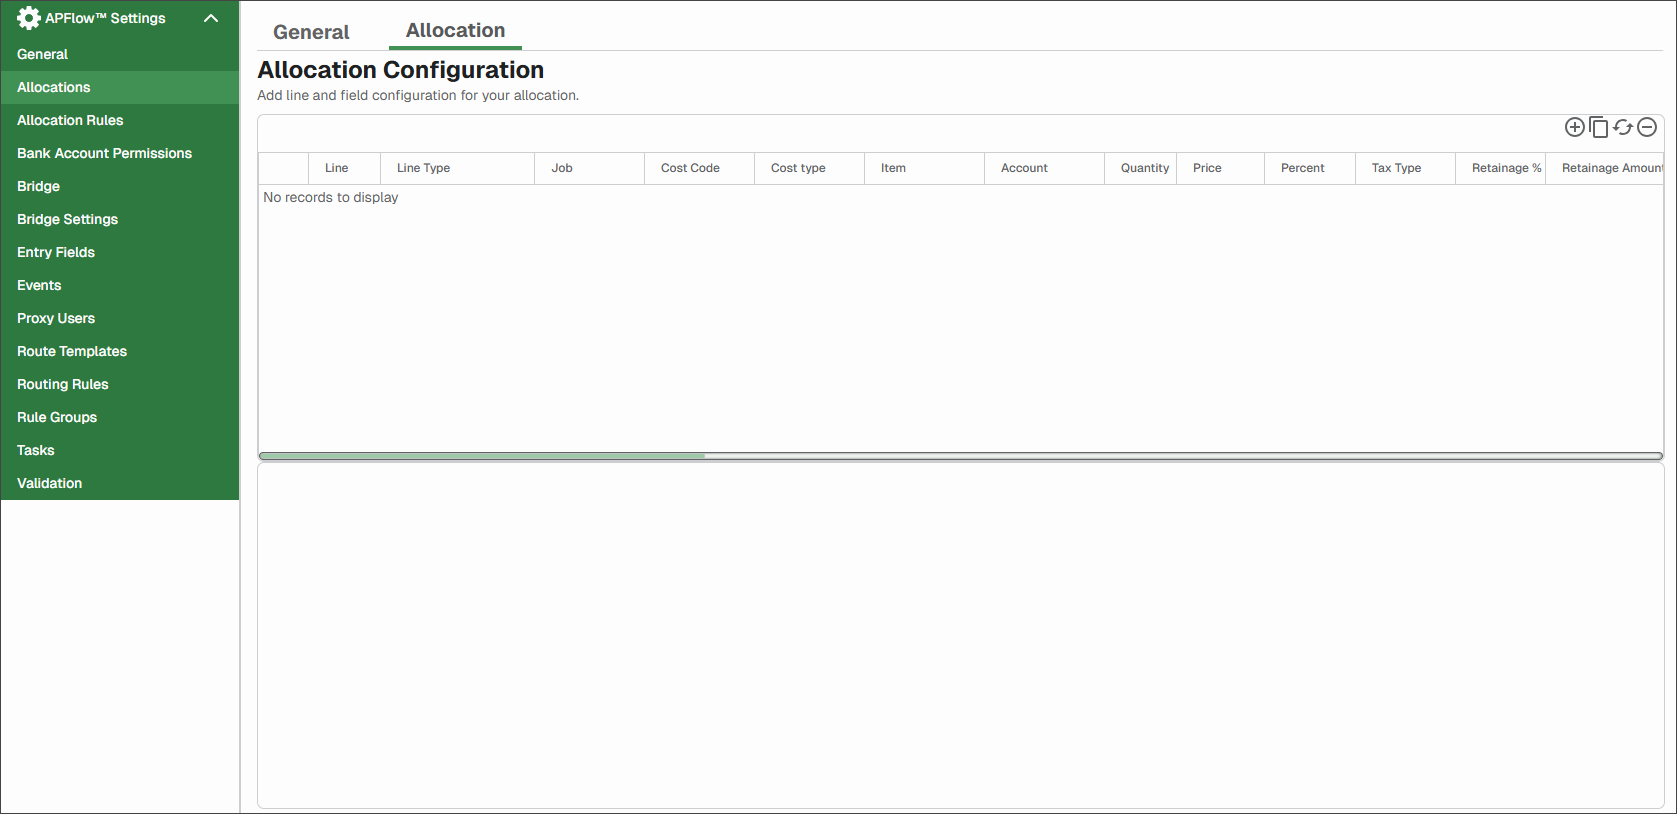
Click the New Line
 icon to display the following dialog: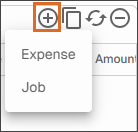
Select an entry from the list. At least one line must be added.
Note
The Line Types displaying in the dropdown list depends on the accounting system. They may include Debit Memo, Expense, Job, Non-Commitment, Purchase Order, Subcontract or more. These are the same Line Types available when adding lines on the Invoice Entry page.
Remember: Lookups are available for every field with a Search
 icon.
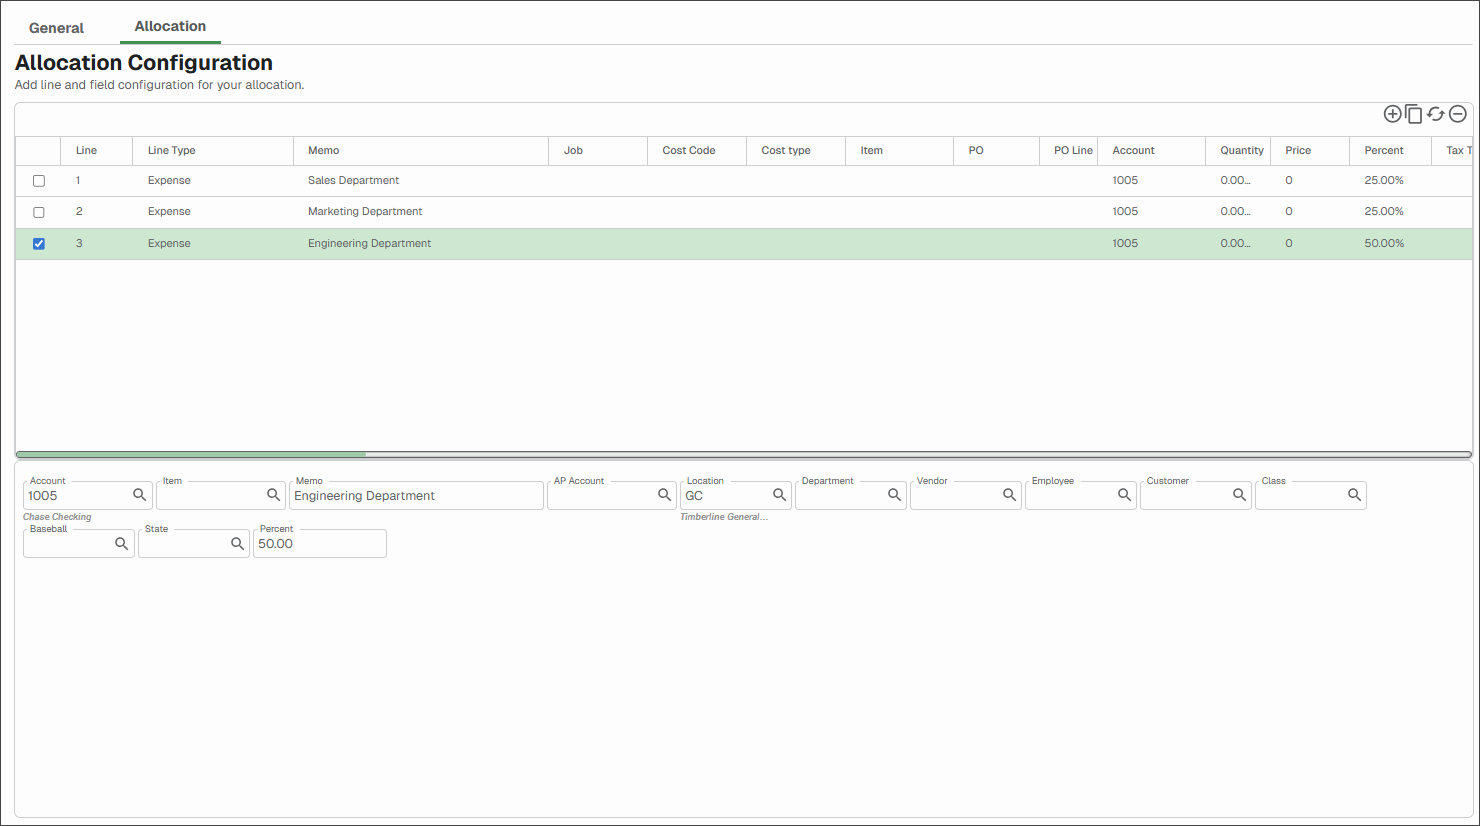
icon.Enter the line(s) coding information.
Note
Only the coding of the line for percentage-based allocations can be pre-filled. If the percent amount is not 100 percent, a warning dialog displays.
Important
Sage Paperless Construction does not prevent the Administrator from entering line percentage(s) that do not equal 100 percent.
Add a Fixed Amount Allocation
Important
If the invoice total is zero and an amount allocation is selected, the invoice total pre-fills with the total amount allocated within the allocation.
Click .
The Allocation Properties page displays with the tab active.
In the Name field, enter a meaningful name for the reoccurring amount.
In the Description field, add information to identify the allocation.
Select from the Type dropdown.
If the allocation should be active, select the check box. Otherwise, leave it blank.
Click .
The Allocation tab becomes active.
Click the tab.
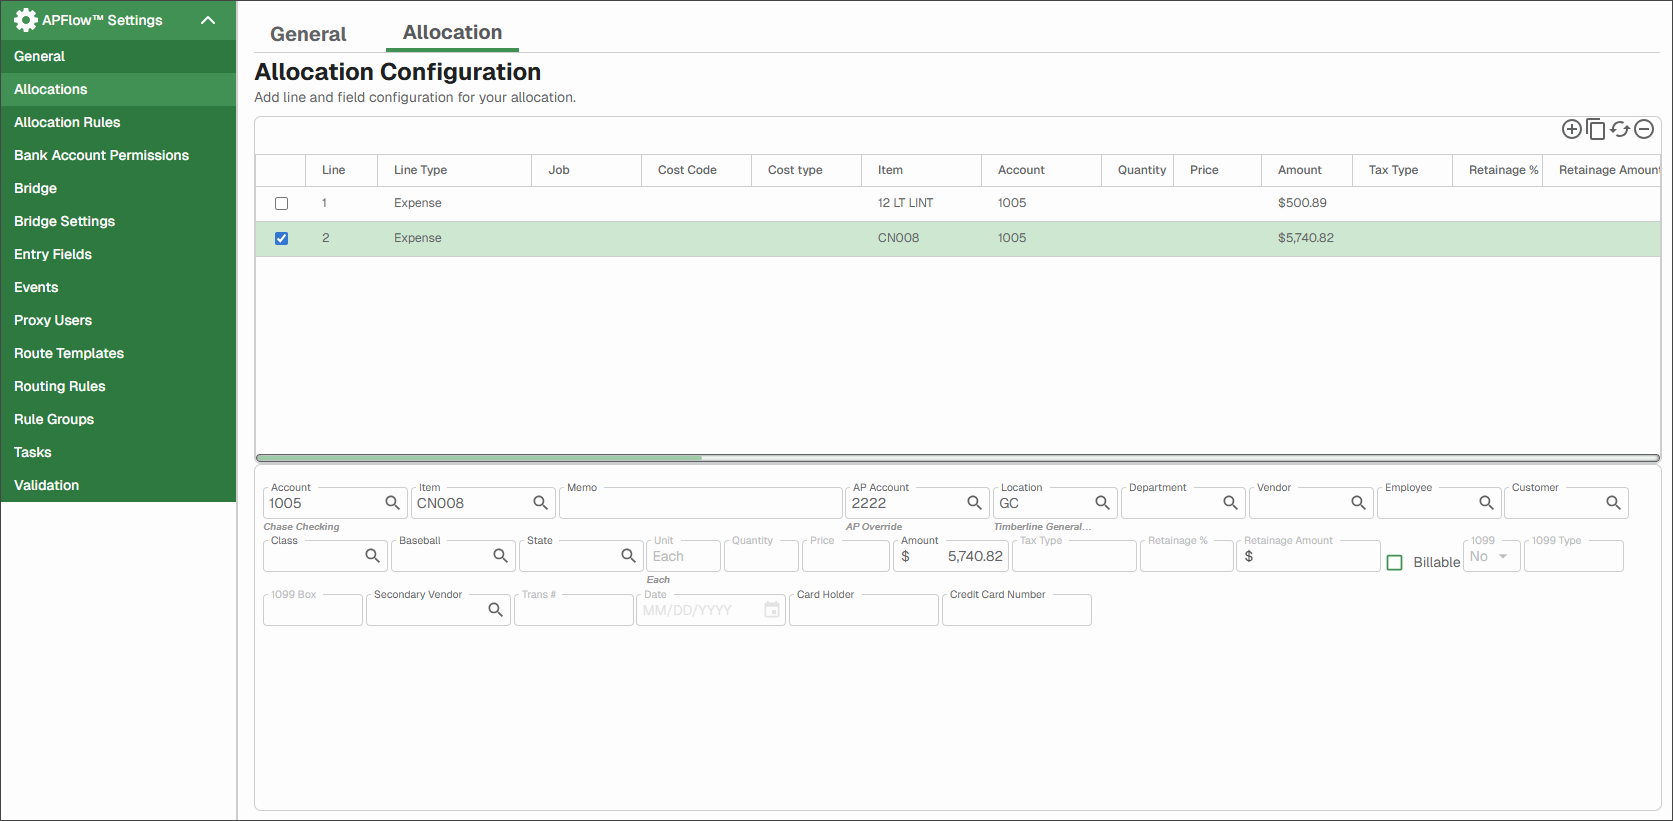
The following page displays:
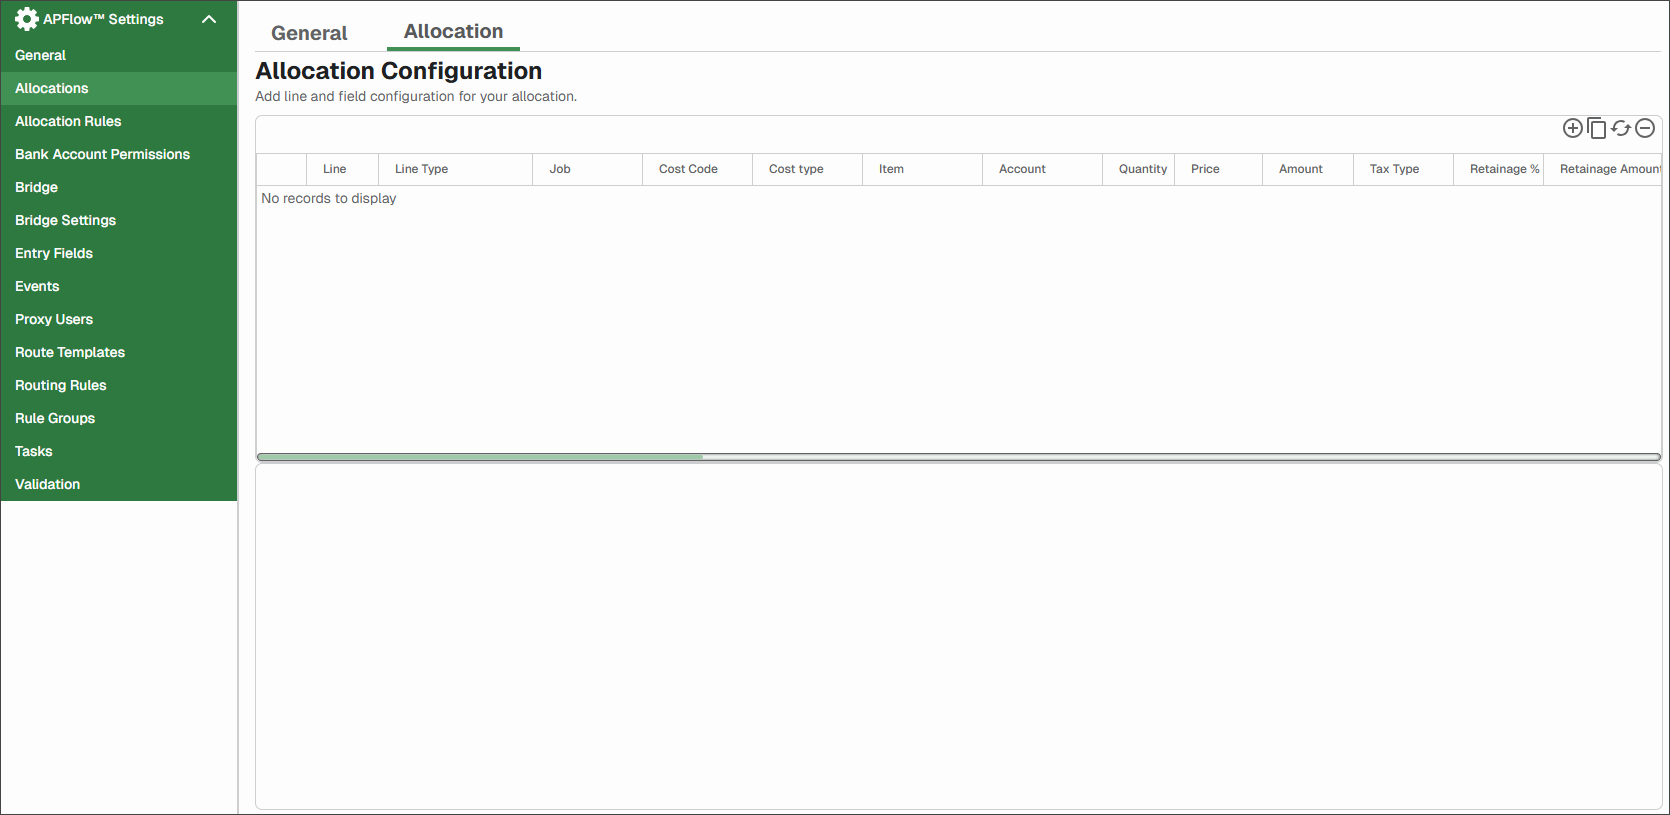
Click the New Line
icon to display the following dialog:Select a Line Type entry from the list. At least one line must be added.
Note
The Line Types displaying in the dropdown list depends on the accounting system. These are the same Line Types available when adding lines on the Invoice Entry page.
Remember: Lookups are available for every field with a Search
icon.(Optional) Apply any coding to the line that you want to be the same every time this allocation is applied.
As you add new lines, coding or amounts, the Allocated field above the details section updates with the allocation information entered.
From the main Allocations page, click the Edit
 icon to select an existing allocation from the list.
The Allocations Properties page displays with the General tab active.
Make the necessary changes and click .
If there are line changes for the allocation, click the tab.
From here you can edit (copy, change) existing lines, add new lines or remove existing lines.
From the main Allocations page, select an existing allocation from the list.
Click .
A Delete Allocation confirmation dialog displays:
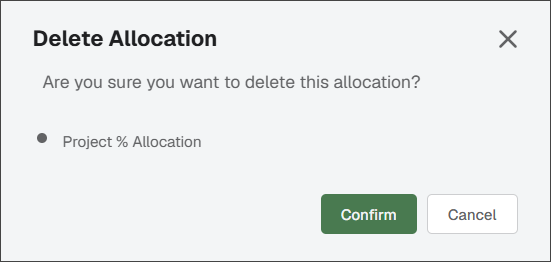
Click .
The selected allocation is permanently deleted from the Allocations list.