Vault Settings
When the Sage Paperless Construction system is initially set up, at least one vault is created for your company. While important information is set up elsewhere, Document Types and Queues for instance, this is where that information is consolidated for use in a specific vault.
The General tab within Vault Settings contains basic information about the vault.
View the vault name, description and fiscal year start information. You can also add a logo to display with the vault.
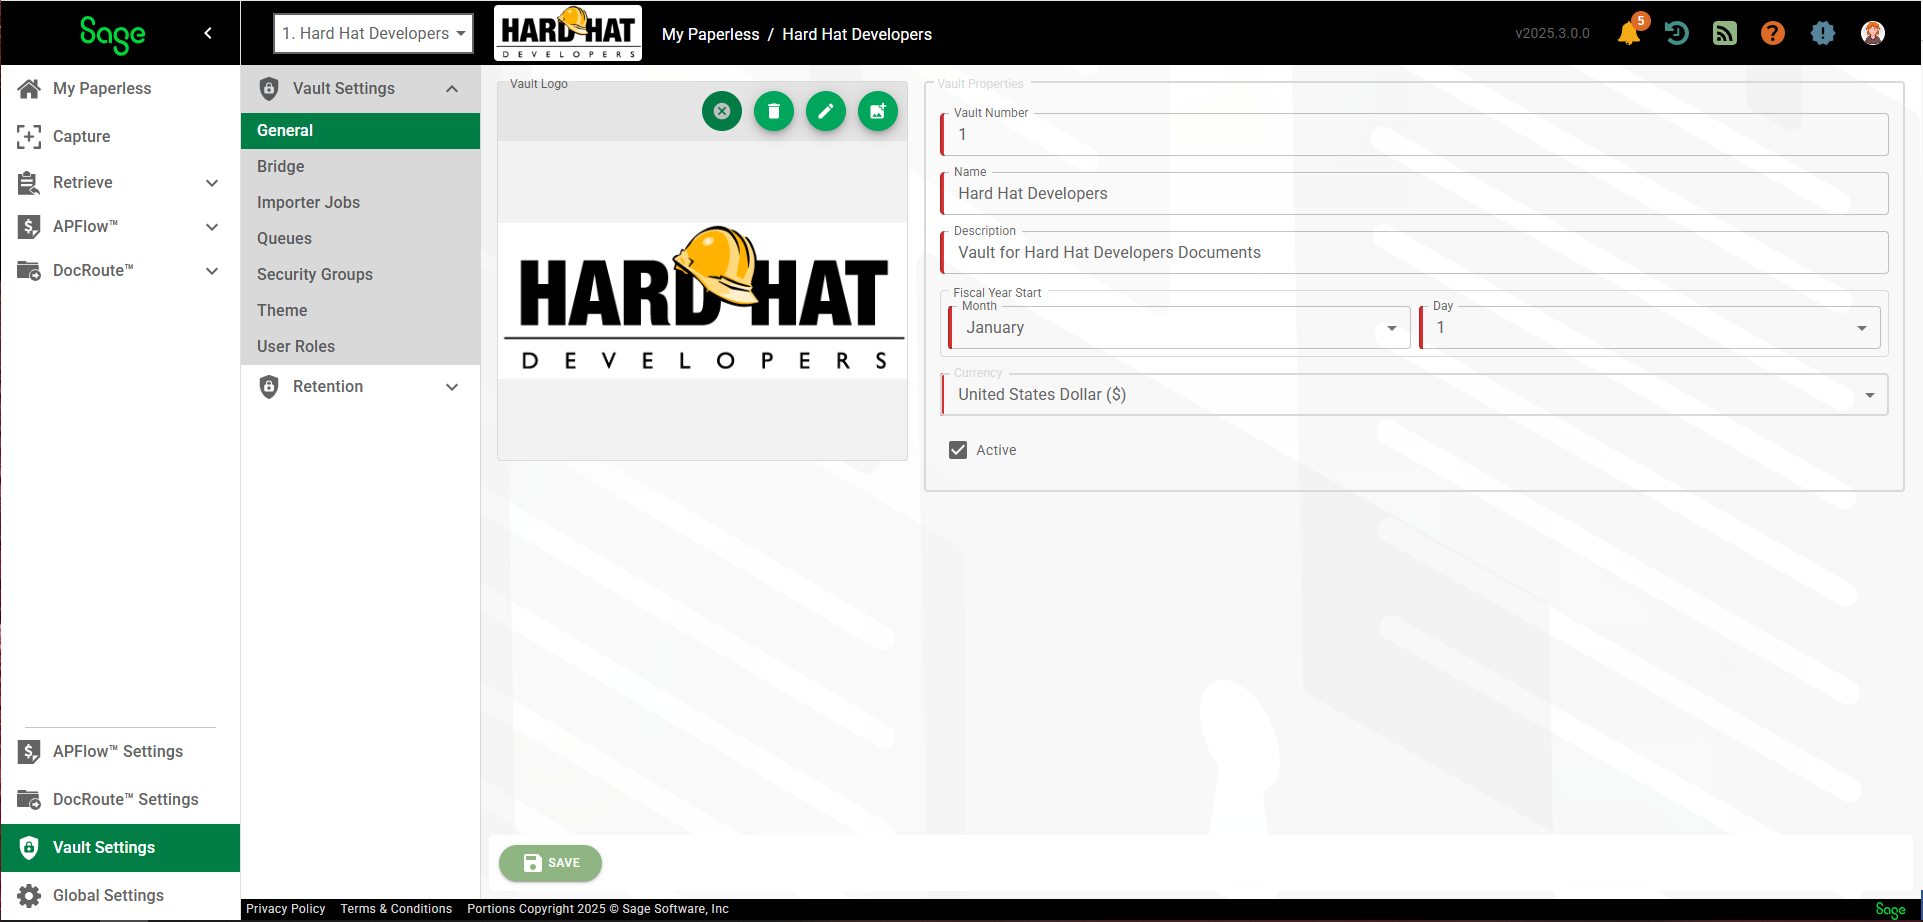
Vault Number | This field displays a system-generated vault number. The field default may be overwritten based on company preferences. | ||||
Name | This field contains the name that displays for the vault. | ||||
Description | This field contains a description of the documents stored in the vault. | ||||
Fiscal Year Start | These fields display the month and day that the company’s fiscal year starts. This value is used in determining archiving/purging options based upon an accounting year. | ||||
Currency | With the proper permissions, you can set the currency for the vault (this setting is vault-specific) using the Currency dropdown. Once you update the Currency field, all currency-related fields throughout the system mirror this choice. For a list of all areas within that display currency type, see Configure Vault Currency. | ||||
Active | Once a vault is created in Sage Paperless Construction it cannot be deleted, but it can be made inactive by deselecting the check box. By marking a vault that is no longer being used as Inactive, that inactive vault is "hidden" from any non-System Administrative users. This helps to prevent documents being inadvertently accessed or processed for that vault. | ||||
Vault Logo | Select a vault logo, if applicable. If one is selected, it displays along the top of your page. NoteSage Paperless Construction systematically resizes your logo image as necessary. | ||||
| Add New Image | Click the button to browse and select the vault logo. From the folder that displays, navigate to the desired image and click to select it. Once the image displays, you can manipulate it using the buttons listed below. | |||
| Edit Image | Click this button to access the crop or rotation buttons. | |||
| Rotate Image Right: Once you click the Edit Image button, this button displays. Click it to rotate the vault logo to the right 90 degrees. | ||||
| Rotate Image Left: Once you click the Edit Image button, this button displays. Click it to rotate the vault logo to the left 90 degrees. | ||||
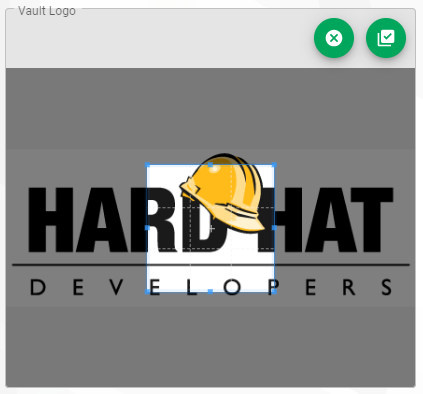
| Crop Image: Once you click the Edit Image button, this button displays. Click it to display a cropping frame, similar to the image below:
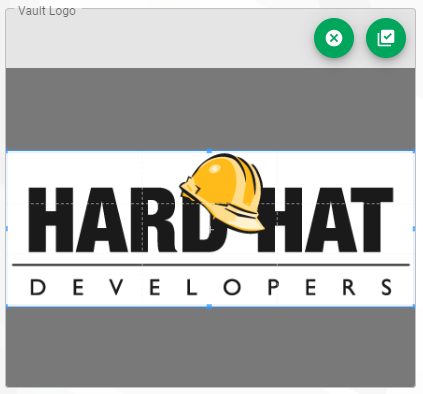
Manipulate the frame until you have successfully cropped the vault logo. In this example, here is the vault logo after cropping, but before accepting the crop:
| ||||
| Accept Crop: Click this button after you have cropped the image to replace the original image with this newly cropped version. The editing buttons redisplay, allowing you to make additional modifications as necessary. | ||||
| Exit Crop: Click this button if you decide not to crop the original profile image. | ||||
| Remove Image | Click to remove the current vault's logo. The blank logo space redisplays. Click the button to repeat the process of adding a vault logo. | |||
| Revert to Original Image | Click to revert the current vault logo to a previously saved vault logo. This would be the image that was in place before you began making modifications. | |||
SAVE | Click this button to save any changes you make to the vault. | ||||