Access and Update User Settings
You can configure many features in Sage Paperless Construction within User Settings to personalize your experience and add efficiency.
To access your User Settings, click the  icon and select in the dropdown. The User Settings page displays:
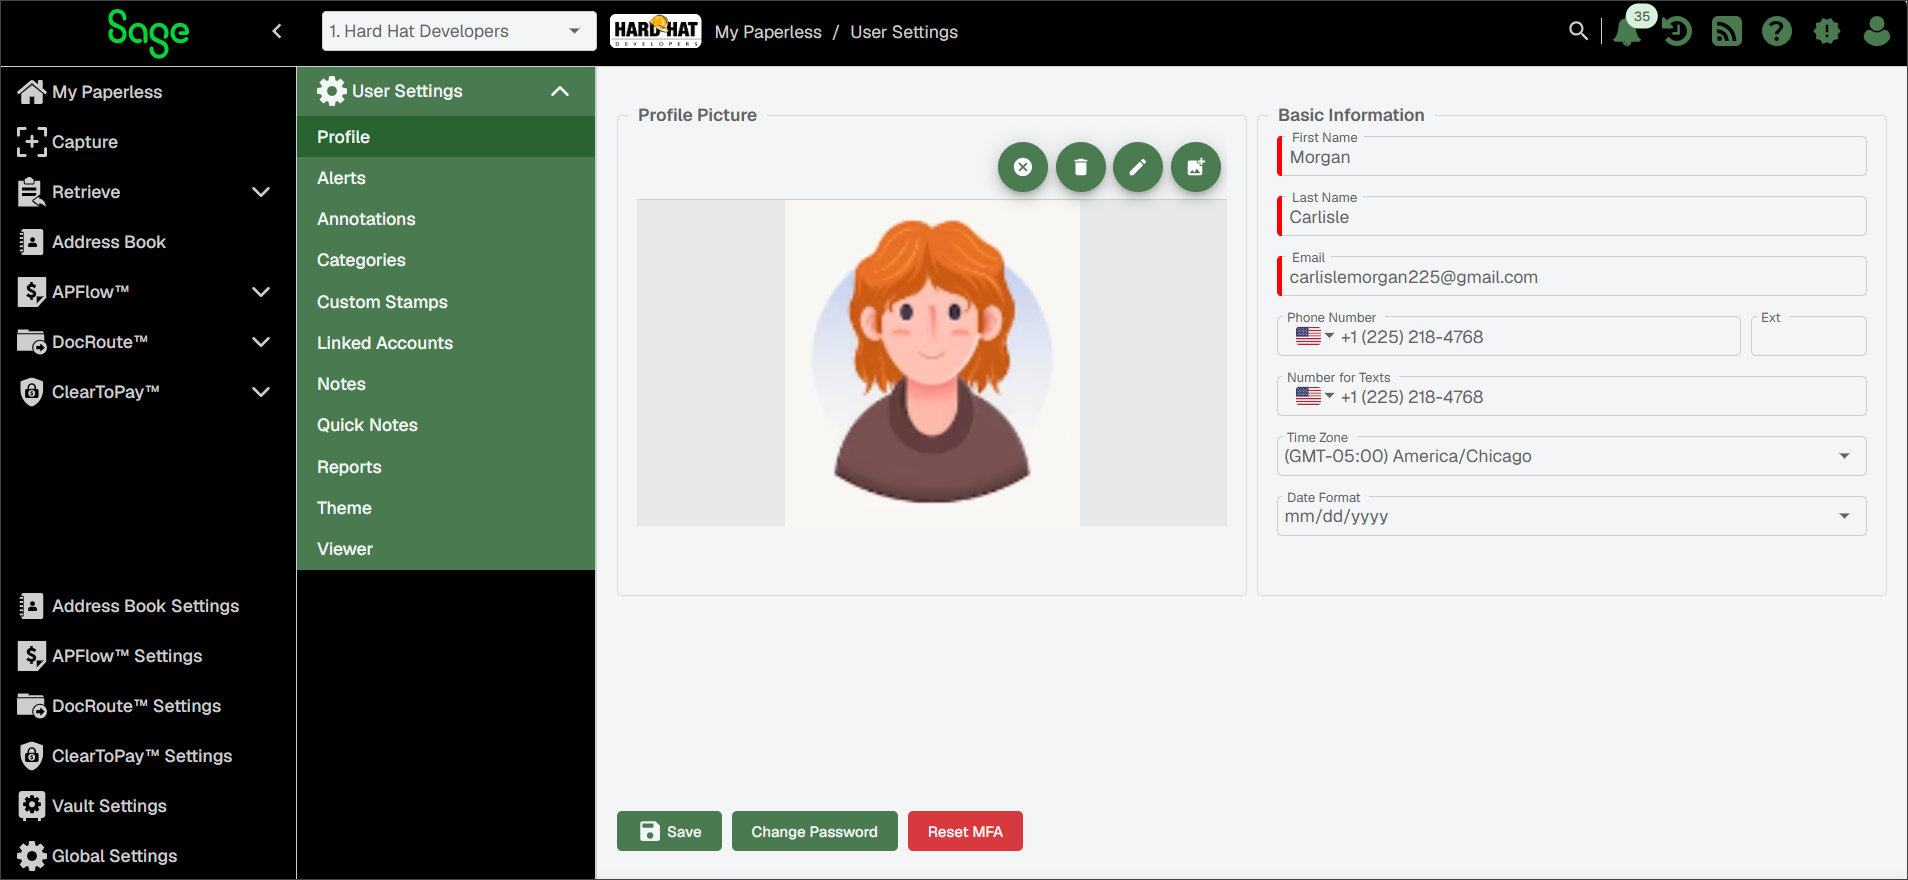
Refer to the sections below for details about each tab and how you can configure your user settings.
Add a Profile Picture
Complete the following steps to add a profile picture:
In the Profile Picture section, click the button.
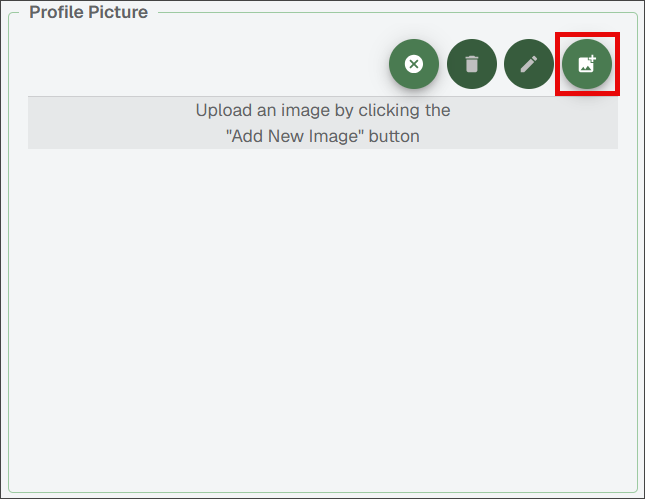
Choose your profile picture from its location on your computer.
The image displays in the Profile Picture field.
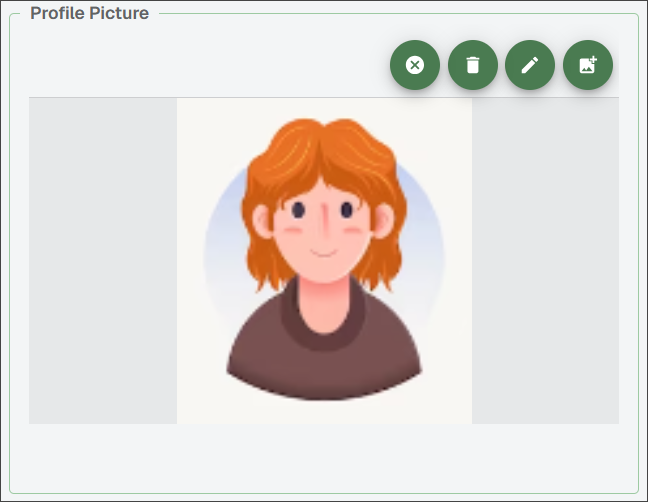
Once the image displays, you can manipulate it by clicking any of the following buttons.

Revert to Original Image
Click to revert the changes back to the image that was in place before you began making modifications.

Remove Image
Click to remove the image. The blank image space displays.
Click the button to repeat the process of adding a profile picture.

Edit Image
Click to access the crop or rotate options.
Basic Information
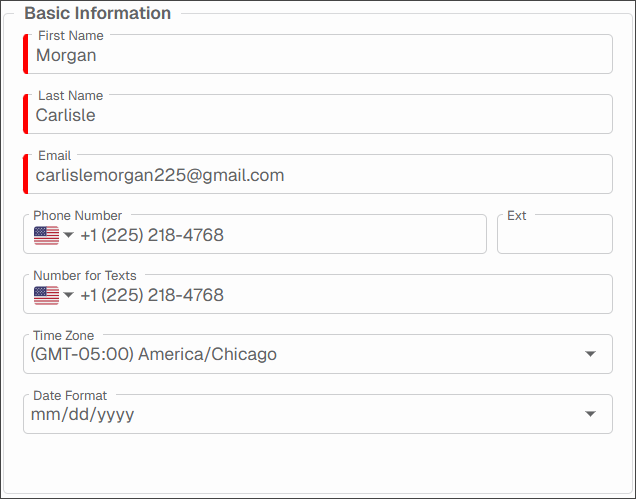
In the Basic Information grid, the following fields are systematically populated based on information entered by the system administrator when your user was initially set up.
 |
Note
Any changes made on this page are made to the page on page.
First Name | First name of the user. |
Last Name | Last name of the user. |
The user's email address that is used as that user's login ID. This email is also used for various system alerts. | |
Phone Number | Phone number of the user. The country code is identified by the flag and the +# that displays in the Phone Number field. To change the country code, click on the dropdown arrow next to the flag. Begin typing the country name to narrow your search. 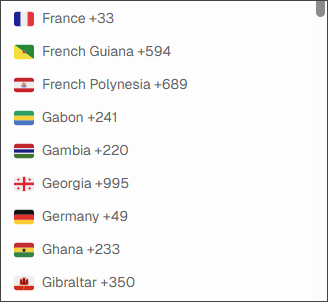 When you click , the updates display. In this example, the revised country code is Australia, +61. Note that the phone number format is revised to meet the identified country's requirements. |
Number for Texts | This phone number can be used for system alerts, document alerts and/or invoice alerts. |
Time Zone | This identifies the time zone for which output, such as reports, is used and displayed where appropriate. Access a list of time zone options through the dropdown. |
Date Format | This determines how the date is formatted throughout Sage Paperless Construction. Use the field to change the format. |
Change Password
There may be occasions when a login password needs to be changed, such as after first logging in to Sage Paperless Construction (if you were assigned a temporary password) or periodically for security reasons.
Click the button at the bottom of the page.
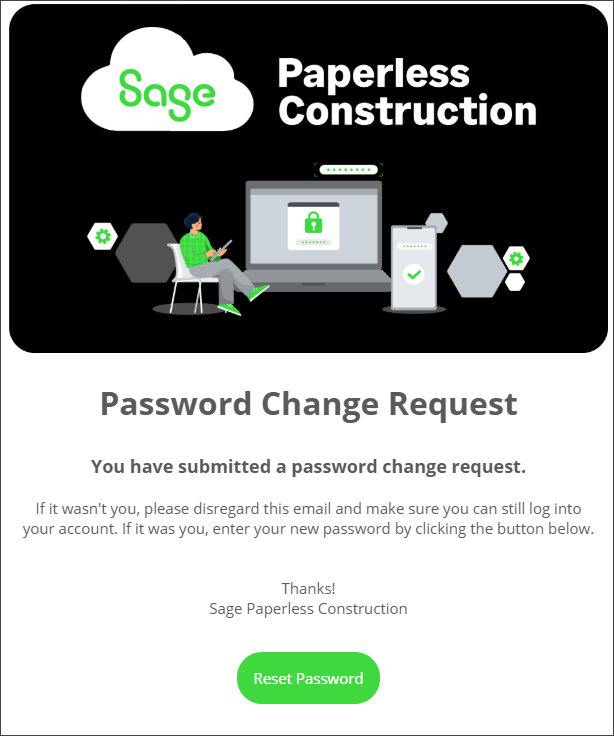
A Password Change Request email is sent to your inbox.
Click .
Type your new password in the text fields as indicated.
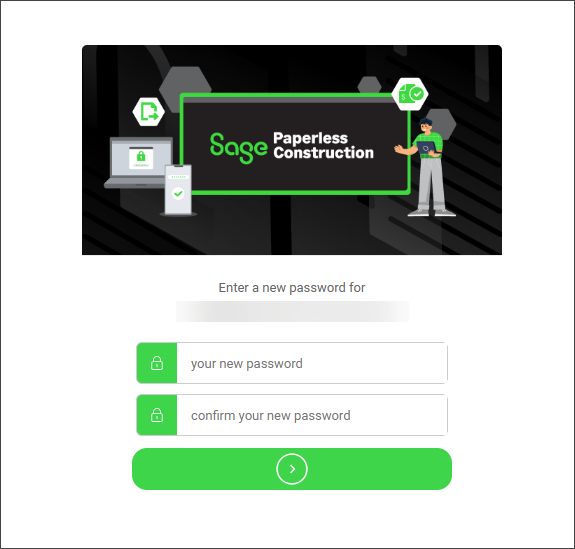
Click .
The following dialog displays, then you are redirected to the login page.
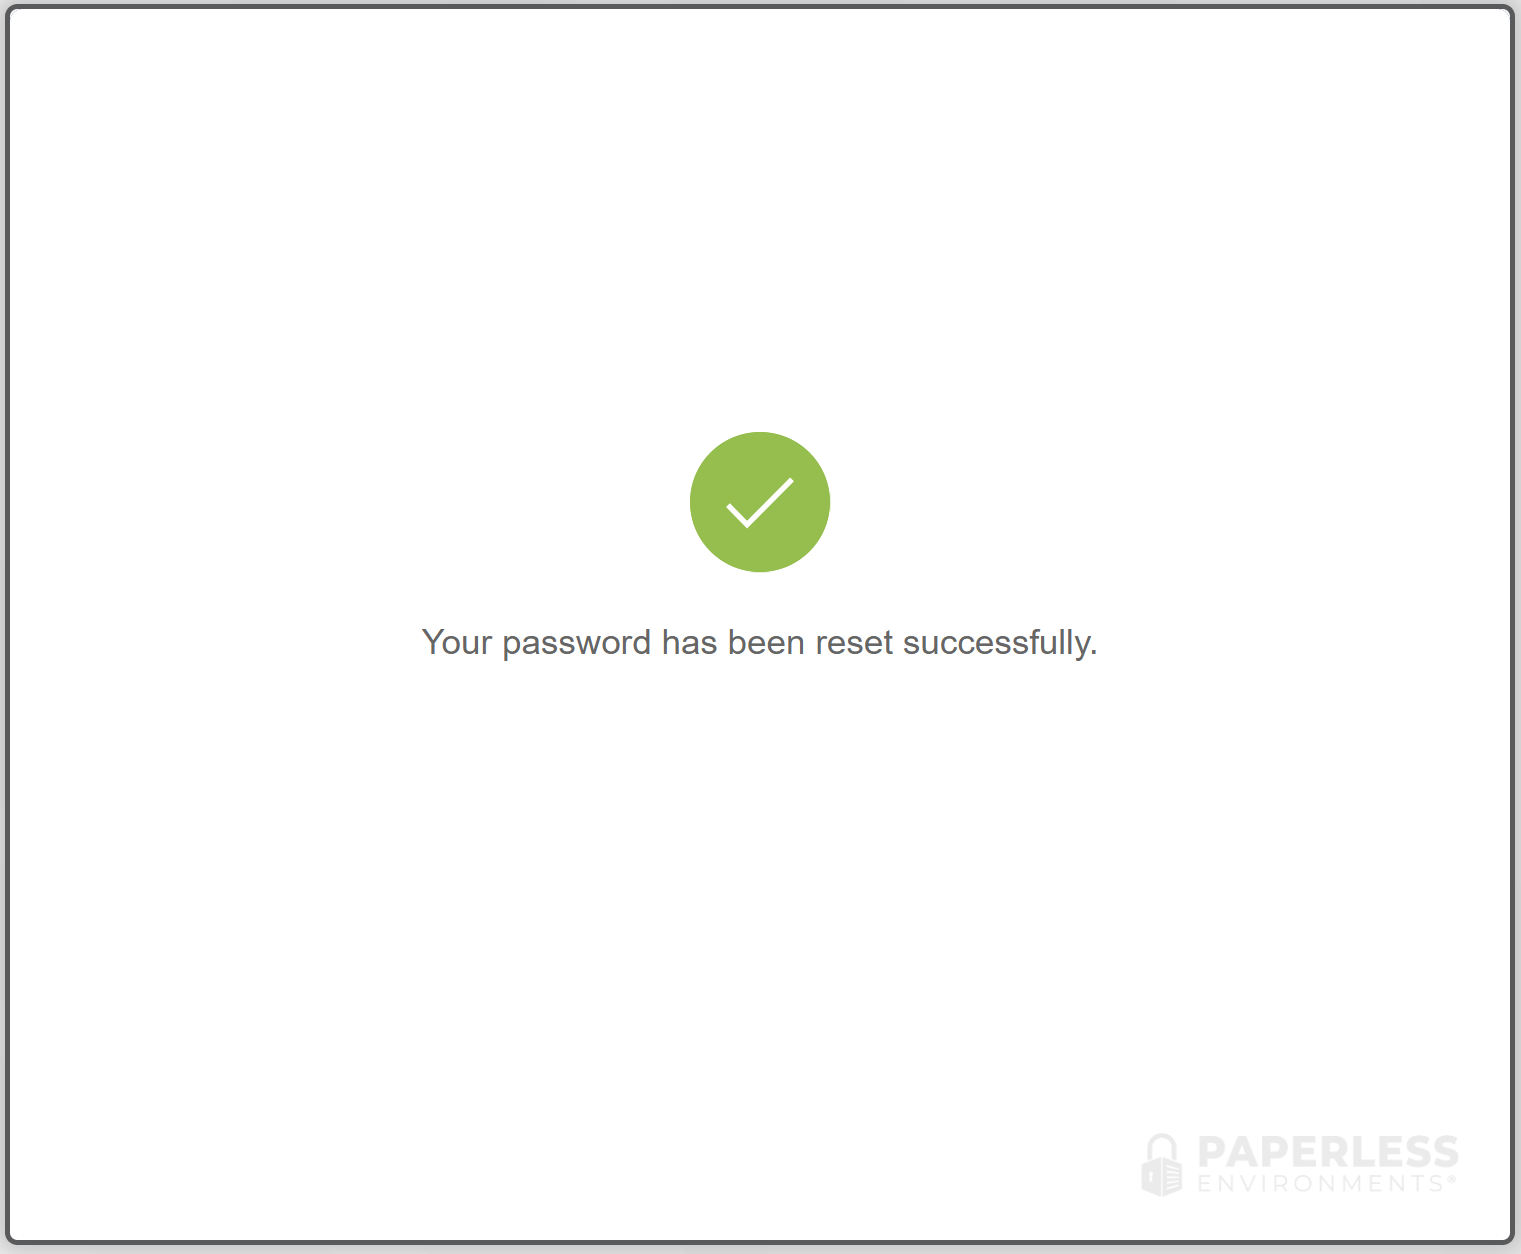
On the Sage Paperless Construction login page, enter your email in the EMAIL field.
Enter your new password in the PASSWORD field.
Click .
Upon successful login, the My Paperless Dashboard displays.
Reset MFA
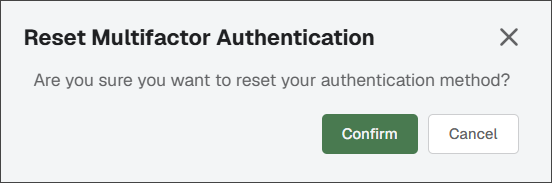
If you need to reset your multifactor authentication (MFA) method, click the button at the bottom of the page.
In the Reset Multifactor Authentication dialog, you can confirm the reset or cancel.
 |
For more information, see Multifactor Authentication (MFA).
The Alerts page allows you to set up personal alert rules for email, text or system updates on the Notifications icon.
Click .
Click .
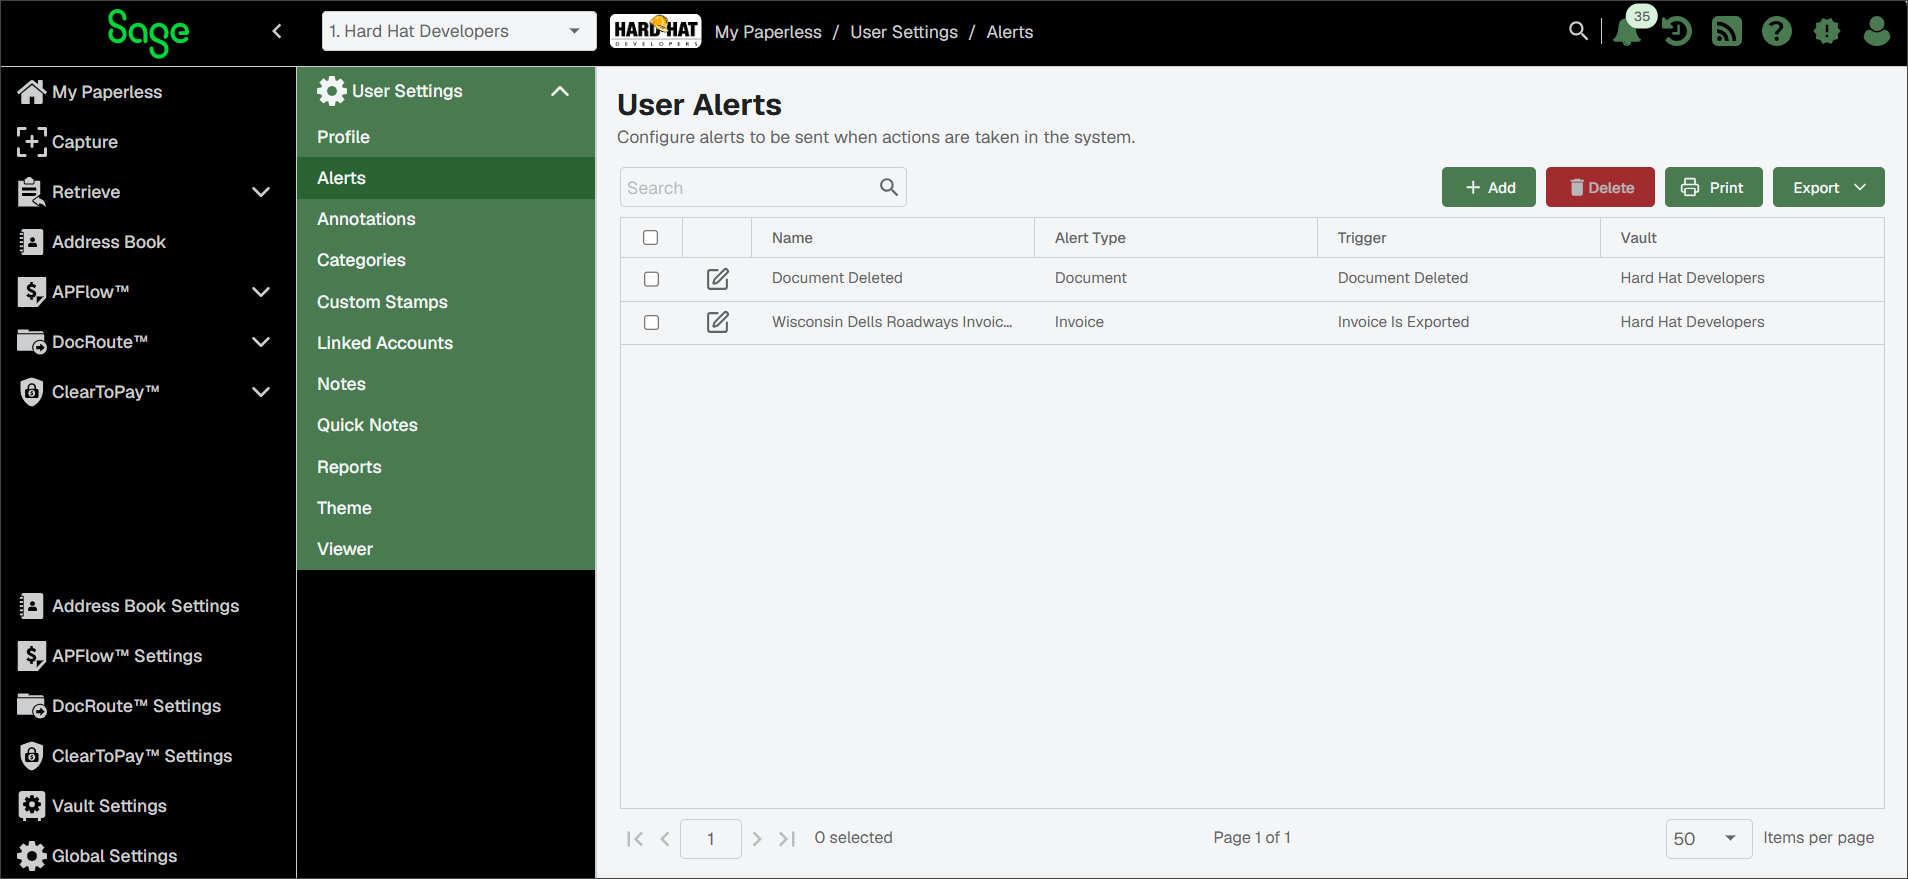
In the Alert Name field, enter the name of the new alert.
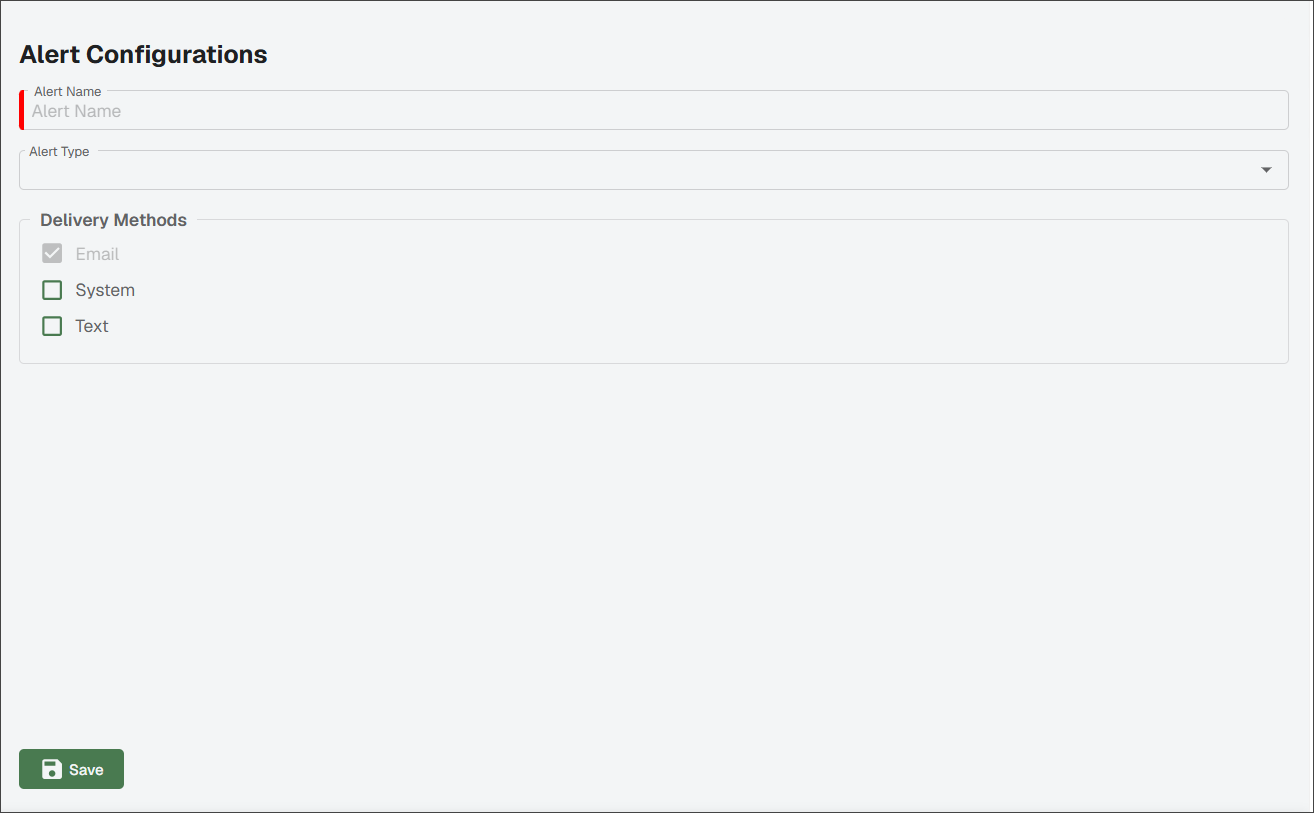
In the Alert Type field, use the dropdown to select the type of alert. The you select influences the Alert Trigger dropdown choices.
Document
Invoice
The Any Document or Any Invoice radio button is selected by default. Click the radio button if appropriate.
If you selected one of the specific radio buttons, you are prompted to enter the invoice or document's ID number. This field is required if Specific Invoice was selected.
Use the dropdown to select the appropriate .
Note
One alert trigger is allowed per alert rule. If you want to have another alert trigger, such as being notified when a user adds a note, you must add another alert.
In the Delivery Methods text box, select how you want to be notified:
(this is the default)
Note
System alerts display on the Notifications icon.
Note
Alert email addresses and text numbers are set up in User Settings. See, Update My Profile about where to enter this information in.
Click .
Remove an Alert
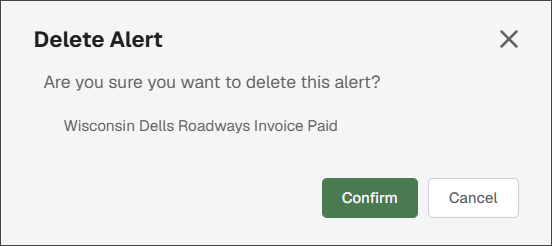
To delete an alert rule, select the rule(s) in the alert grid and click . Then, click .
 |
The Annotations page allows each user to set their own defaults for the annotation tools.
Click .
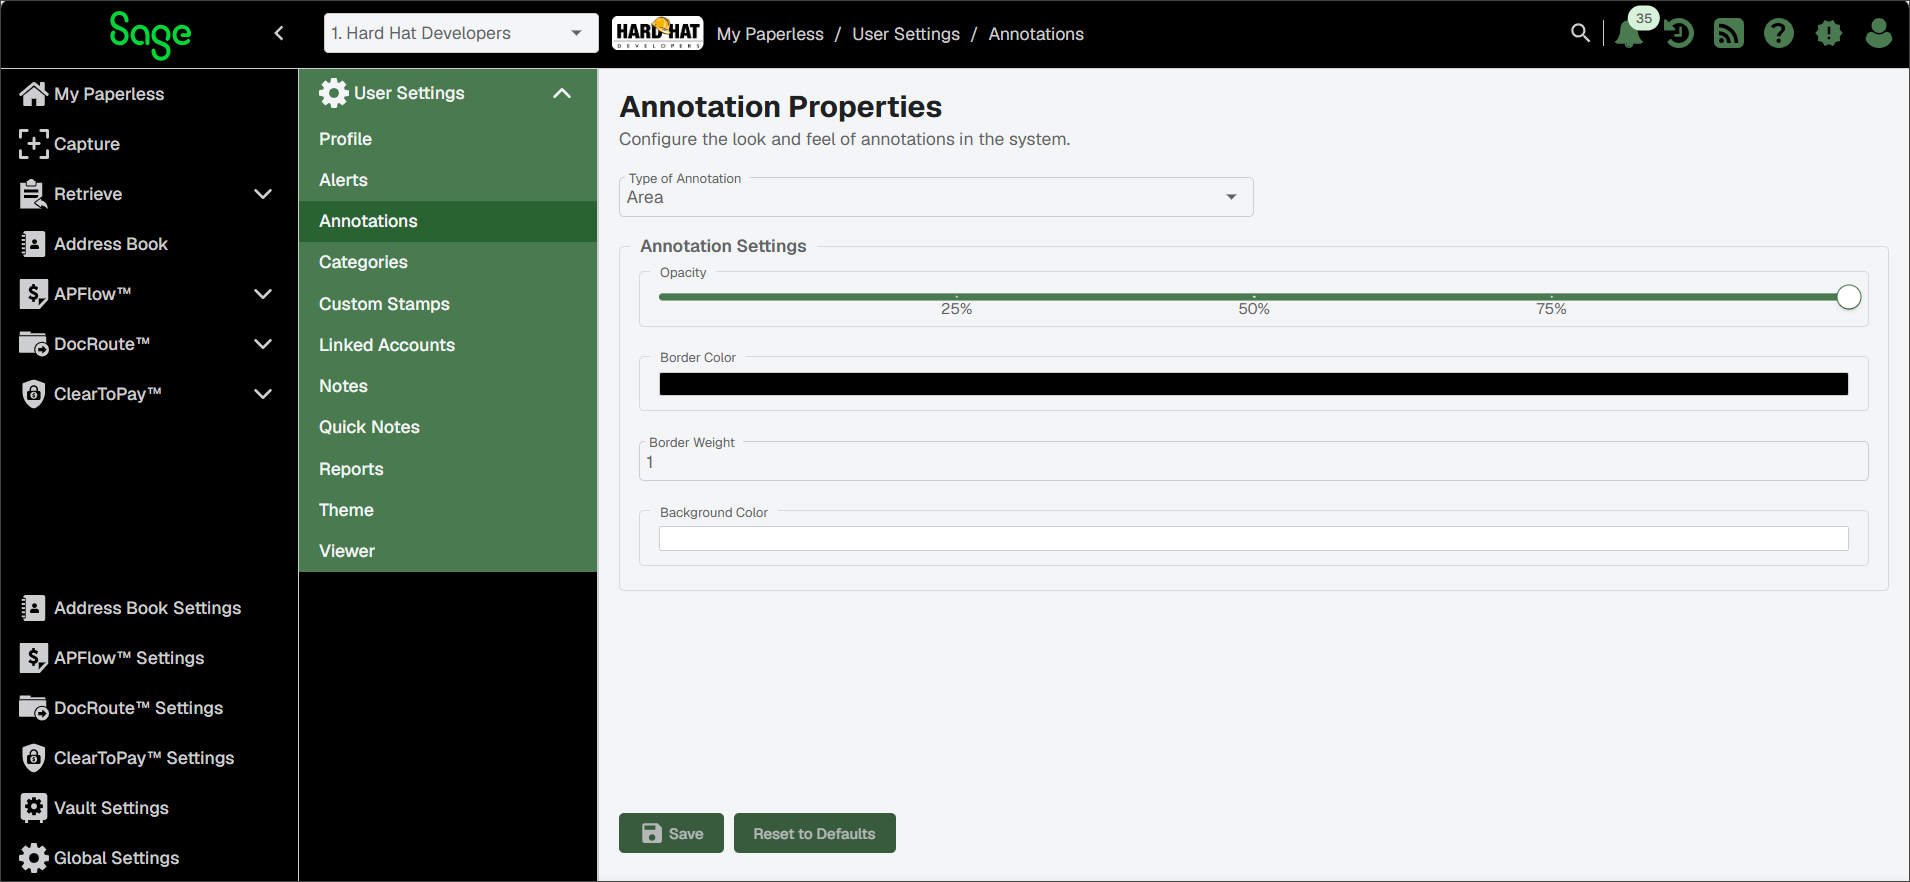
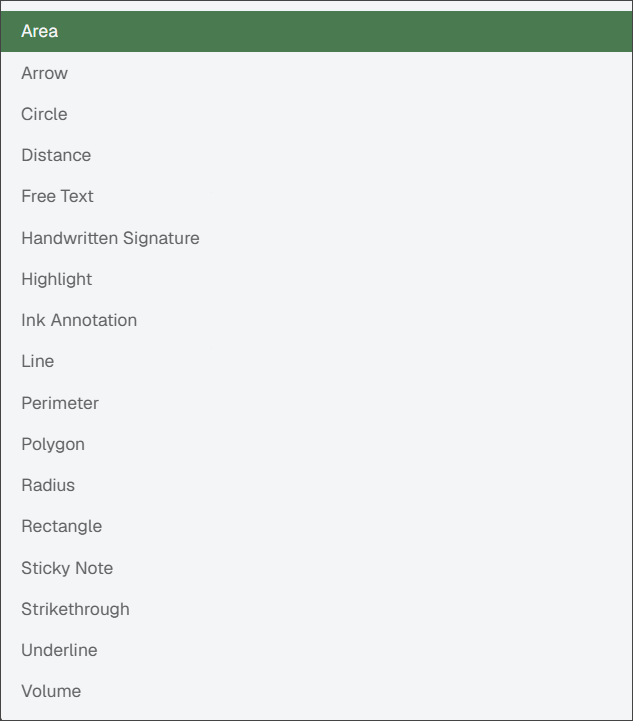
In the Type of Annotation field, use the dropdown to display the list of annotations that you can customize.
Customize the following values as needed using the options below. Once you save the setting, that is the default option that shows when you are annotating documents in Sage Paperless Construction. See Annotate Documents for more information.
Note
You can click as necessary.
Choose the opacity, border color and weight and background color for Area, Arrow, Circle and Distance annotations.
Choose the opacity, border color and weight, and background color as well as text color, size, font and style for Free Text annotations.
Choose the opacity, border color and weight, and background color for Perimeter, Polygon, Radius, Rectangle and Volume annotations.
Choose the opacity, border color and border weight for Ink Annotation and Line annotations.
Choose the opacity and border weight for the Handwritten Signature annotation.
Choose the opacity and border color for the Highlight annotation.
Choose the opacity for the Sticky Note annotation.
Choose the opacity and background color for the Strikethrough and Underline annotations.
Sage Paperless Construction administrators can define document categories to group document types together. These categories are used by the Search function to organize document types. Individual users can build their own personal document categories in the Categories tab (in User Settings). Once built, these personal user categories display at the top of the public lists.
Click .
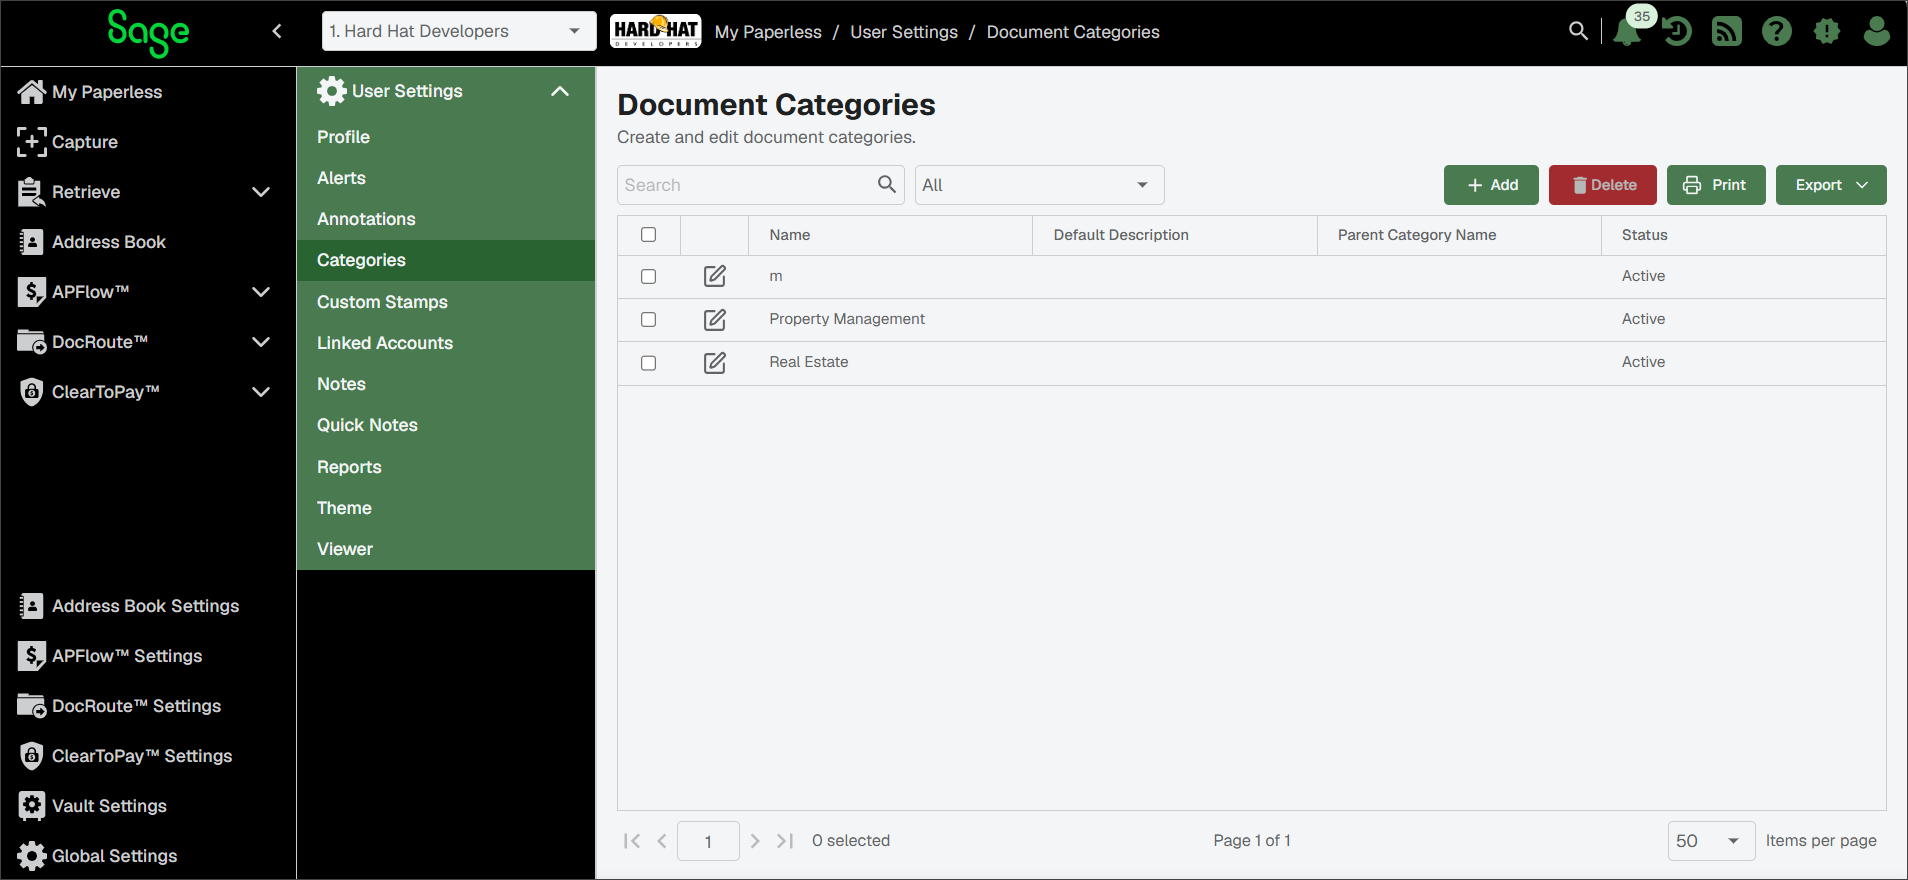
Click .
The Document Category Properties grid displays with the General tab active:
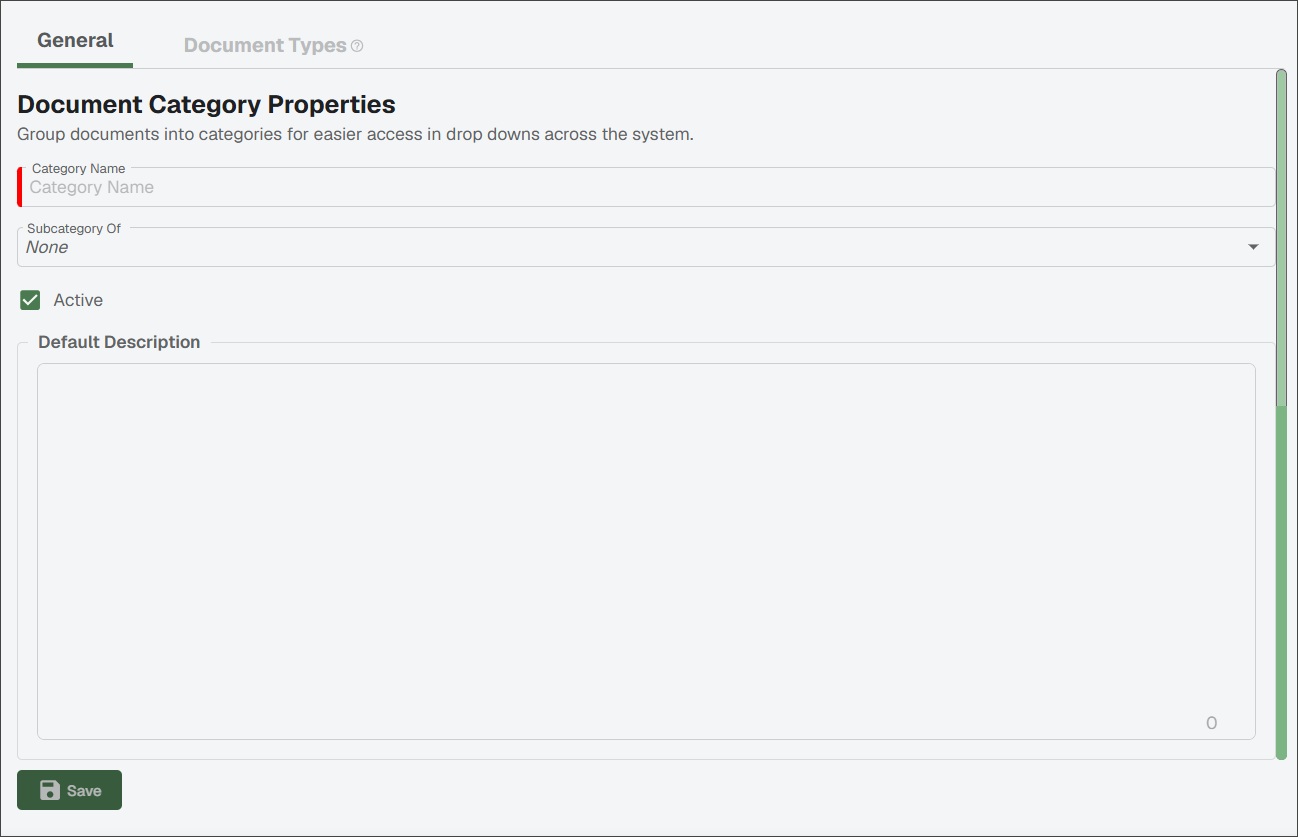
In the Category Name field, type a unique name for the new document category (for example Project Management).
In the Subcategory Of field, use the dropdown to identify which new user-defined document category those assigned documents are located. None is the default.
Click .
Click the tab.
The following grid displays:
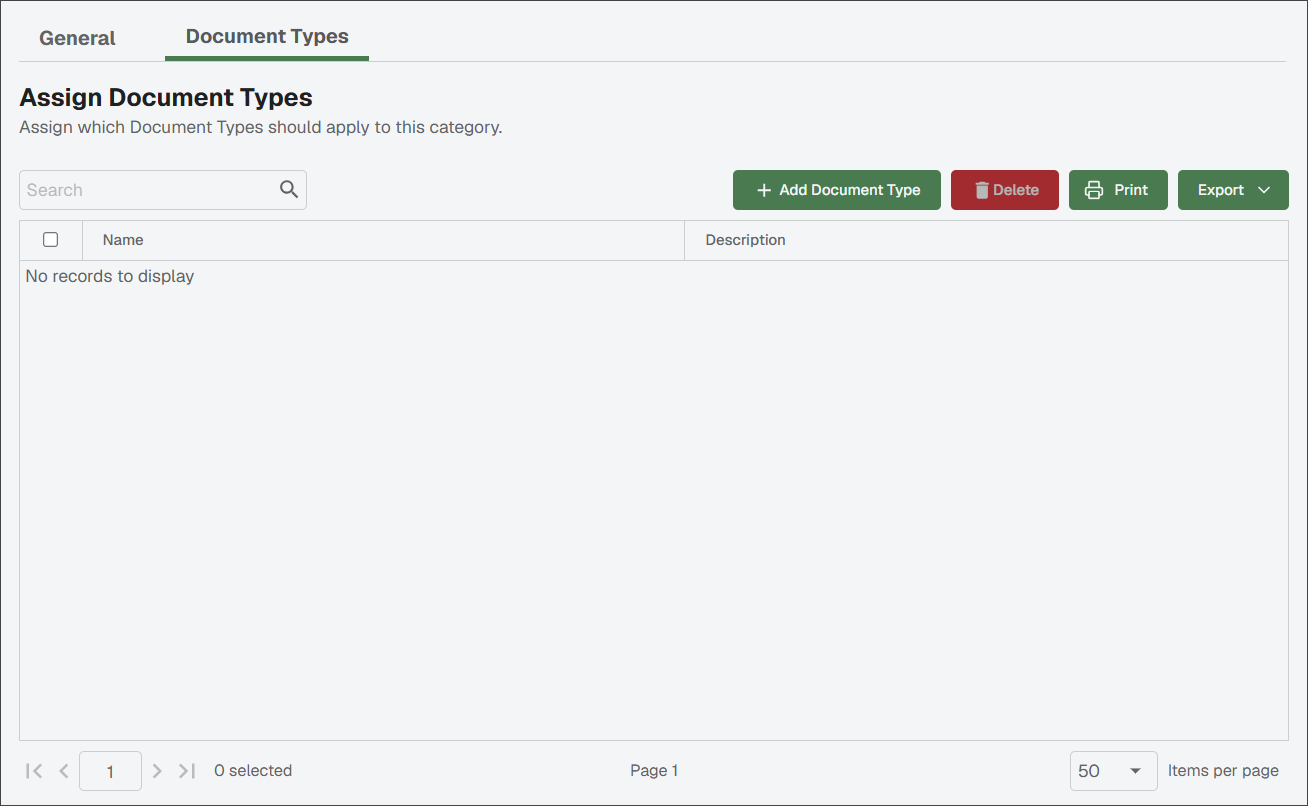
Click .
Check the document types you want to include in the user-defined document category.
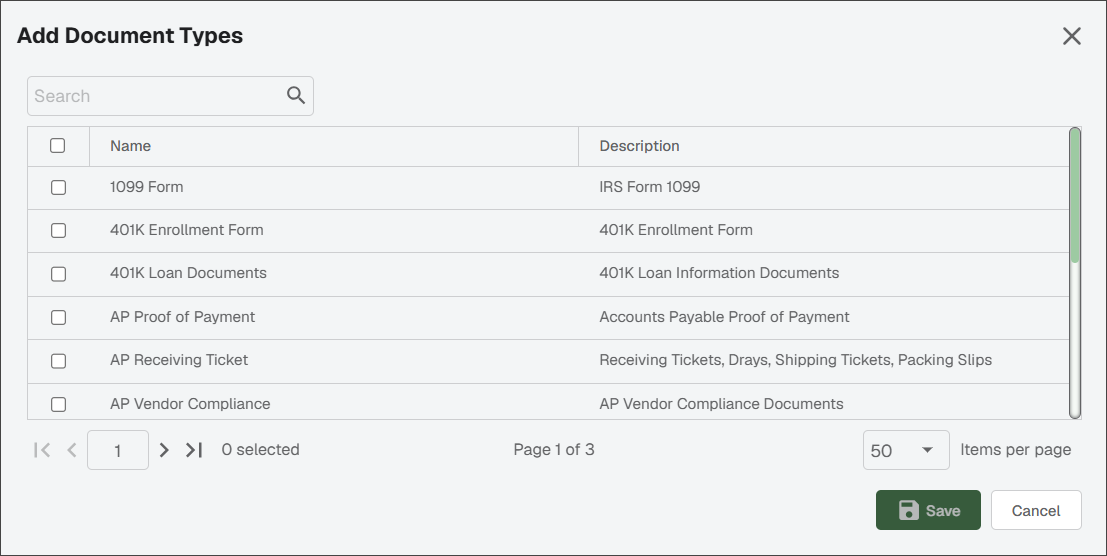
Click .
The Custom Stamps page is where you can create your own custom stamps and where system administrators can create system-wide "public" stamps. Custom stamps can be created using an existing image files or by entering text to use as a stamp.
Click .
On the Custom Stamps page, click .
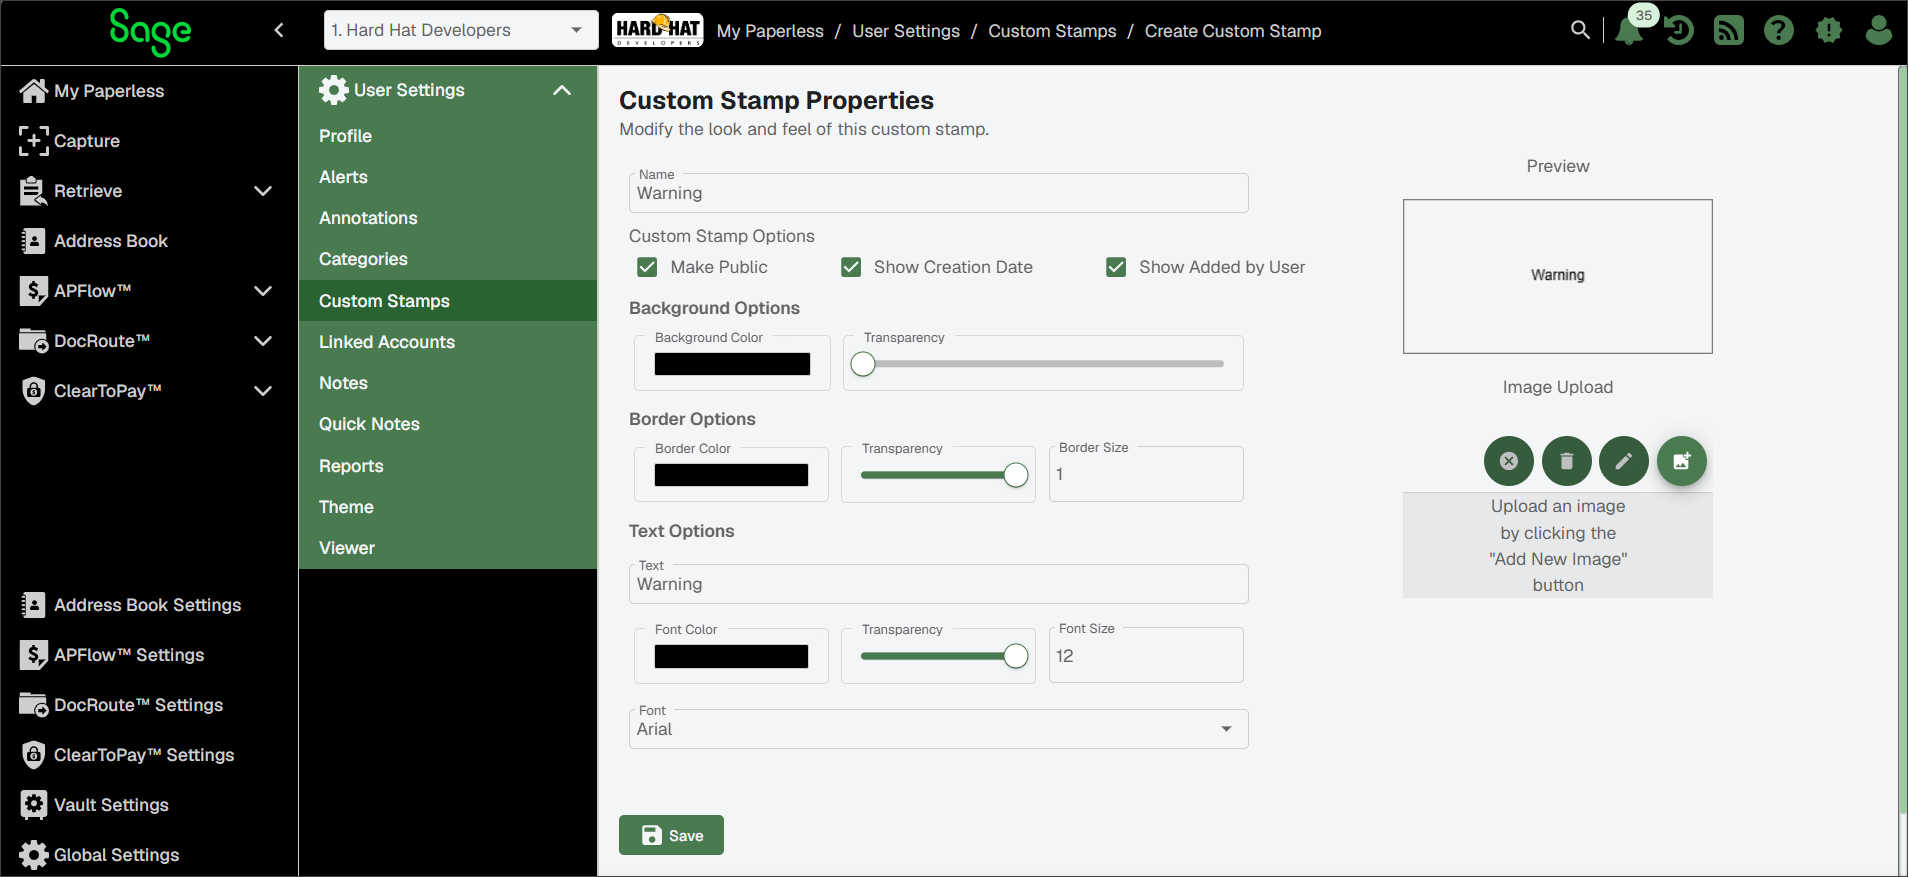
The following Custom Stamp Properties page displays:
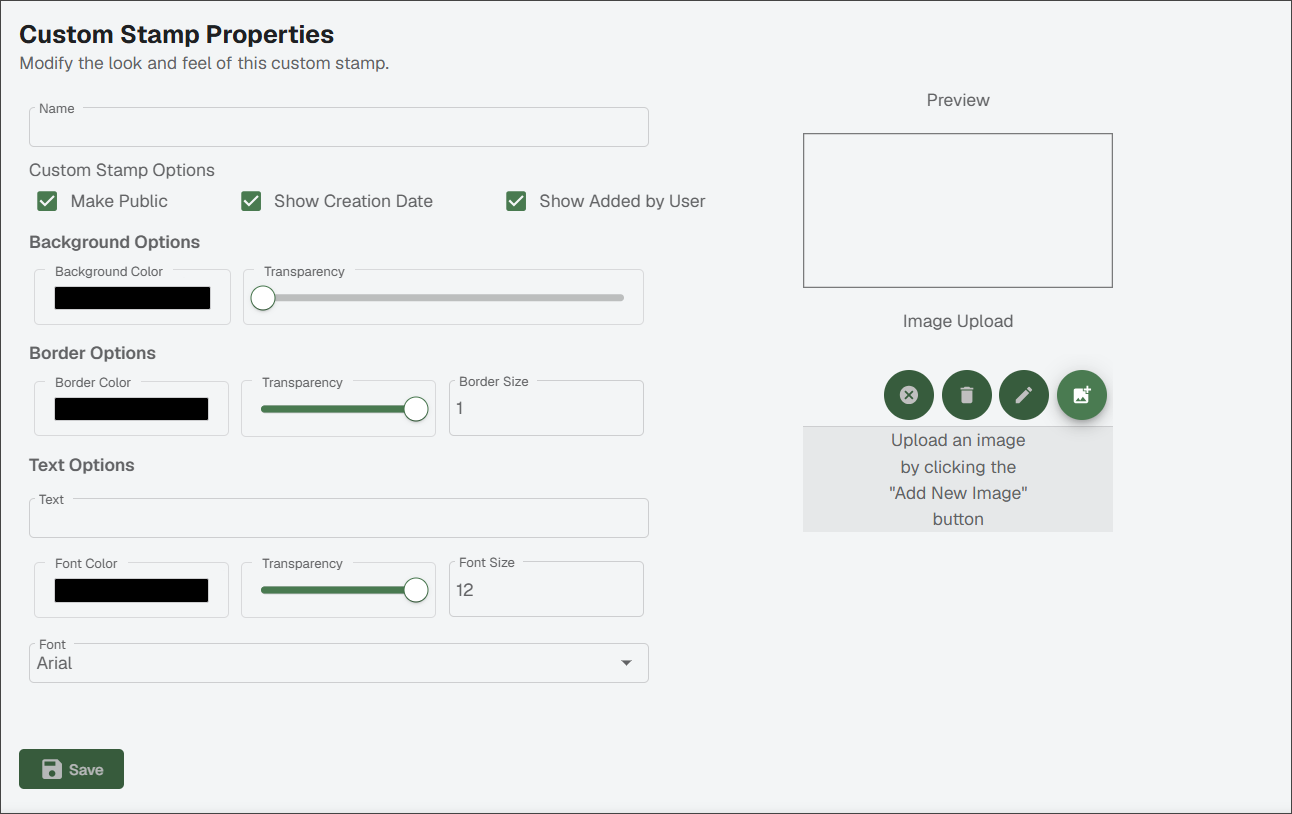
In the Name field, type the name of the custom stamp.
You can choose from any (or all) of the following Custom Stamp Options:
Make Public: Check this box to make the stamp available to all users.
Note
Non-Administrators do not have the option of making the stamp available to all users. Any stamp created by a non-Administrator can only viewed by the individual who created it.
Show Creation Date: Check this box to display the creation date above or below the stamp.
Show Added by User: Check this box to display the name of the user who created the stamp above or below the stamp.
For Background Options, accept the defaults or modify the Background Color field, and adjust the Transparency level of the stamp background if necessary.
For Border Options, accept the defaults or modify the Border Color fields, and adjust the Transparency level of the border surrounding the stamp as appropriate.
For Text Options:
In the Text field, enter any text that you want to display in addition to the image.
Note
Custom stamp text displays over the custom stamp image.
Adjust the Transparency level if necessary.
Use the Font Size dropdown to select the font size.
Use the Font dropdown to select the font style.
(Optional) If you want to include an image in the stamp, click
 in the Image Upload section to browse and select the image file to import.
You can click the Edit Image
 icon to modify the image.
To delete the image, click the Remove Image
 icon.
icon.
Click .
When you have created your custom image stamp, the page resembles the following:
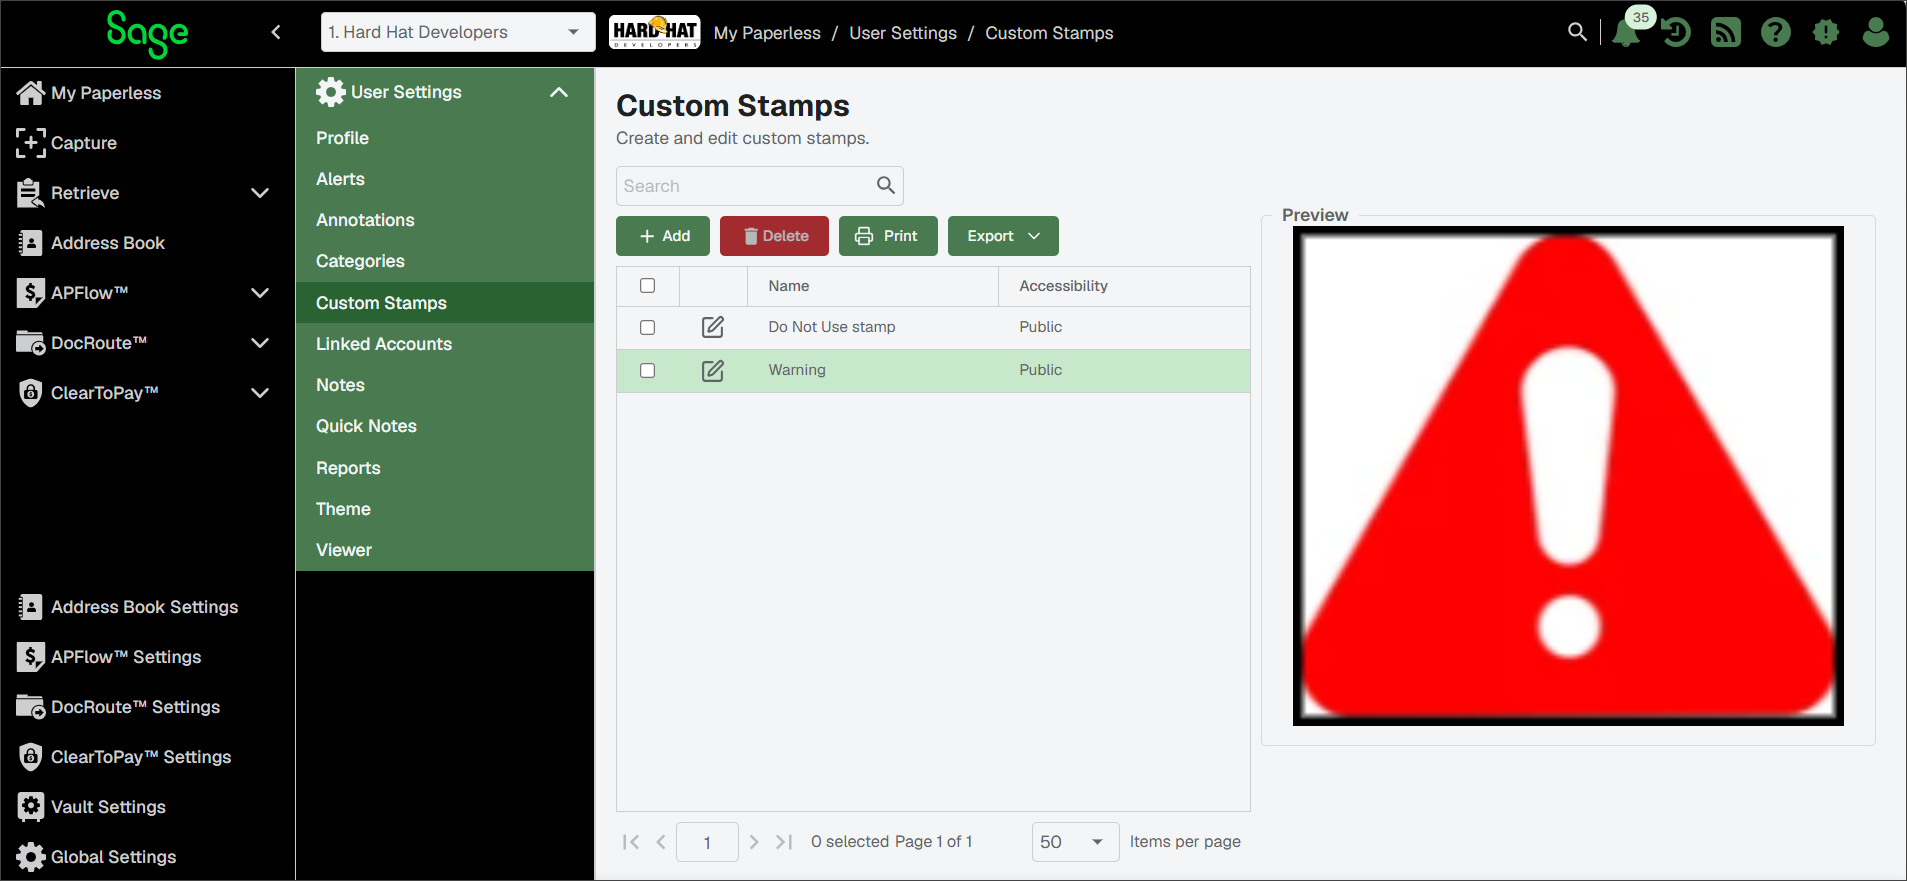
When you have created a custom text stamp, the page resembles the following:
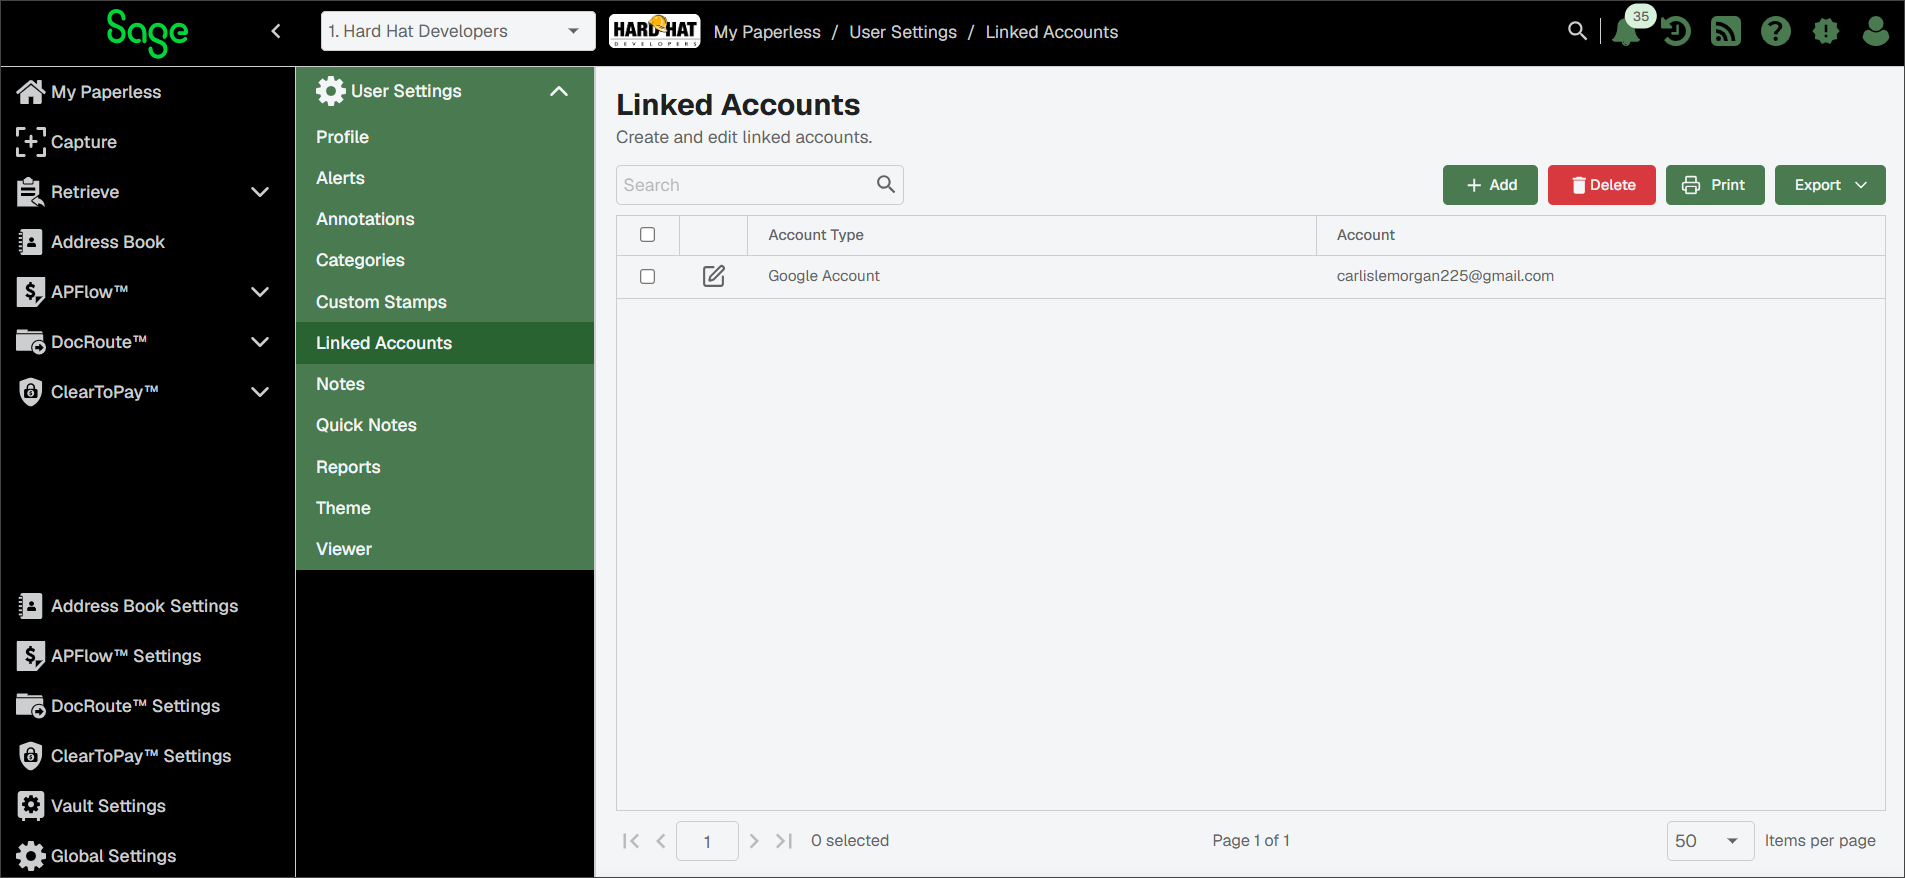
As part of the Importer Jobs process, you can add existing email accounts or set up generic accounts payable email accounts or specific vendor email accounts. For more information, see Importer Jobs.
Click .
Click .
Choose or from the Account Type dropdown.

If system or vault administrators should have permission to configure Email Importer jobs for this email account, select the check box.
Office 365 Account
Google Account
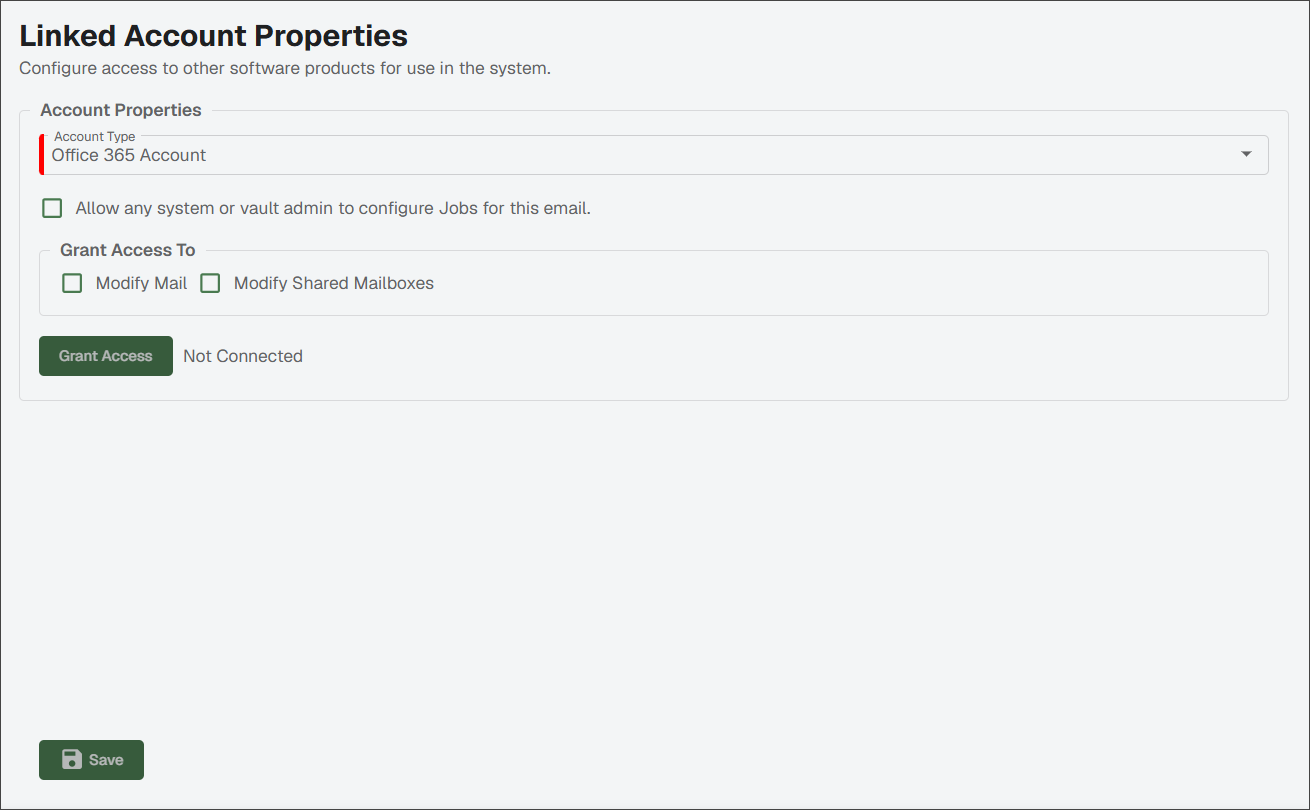
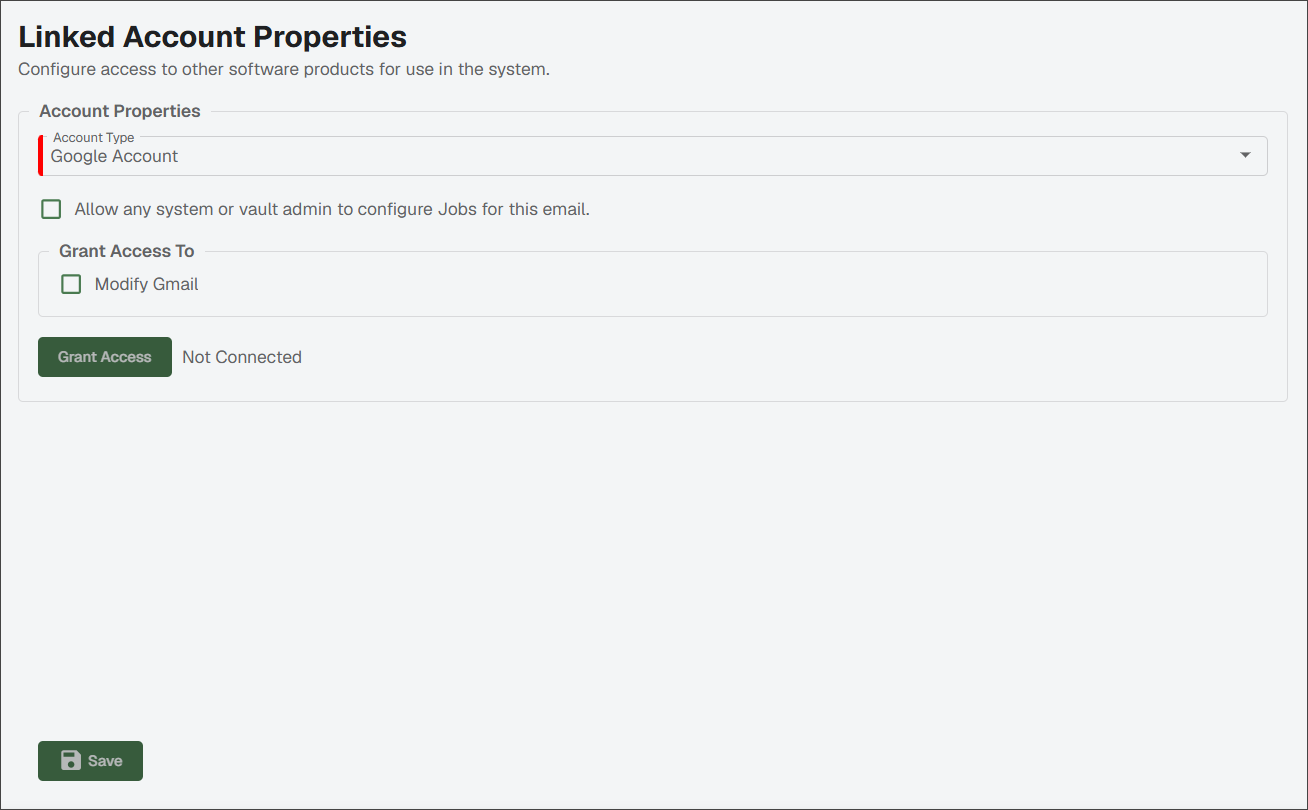
Select the check box so that Sage Paperless Construction can import emails, email attachments or both.
Select the check box so that Sage Paperless Construction can import emails, email attachments or both.
For shared mailboxes, select . This enables Sage Paperless Construction to import emails and/or email attachments beyond the account listed here.
N/A
Click .
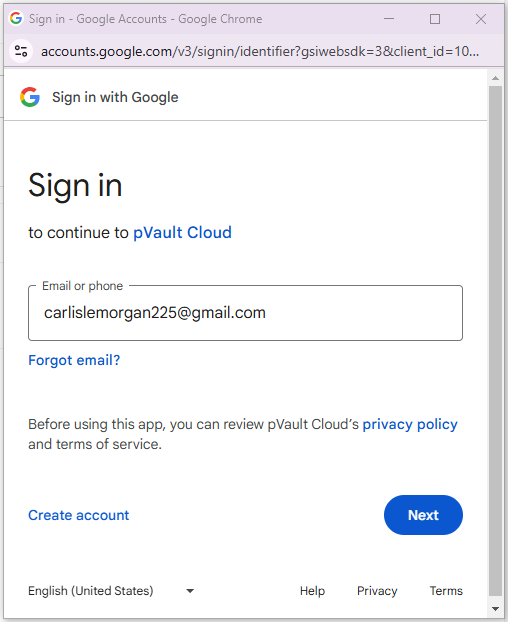
If you are linking a Google Account, a dialog similar to the following displays:
If you are linking an Office 365 Account, a dialog similar to the following displays:
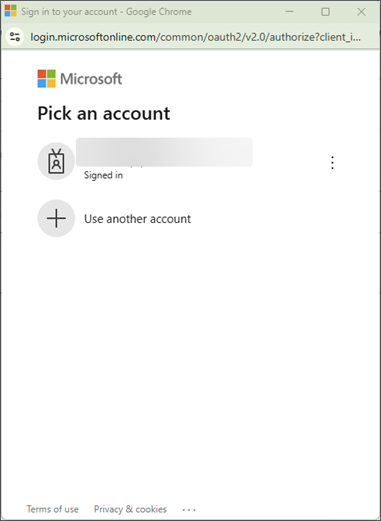
Click and proceed through each dialog prompt. Be sure to read and enter all required information to successfully authenticate the connection between Sage Paperless Construction and your linked account.
Click .
The Notes page allows each user set the font type and size used for notes throughout Sage Paperless Construction. The Preview section updates as you make changes to reflect the font type and size you select.
Click .
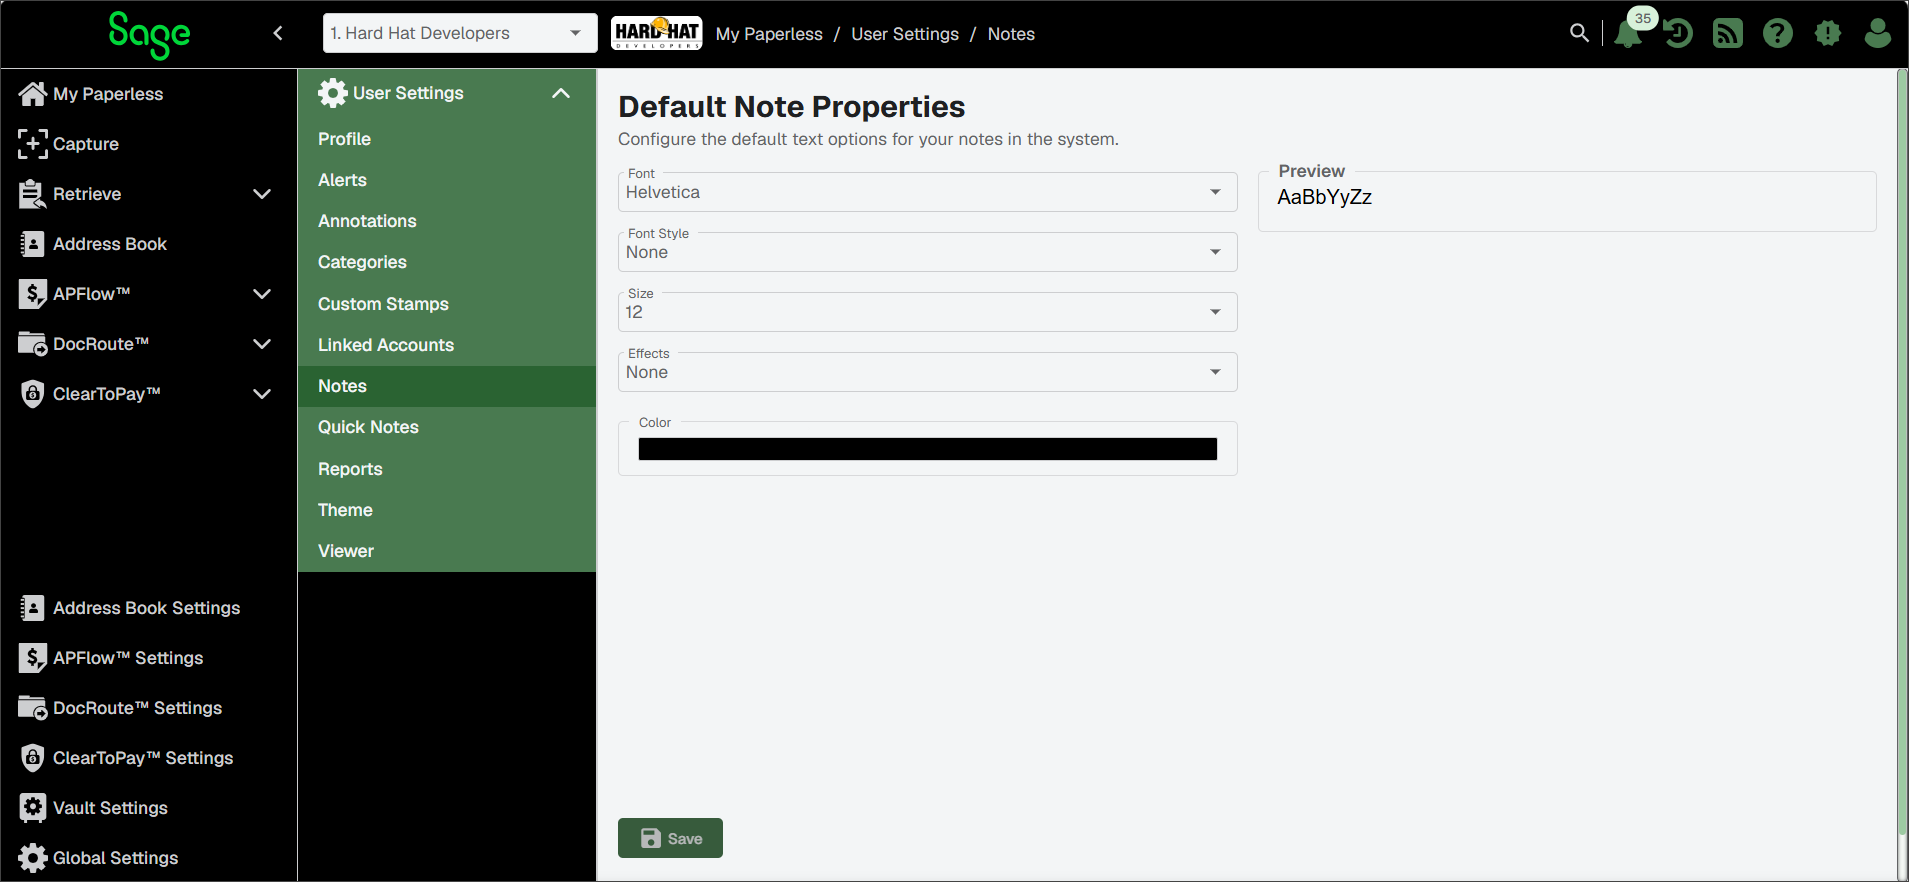
Update the fields below to change notes' appearance:
Font: Use the dropdown to select the font type.
Font Style: Use the dropdown to select bold or oblique.
Size: Use the dropdown to select the size of the text.
Effects: Use the dropdown to select underline or strikeout.
Color: Click the color bar to access the color picker and select a different font color. Then, click .
Click .
Quick notes are useful when lengthy, repetitive notes are needed on a regular basis. Users can save their own "personal" quick notes to use when entering notes throughout Sage Paperless Construction. If the user is also a system administrator, quick notes can be flagged as "public" so that they display for all system users.
Note
For information on adding a quick note to a document, see Document Notes.
Click .
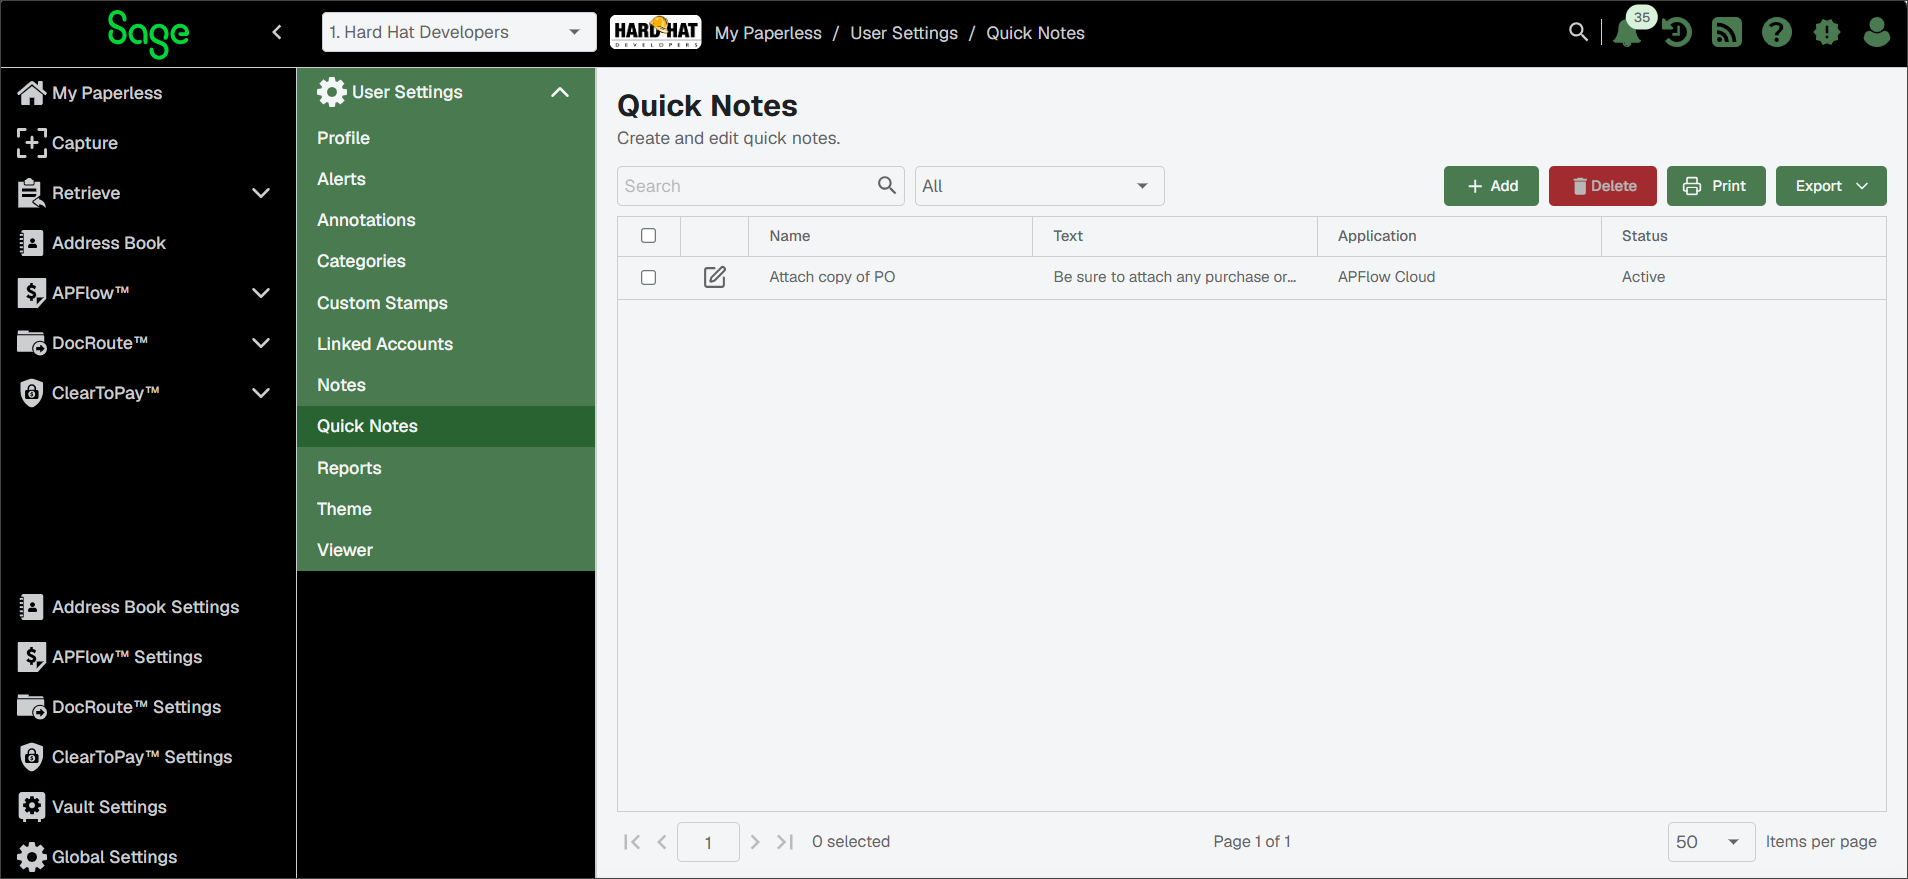
Click and update the fields below to create the Quick Note Properties:
Application: Use the dropdown to choose where this quick note should be available:
Note
Sage Paperless Construction means the quick note is available throughout the entire application
Sage Paperless Construction (default): Notes are available throughout the system
APFlow™ Cloud: Notes are available only in the APFlow module.
ClearToPay™: Notes are available only in the ClearToPay module.
DocRoute™ Cloud: Notes are available only in the DocRoute module.
Name: Enter the name of the quick note. This is a required field.
Note Text: Enter the text that should display in the note. This is a required field.
Active: Select the Active check box to make the quick note available for use in your selected application.
Click .
You can use the Reports page to schedule one or more reports to run automatically and be emailed to you at specific times.
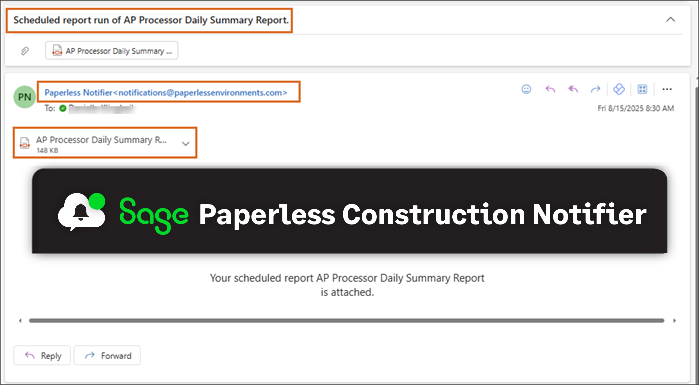
Report emails are delivered to your inbox (using the email address listed in your Profile) and come from Paperless Notifier. The subject line contains the name of the scheduled report and the report itself is attached as a PDF file. If you no longer want to receive a report, see Edit or Inactivate a Report.
The following users are automatically assigned certain digest reports, which are sent out daily at 8 AM by default:
Users with the processor or supervisor role in DocRoute™ receive the DocRoute Daily Summary Report.
Users with the processor or supervisor role in APFlow™ receive the AP Processor Daily Summary Report.
Users with the reviewer or supervisor role in APFlow™ receive the AP Reviewer Daily Summary Report.
 |
Complete the following steps to schedule report emails:
Click .
A page similar to the following displays.
Note
The Scheduled Reports section displays reports that have already been scheduled. If no reports are currently scheduled for you, the list is empty.
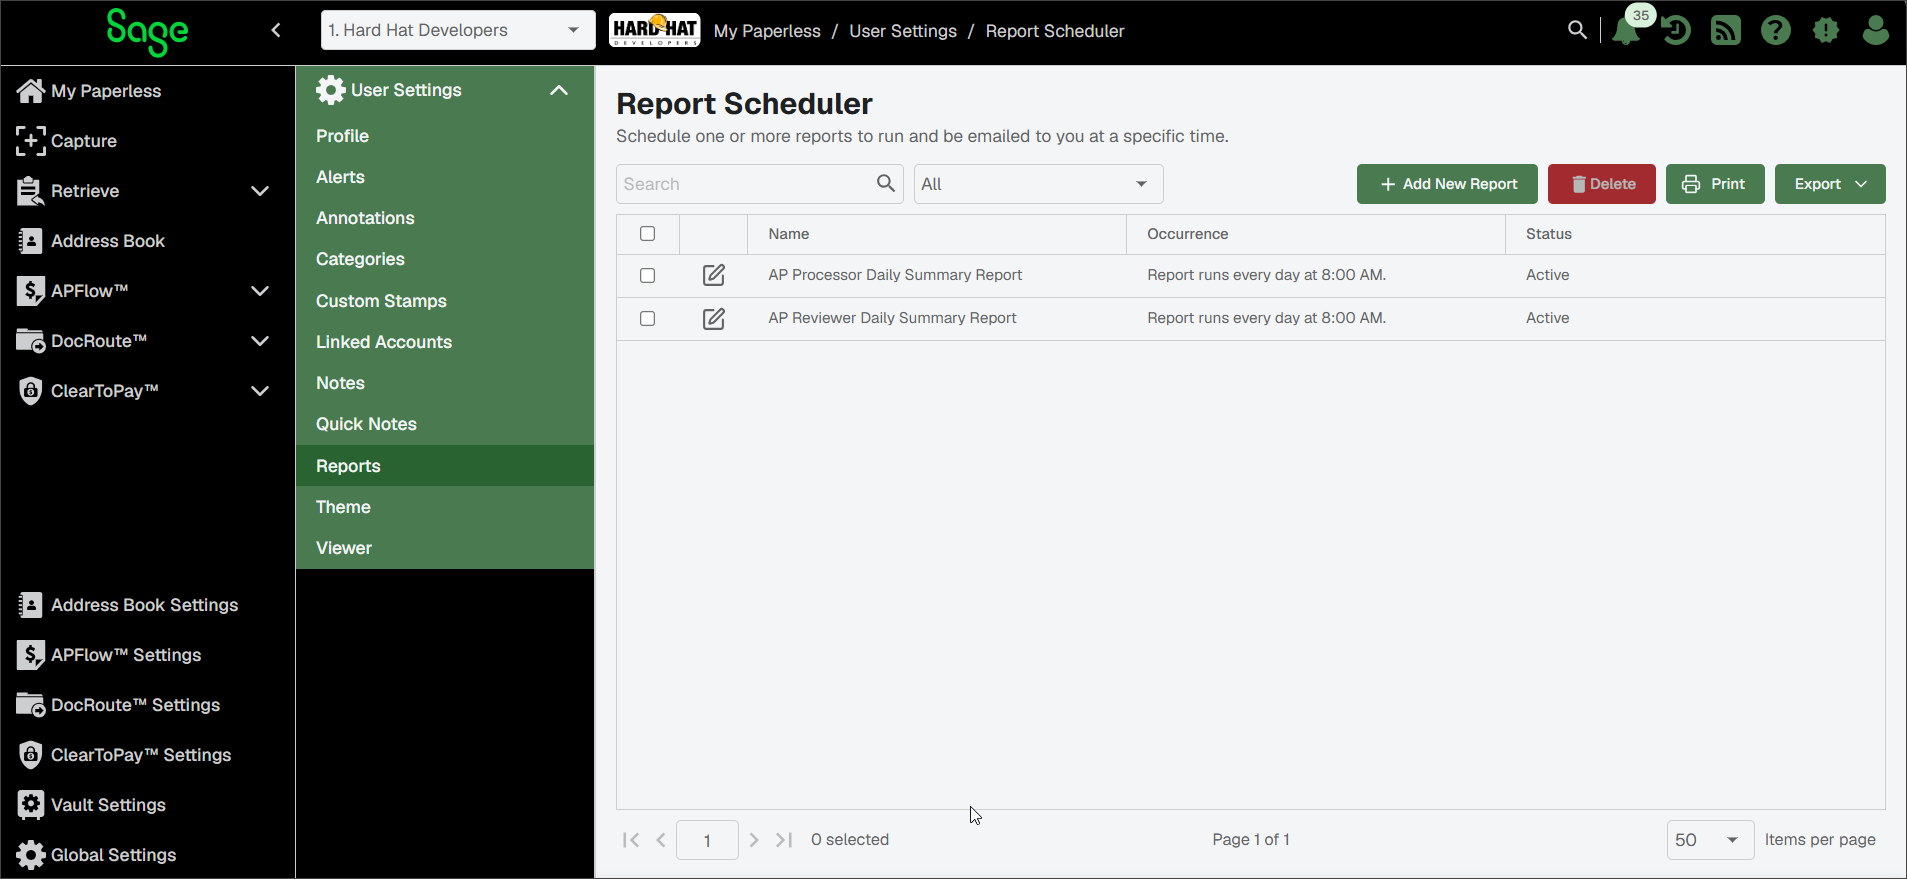
Review the information below and complete as needed:
Option
Description

Use the Search bar to locate scheduled reports by name.
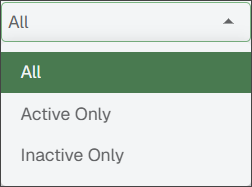
Select the dropdown menu to filter results by status.

Use to schedule new report emails. See Add a New Report for more information.

Select the check box for one or more reports, then click to remove them from the system. To inactivate (rather than delete) a report, see Edit or Inactivate a Report for more information.

Click to print the Report Scheduler grid.

Click to export the grid information to Excel, CSV or PDF.
Add a New Report
Click .
Give your scheduled report a recognizable name (for example, you could include the type of report and its delivery frequency).
Choose which report you want to run from the Report Type dropdown:
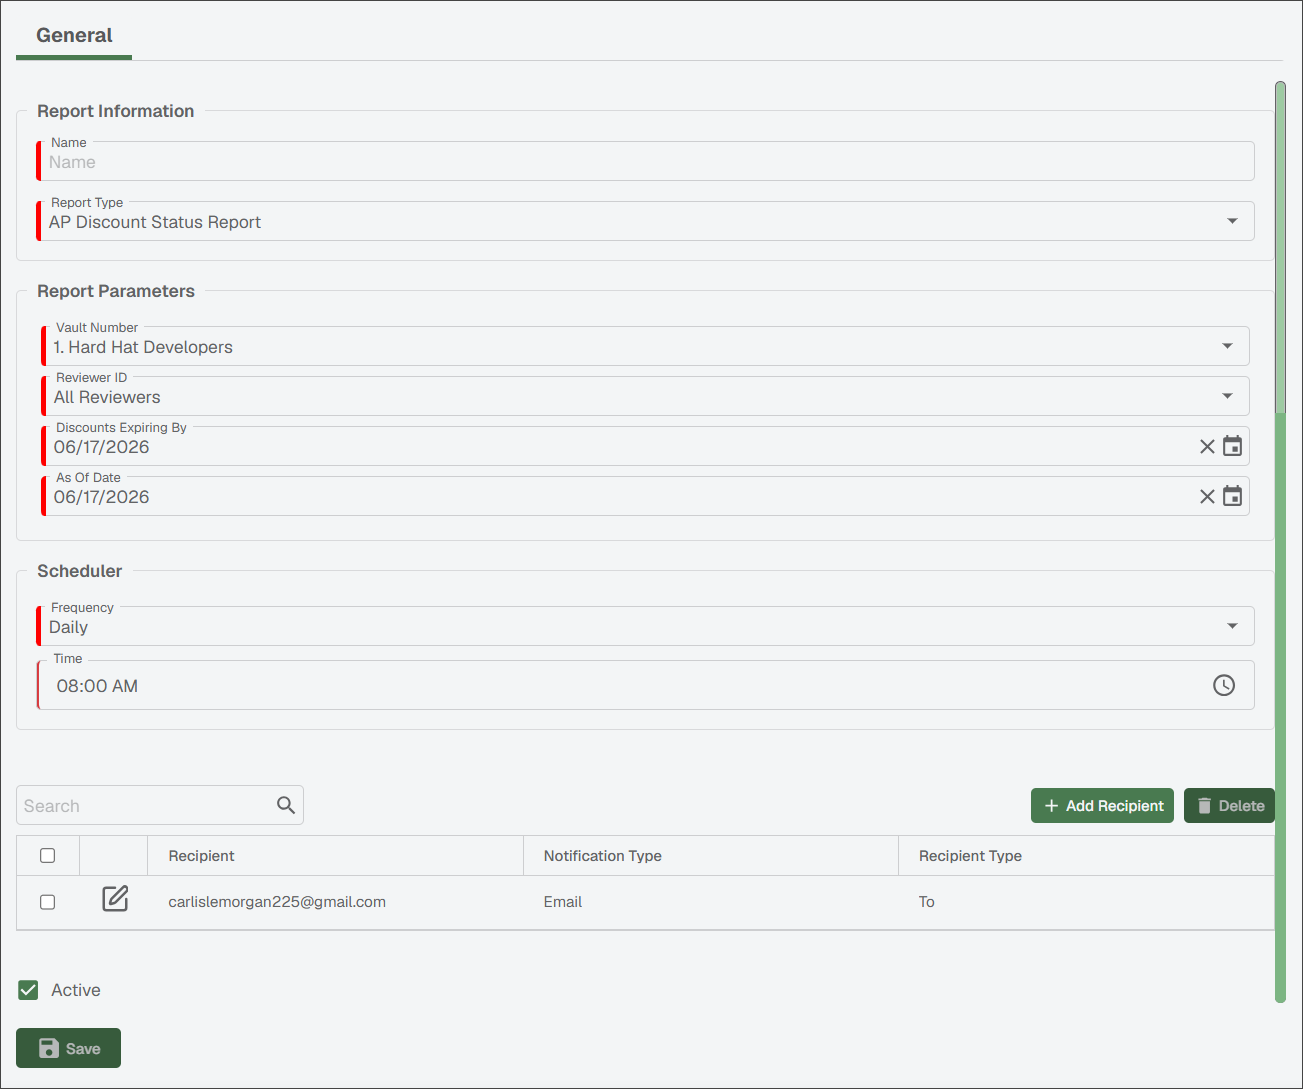
Modify the report parameter details to suit your requirements:
The Report Type you select impacts the fields that display within Report Parameters. For more information about different report types and their respective parameters, see Reports List.
For parameters that include dates, you can use the default dates or click the Calendar
 icon to select a specific date. When scheduling reports to run over an extended period of time, it is recommended that you use the Month Begin, Current Date or Month End buttons so that the criteria updates dynamically each time the scheduled report runs.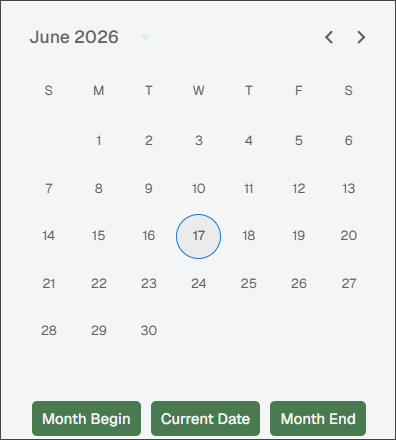
Set the Frequency of the report email. You can choose , , or .
Based on your selection in the previous step, choose the time, date, day of the week and any other required values for when you would like the report to be emailed.
(Optional) Add, edit or delete report recipients.
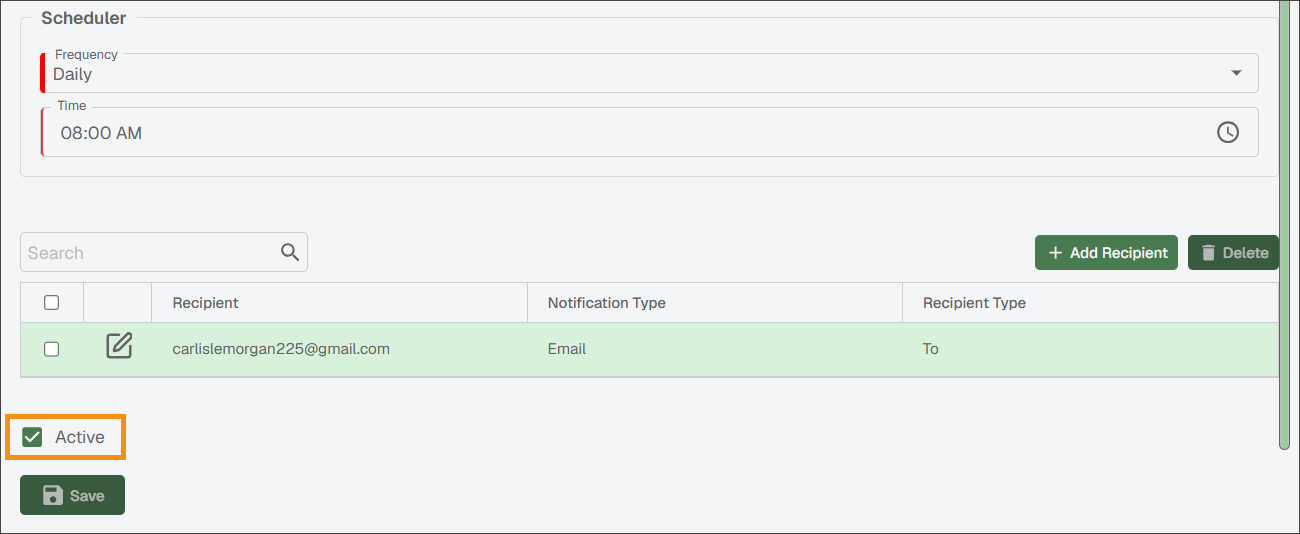
Leave the Active check box selected if this report is ready to be scheduled and sent. Deselecting the Active check box maintains your settings but its status is inactive.
Click .
Edit or Inactivate a Report
Click the Edit
 icon.
icon.The current report scheduling information displays.
Make necessary changes to the scheduled report's naming, report parameters or frequency.
(Optional) Add, edit or delete recipients.
(Optional) If you want to inactivate a scheduled report and stop receiving automated emails, select the check box to change the report's status to Inactive.
Click .
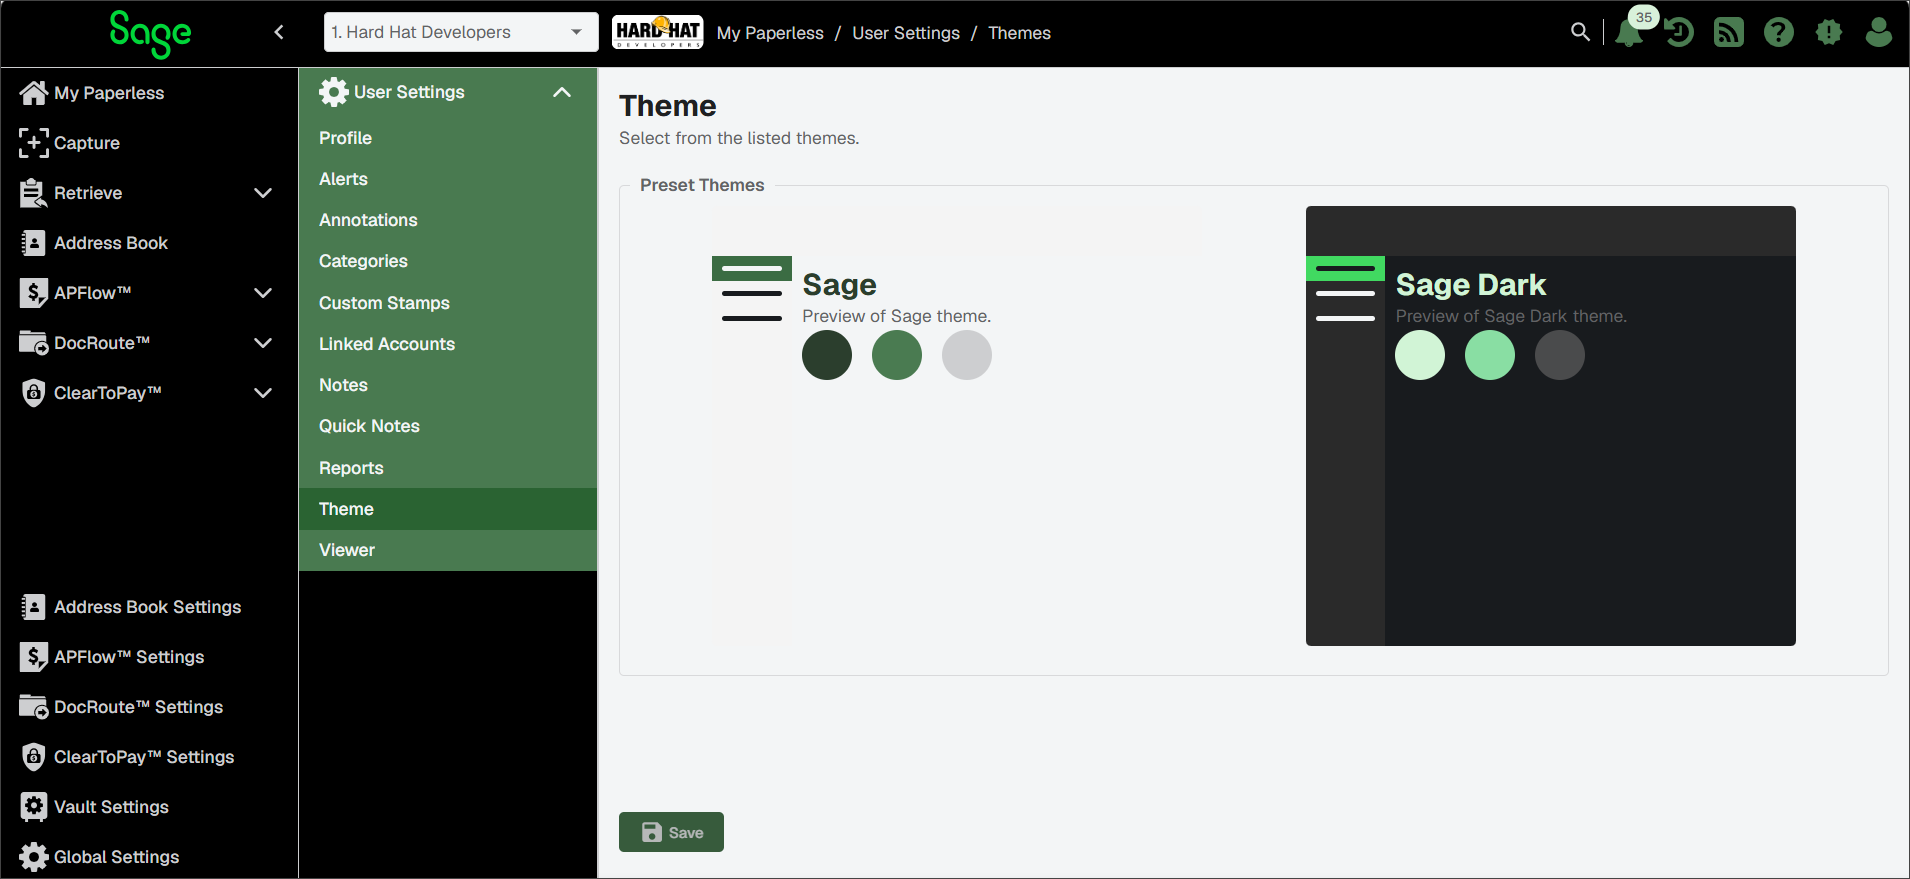
You can choose your own theme for your current vault in Sage Paperless Construction using the Theme page.
Click .
Select light or dark mode from the options that display:
Click .