Indexes
Indexes are the most granular way to identify document information and are the key pieces of information that tie together the documents stored in Sage Paperless Construction.
For instance, Index types can include “Vendor” or “Invoice Number” with corresponding index values of “ABC, Inc.” and “16239” (Invoice Number).
Index values can be manually entered by a user or they can be systematically “backfilled” from a database after other key index values are entered.
Additionally, indexes are how users search for and locate documents in Sage Paperless Construction.
From My Paperless, click .
In the Global Settings navigation bar, click .
From the Indexes dropdown, click .
A page similar to the following displays:
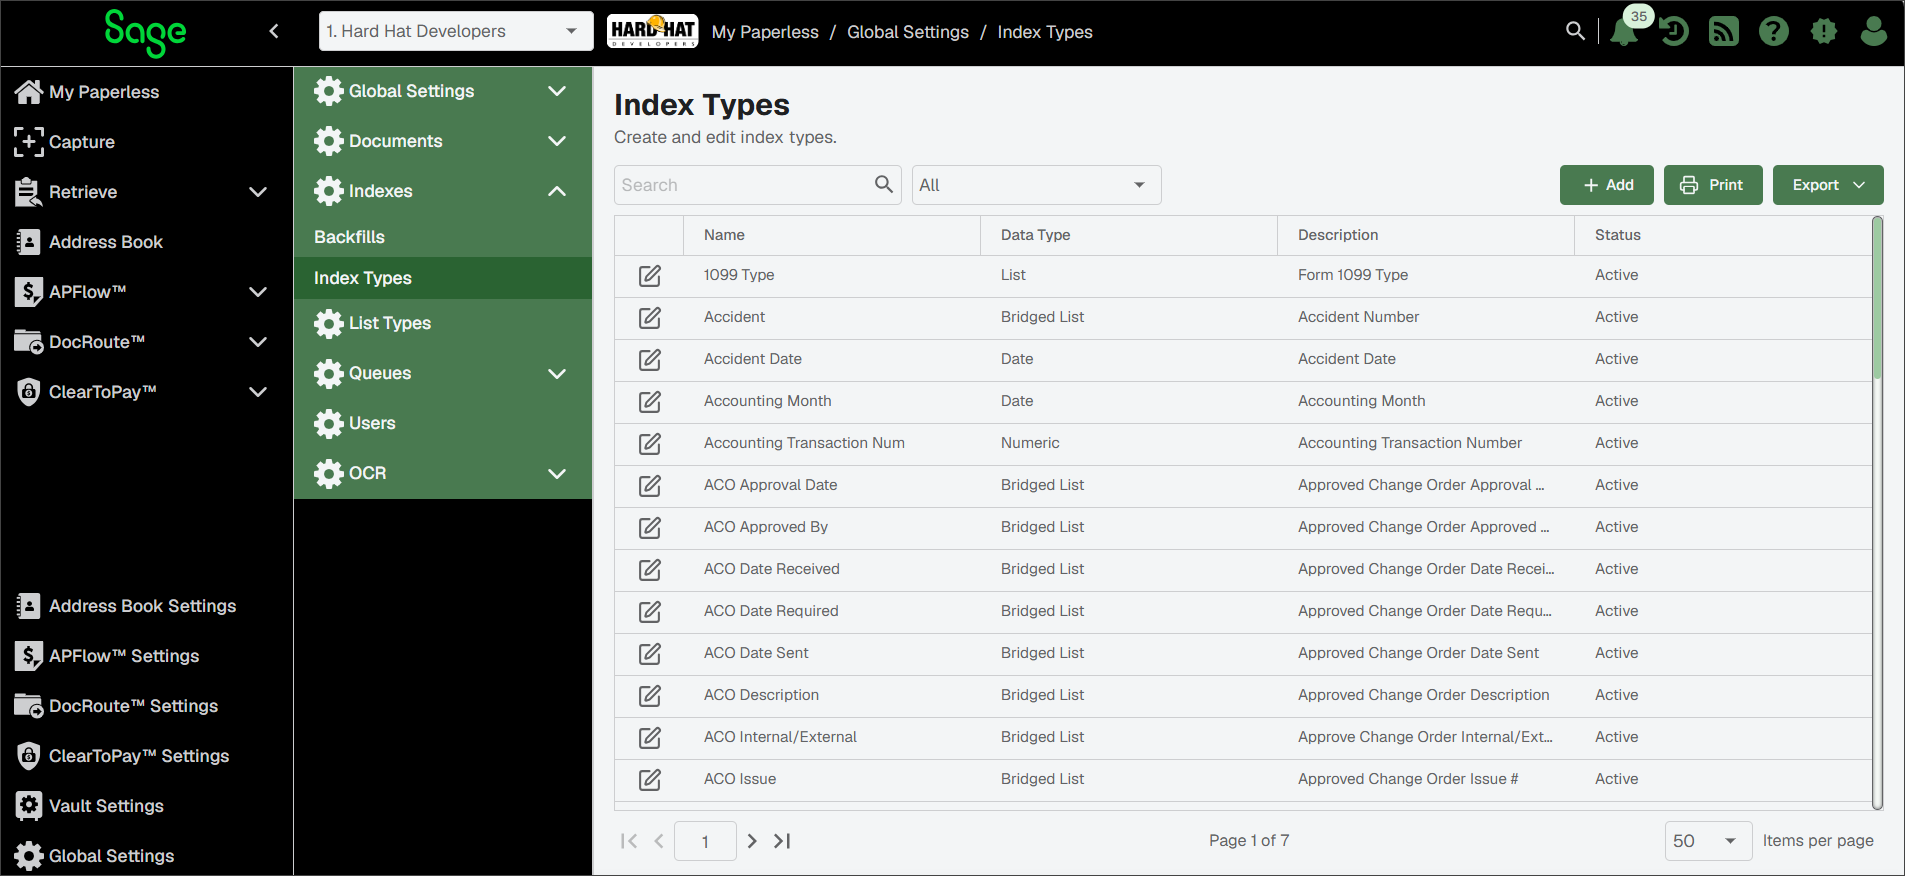
On the Index Types page, click .
The General Properties dialog displays with the General tab active:
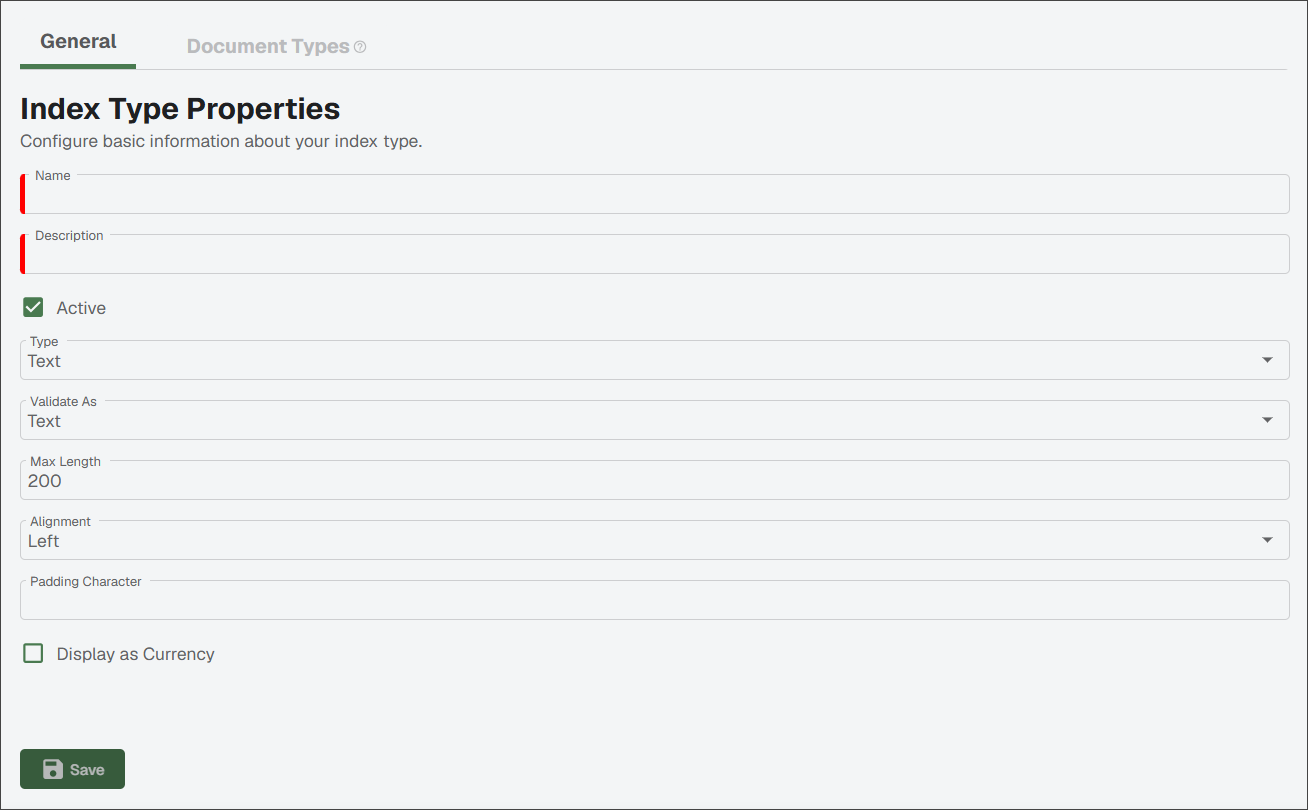
In the Name field, type the new index type. This field is required.
In the Description text box, type a suitable description to associate with the new index type. This field is required.
The Active check box should be checked by default. If the new index type should not be active, leave the check box blank.
Use the Type dropdown to select the type of data to be collected with this index value. Select from the following:
Undefined: If selected, index data is generic and treated as text.
Text: If selected, index data is treated as text. This is the default.
Numeric: If selected, index data is validated as a numeric value.
Date: If selected, index data is validated as a date.
List: If selected, index data is pulled from a predefined list of values. In the List Name dropdown that display, select the list created in Sage Paperless Construction, then select the column values to return from the Return Column dropdown. (See List Types for more information and instructions on configuring additional list types.)
Bridged List: If selected, index data is queried from the accounting system that is bridged to the vault. In the List Name dropdown that display, select the list from the bridged accounting system, then select the column values to return from the Return Column dropdown.
Boolean: If selected, index data is pulled from two possible values.
Query List: If selected, index data is queried from a custom query designed by the system administrator.
System List:If selected, index data is queried from a custom list designed by the system administrator.
In the Validate As dropdown, select how Sage Paperless Construction should validate the entered information:
Text (default)
Numeric
Date
In the Max Length field, use the up and down arrows to determine the maximum number of characters allowed for this index type.
Note
200 is the default.
In the Alignment field, use the dropdown to establish the alignment of the index value.
Note
Left aligned is the default.
If you selected left aligned in the Alignment field, leave the Padding Character field blank. If the Alignment field contains any other value, a padding character may be added to the Padding Character field.
Note
For example, if the accounting system contains check numbers that are 10 digits long, right justified with leading zeroes, select a Max Length of , an Alignment of and the Padding Character number to .
Select the check box if the index value should display as a currency. The value is formatted with two decimal places.
Click .
On the Index Types page, use the Search field or scroll through the list to locate the index type you need to edit.
Click the Edit
 icon for the entry.
The General Properties dialog displays with the General tab active:
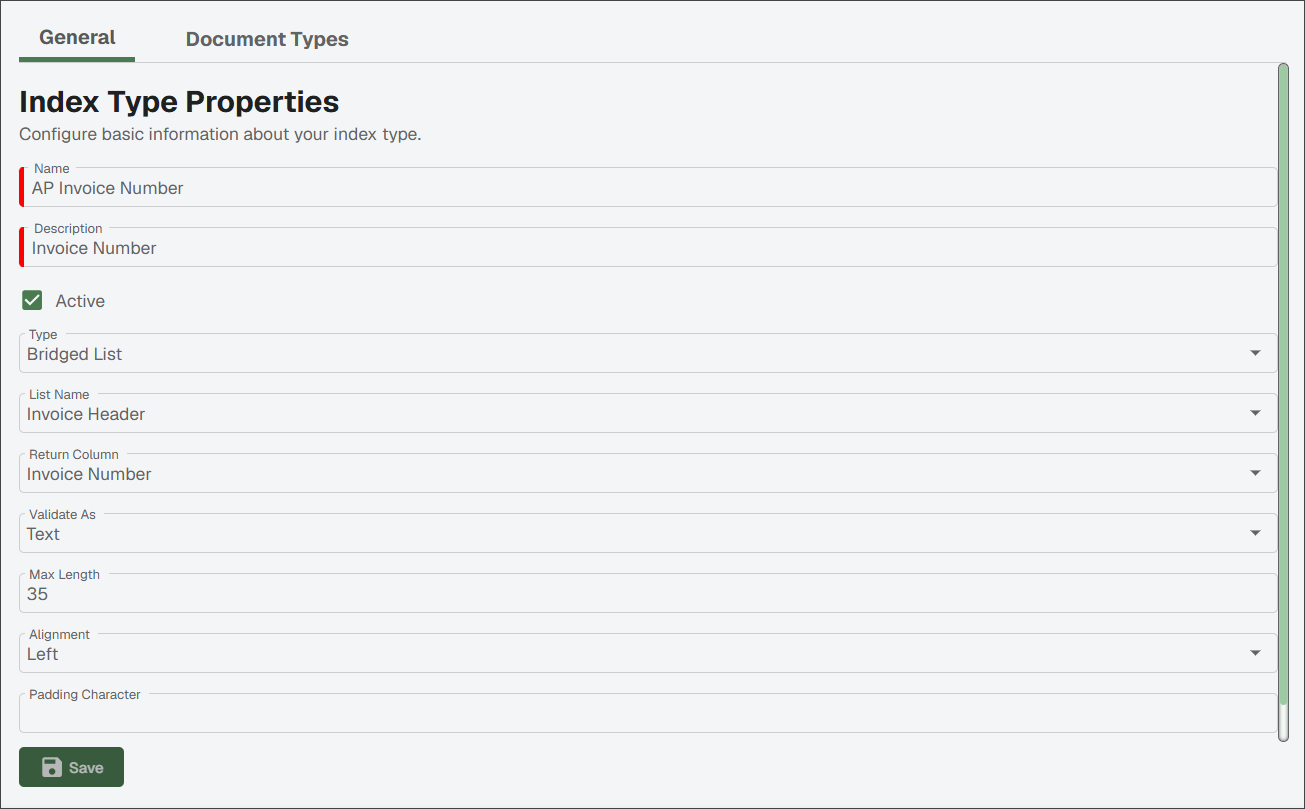
Make any necessary revisions.
Click .
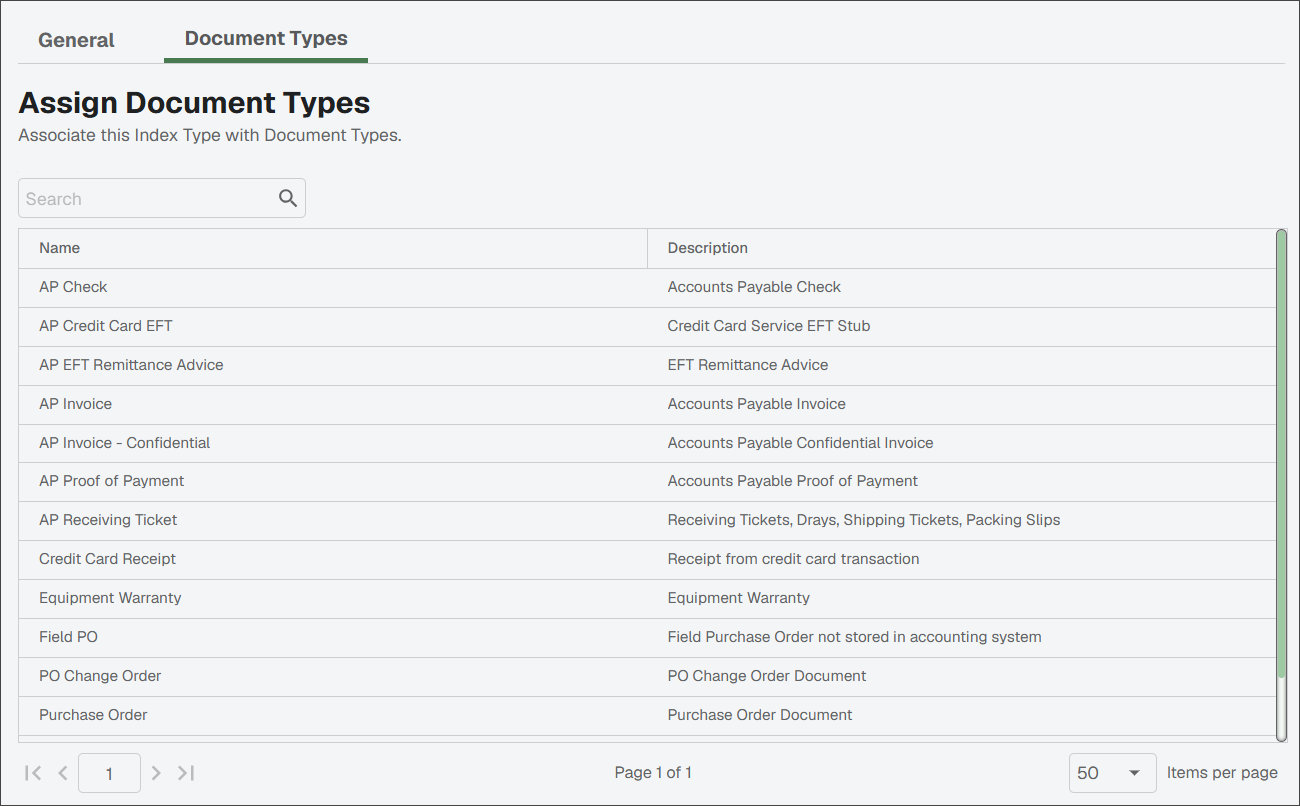
Click the tab.
The document types that have this index type assigned to it are listed.
There are many predefined backfills that are used to fill in index values based on entering minimum required index values. These backfills are based upon a query made to the accounting program’s master tables. Backfills allow assigned “pre-canned’ backfill operations to document types. Custom data queries can be developed by setting up custom query lists.
Important
Your vault must be bridged to an accounting system to set up index backfills.
Note
For example, the Subcontract backfill is based on a query made on the accounting system’s subcontract master table with the required input parameter index value of “subcontract number.”
If this backfill is assigned to one of the document types and the required subcontract number index value is filled in, Sage Paperless Construction can then fill out other index values that it pulls from the master table such as Job Number, Vendor Number, Subcontract Description.
From the dropdown, click .
The following page displays. To edit existing backfills, you can double-click on the backfill displaying in the Name column. The Backfill Properties dialog opens for that backfill.
Click .
The Backfill Properties dialog displays with the General tab active:
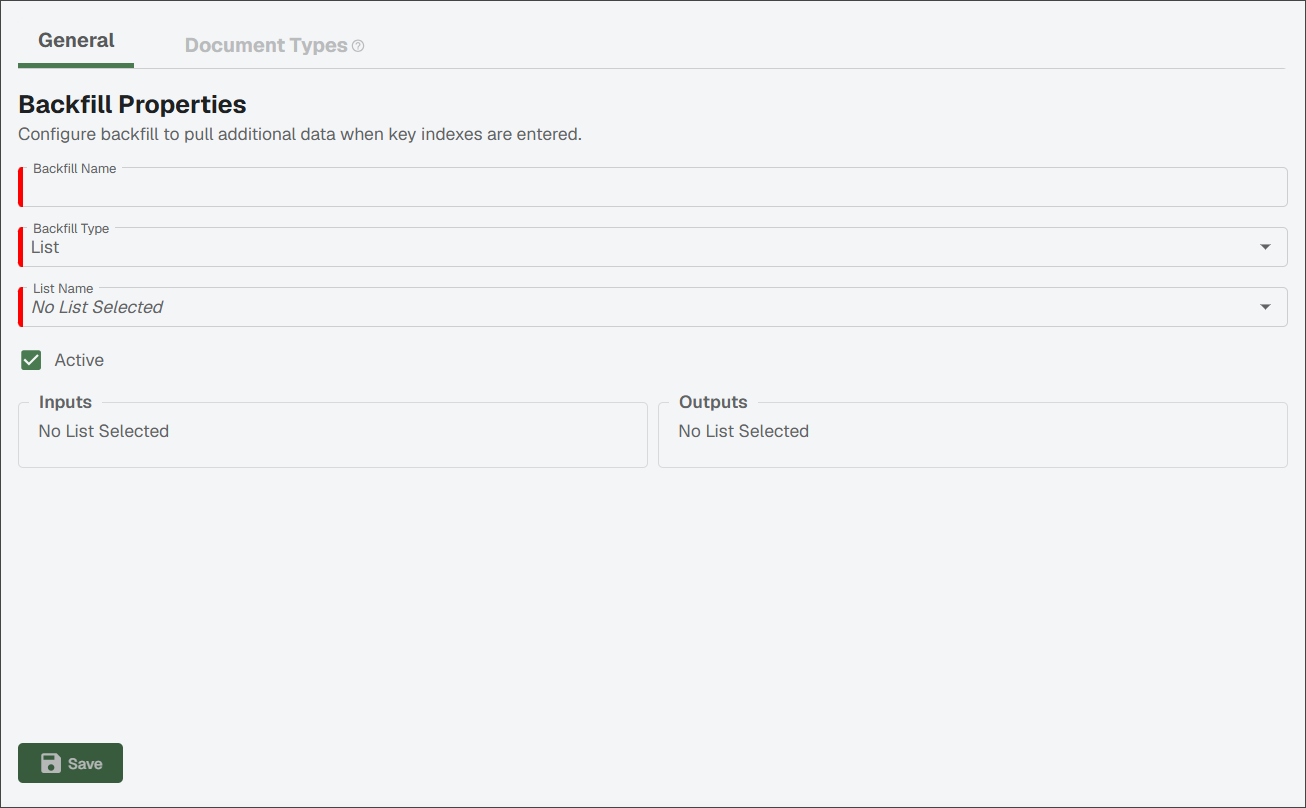
In the Backfill Name field, type the name of the custom backfill.
In the Backfill Type dropdown, select the backfill type.
In the List Name dropdown, select the list name.
Note
In the Inputs and Outputs grids, the List Column field label system populates based on the List Name you selected.
In the Inputs grid, use the Index Type dropdown(s) to select the correct index type.
In the Outputs grid, use the Index Type dropdown(s) to select the correct index type.
Click .
Click the tab.
The following page displays:
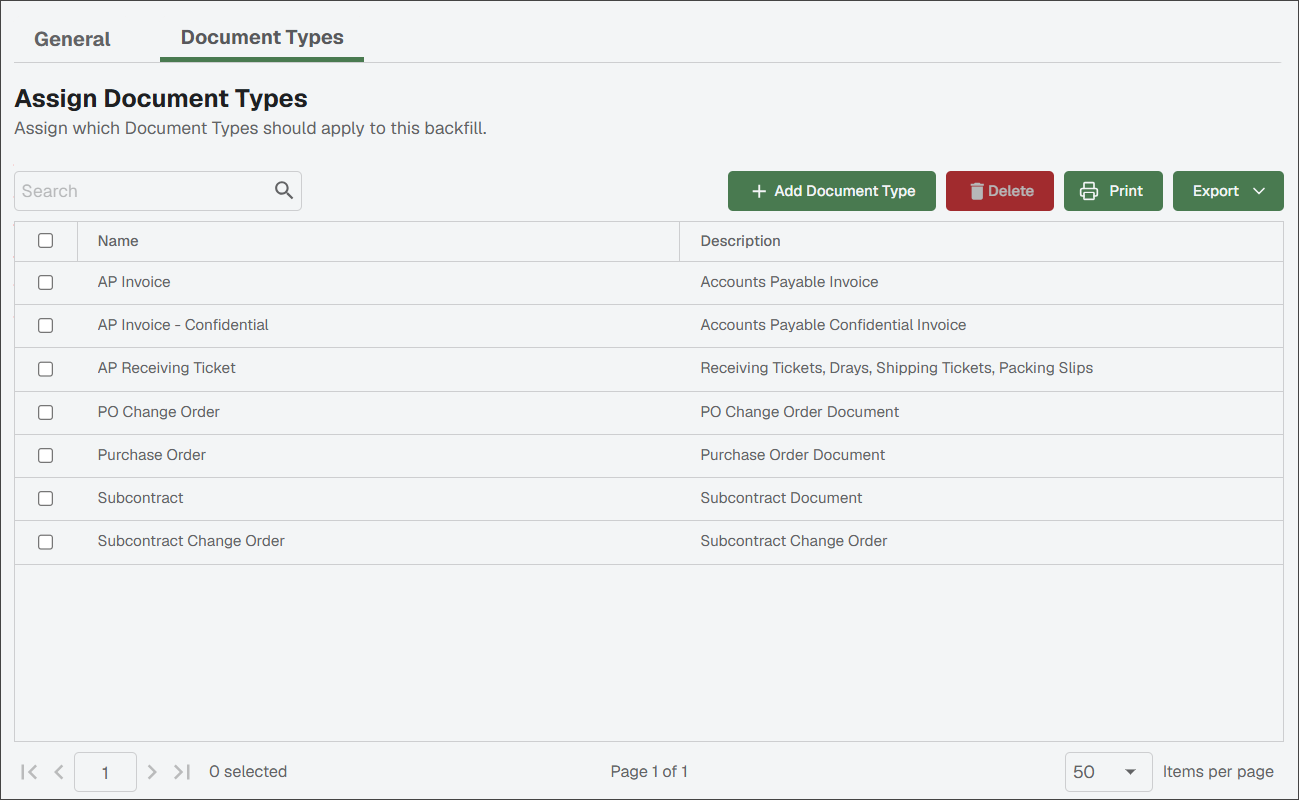
Click .
Select the appropriate document types for the backfill.
Note
You can also assign the backfill to a document types in Global Settings > Documents > Document Types > Backfills tab dialog. See Edit Document Types for more information.
Click .
Tip
To edit existing backfills, you can double-click on the backfill displaying in the Name column. The Backfill Properties dialog opens for that backfill.