DocRoute™ Events
You can configure events to notify selected users that a particular action has been completed during the DocRoute routing workflow. The purpose of adding an event is to keep specific stakeholders informed of progress and actions taken during the document routing process via automated notifications.
Important
You can only complete the steps below if your user was given Allow Create Events and Allow Add Events permissions when configured. See DocRoute™ Settings for more information.
Note
Events are vault-specific.
From My Paperless, click .
In the DocRoute™ Settings navigation bar, click .
The following page displays:
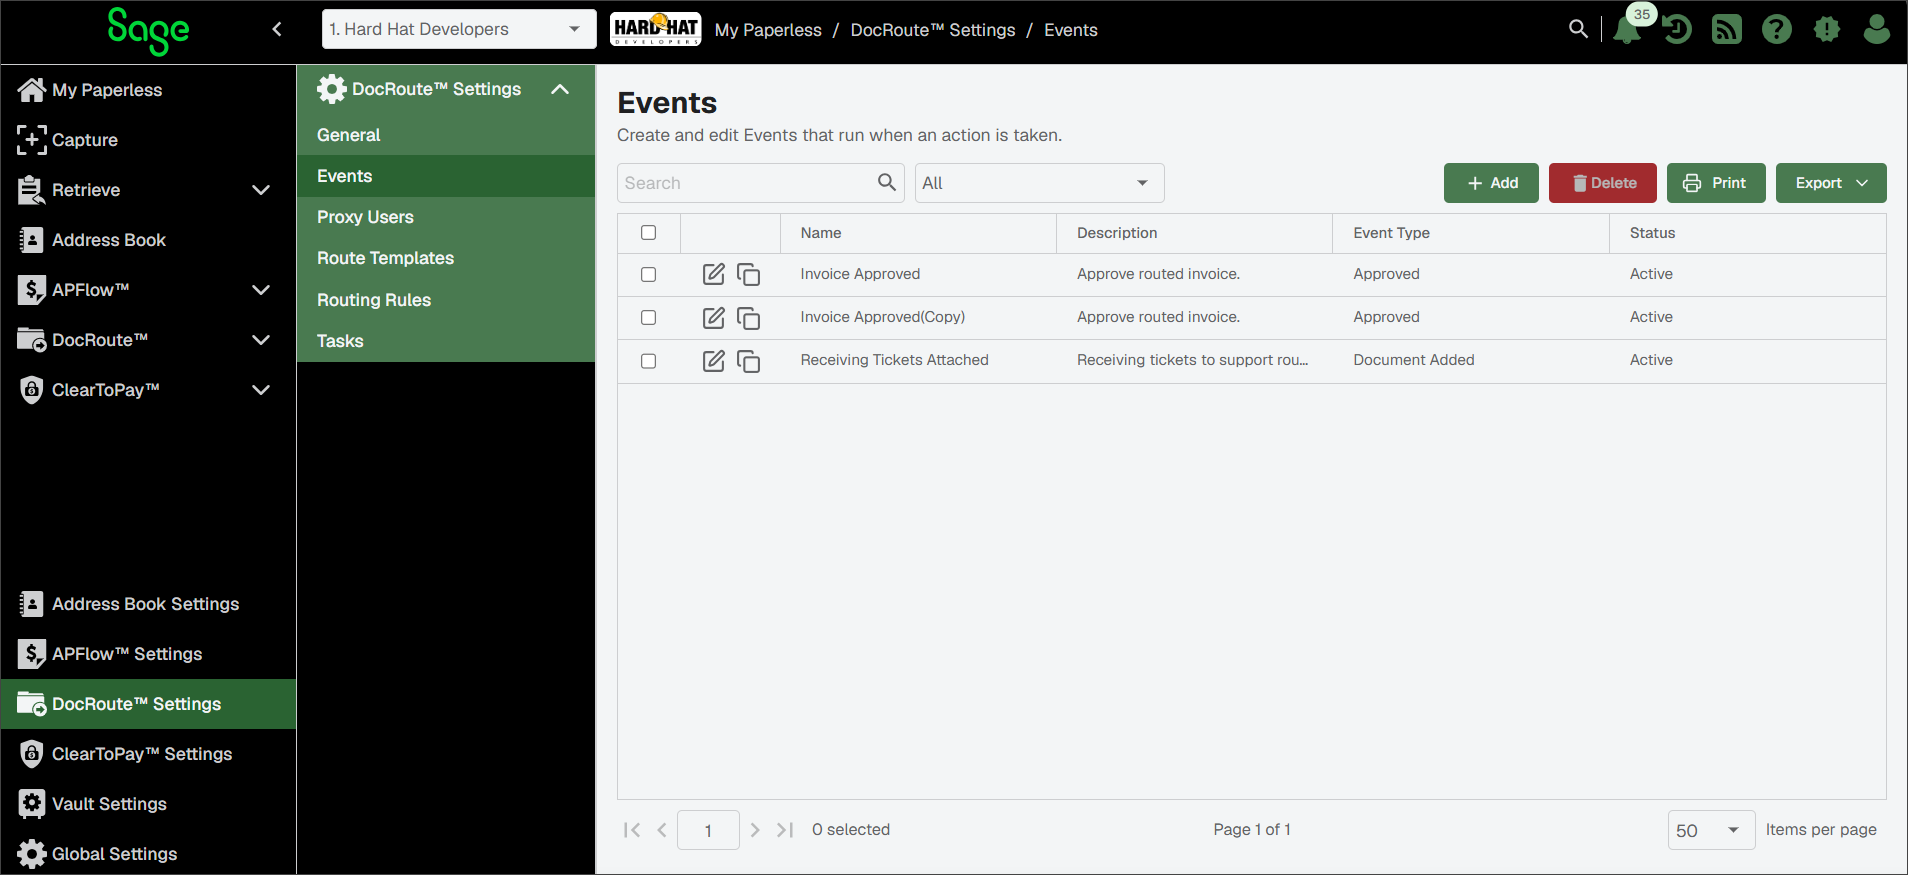
Click .
The Event Editor page, General tab displays:
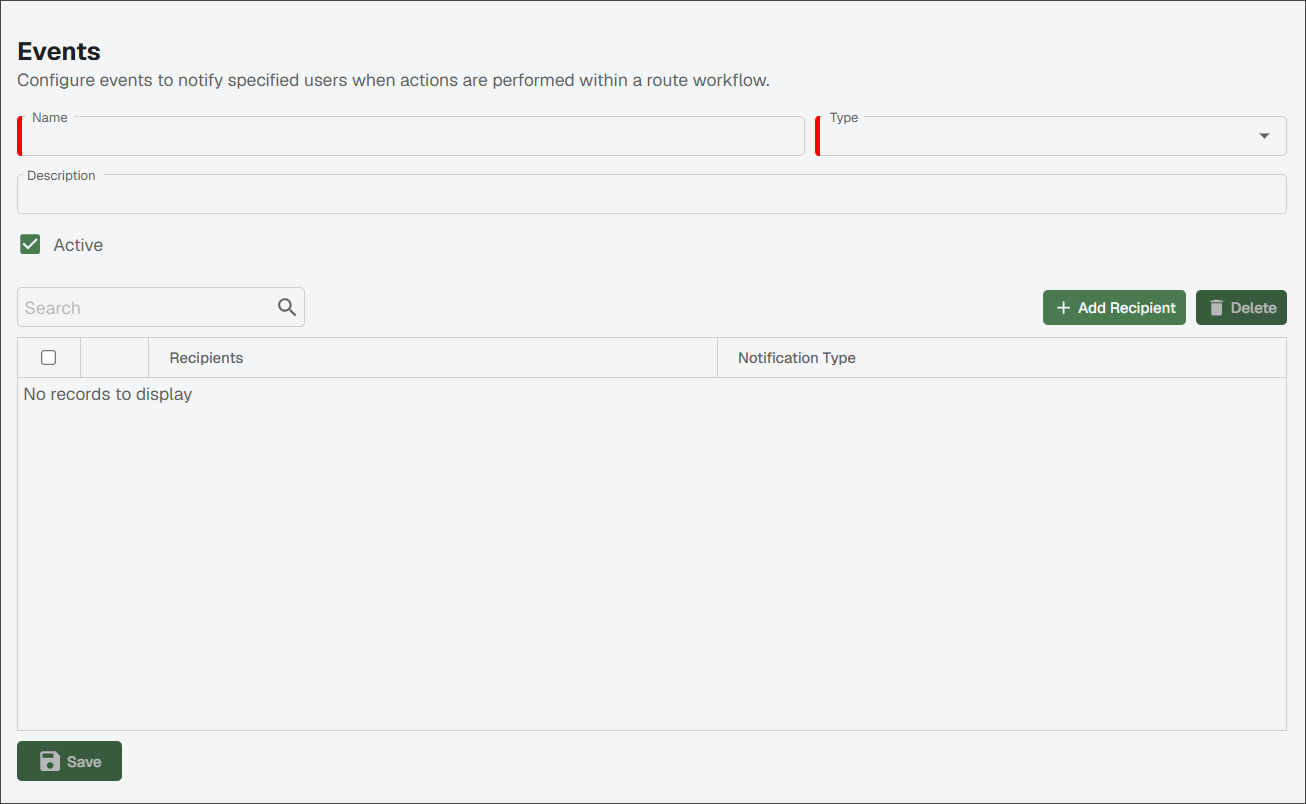
Enter the appropriate event name in the Name field. This is a required field.
Select the type of event from the Type dropdown. This is a required field.
Note
This field serves as the trigger that initiates the event notification. You can choose from Approved, Document Added, Document Removed, Rejected or Route Viewed.
In the Description field, enter a description of the event.
The Active check box is selected by default. If the event is not active for whatever reason, deselect the Active check box.
Click .
The Add New Recipient dialog displays:
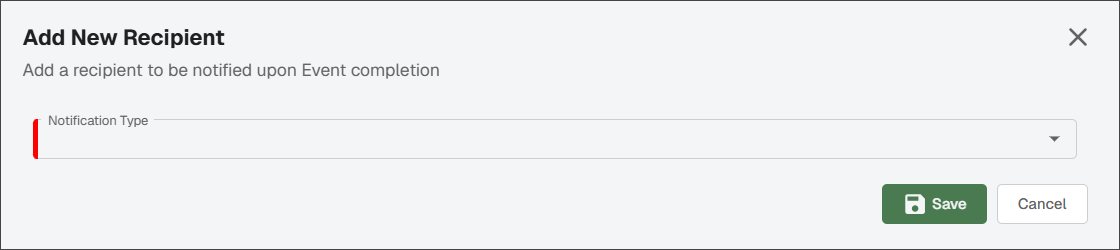
Select one of the following communication methods from the Type dropdown:
Note
This field is required. Depending on which option you select, additional fields display.
Email: In the Email field, add the recipient's email address.
SMS: In the Phone Number field, add the recipient's phone number to be used for text messages.
System Alert: Select one or more users who should be notified in Sage Paperless Construction upon event completion.
Click .
Click to save the entire event.
Your event can now be included in route templates and routing rules, or added manually while routing a document.
(Optional) Once an event is created you can choose to Edit
 (to make revisions) or Copy
  it (to create a duplicate you can use as a starting point and then change the event name or recipients).