APFlow™ Allocation Rules
Allocations rules identify when to apply a certain allocation, thus saving Processors time when entering invoices. For instance, Processors no longer need to remember what allocation goes to which vendor.
From My Paperless, click .
In the APFlow™ Settings navigation bar, click .
A page similar to the following displays:
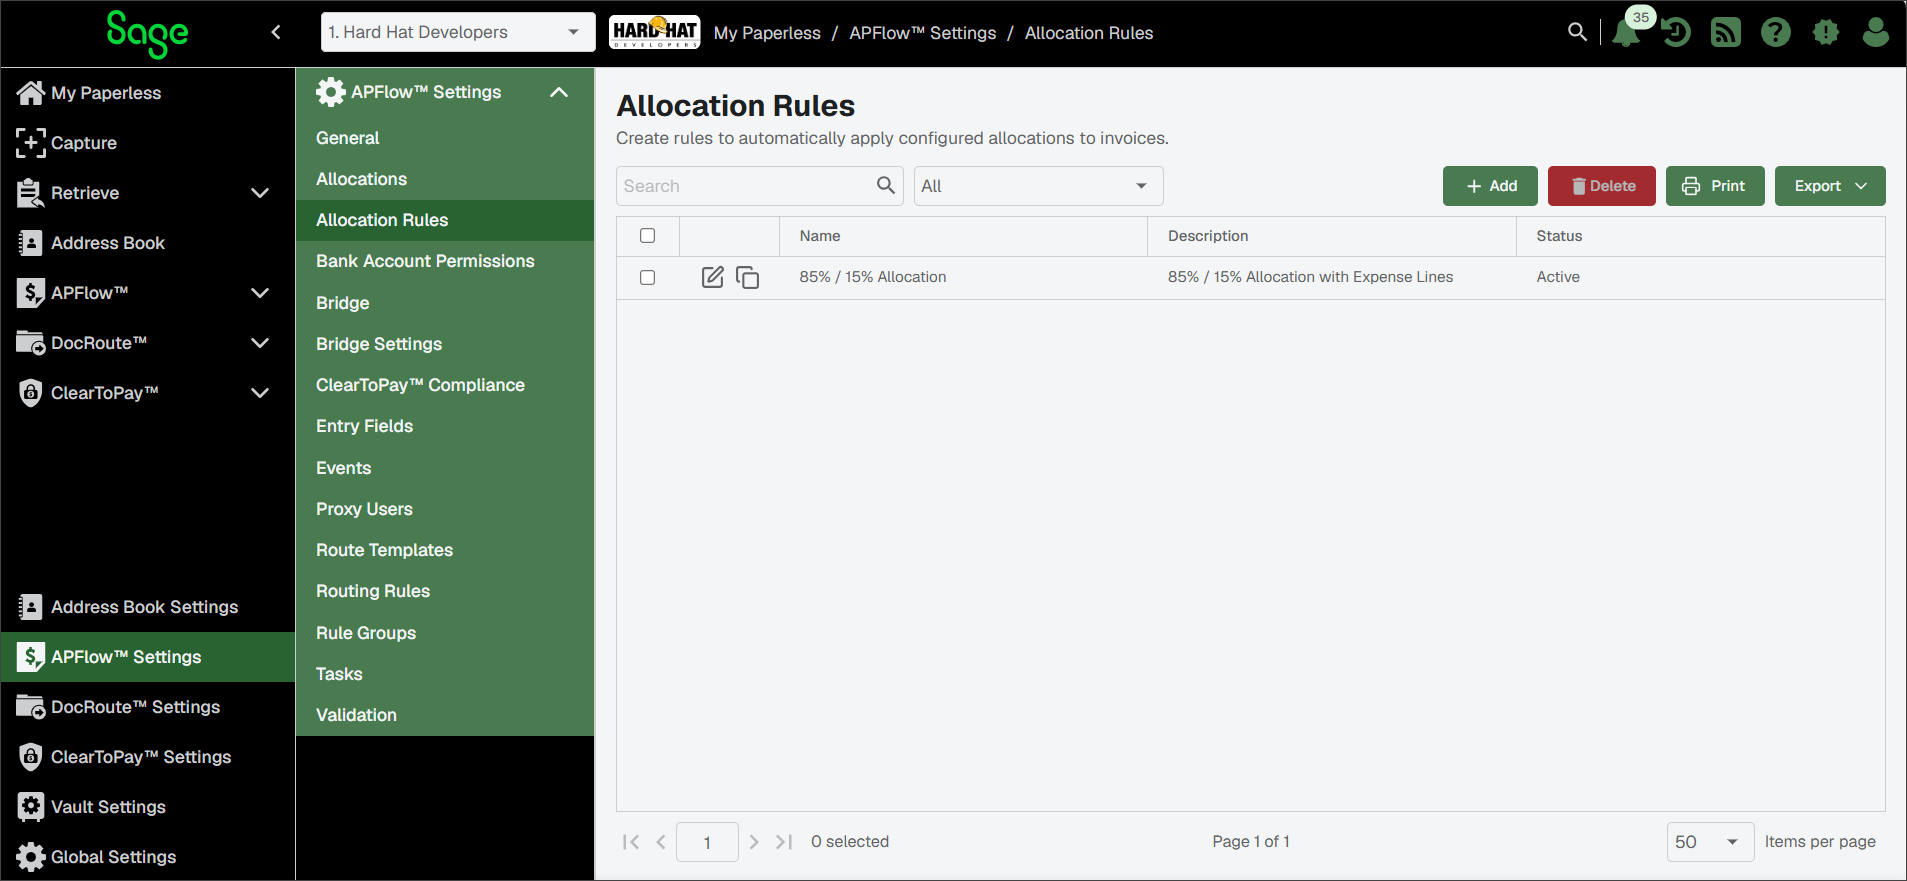
From the Allocation Rules page you can add, edit or delete both percentage-based and fixed amount allocation rules.
Click .
The follow Create Allocation Rule - General Properties dialog displays:
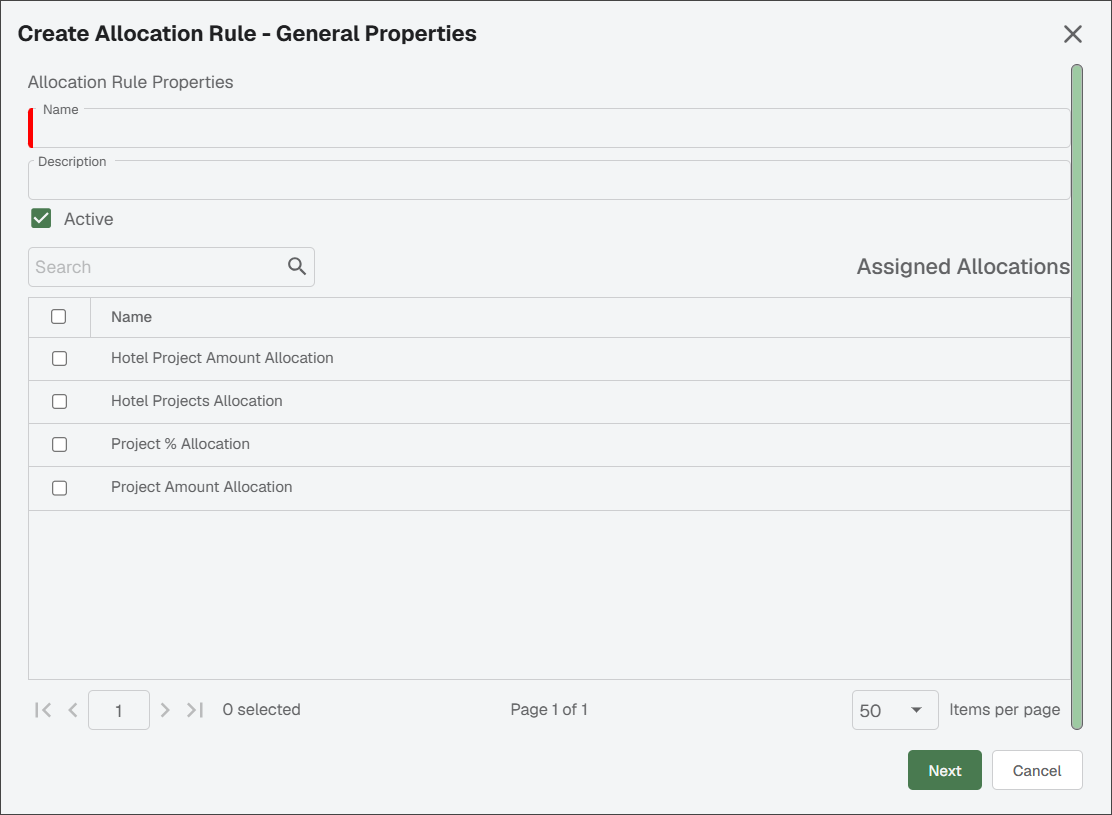
In the Name field, enter the rule name.
In the Description field, enter a description.
If the allocation rule should be active, select the check box. Otherwise, leave it blank.
Click .
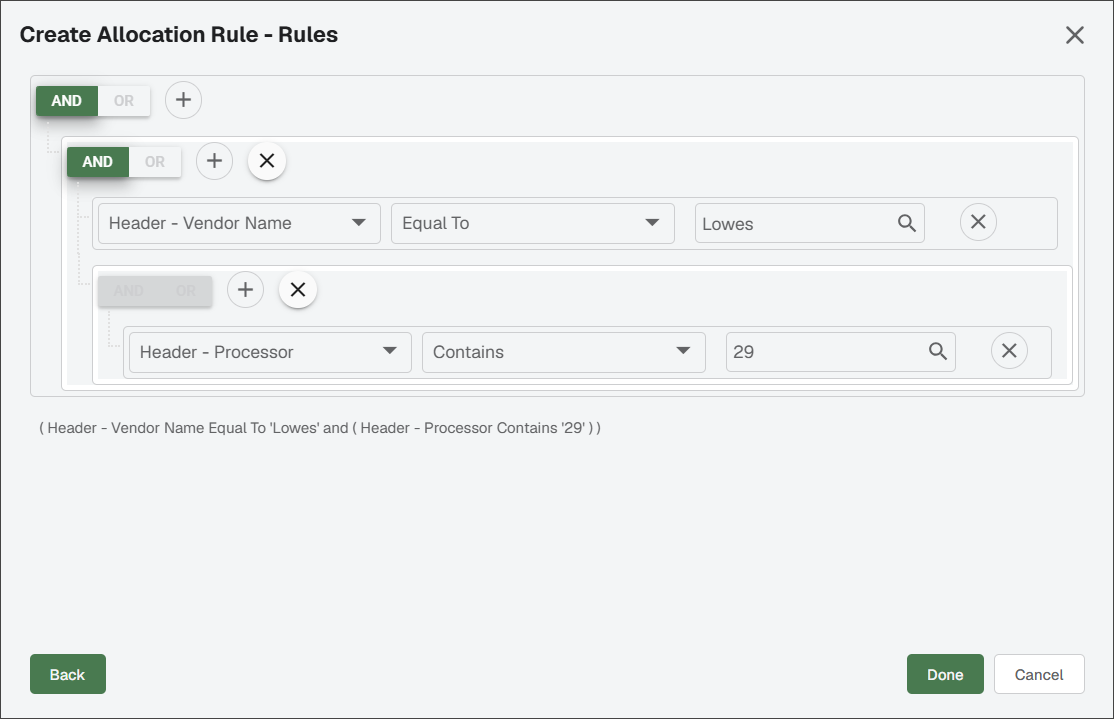
In the Create Allocation Rule - Rules page, click the Plus
 icon to display Add Group and Add Condition.
Click either or .
In the grid, create the rule for when the selected allocation applies.
Click .
From the main Allocation Rules page, click the Edit
 icon to select an existing allocation from the list.
The Allocations Rule Properties page displays with the General tab active:
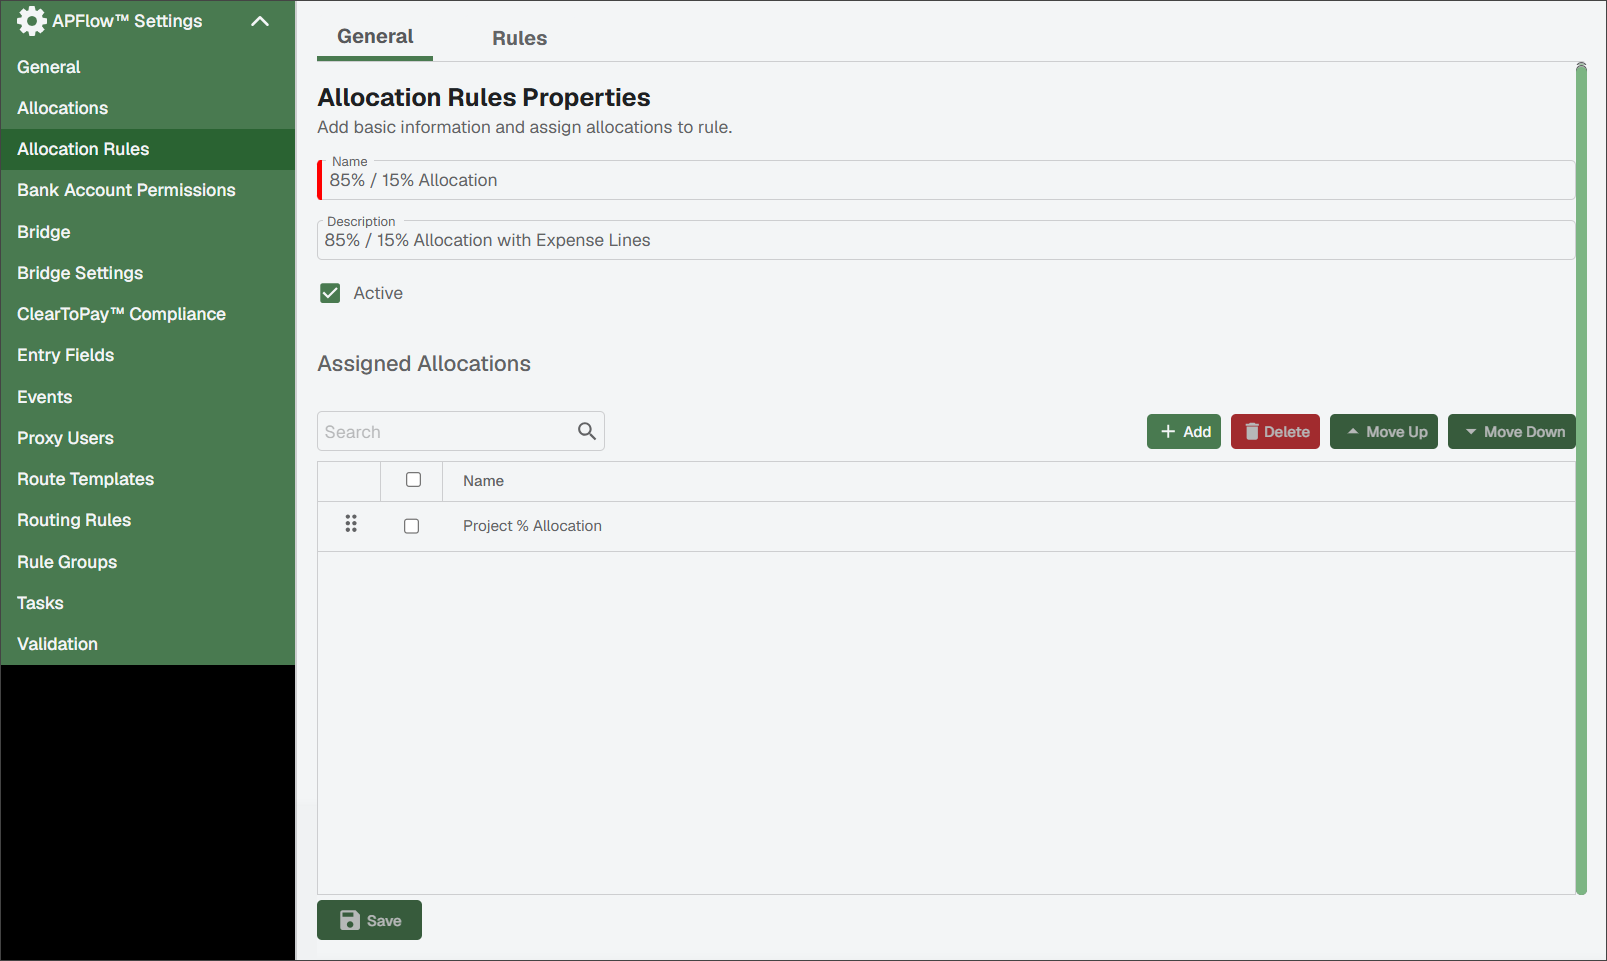
Make the necessary changes.
(Optional) In the Assigned Allocations sections, you can add, delete or reorder the allocations using this rule.
Click .
If there are changes to the rules, click the tab.
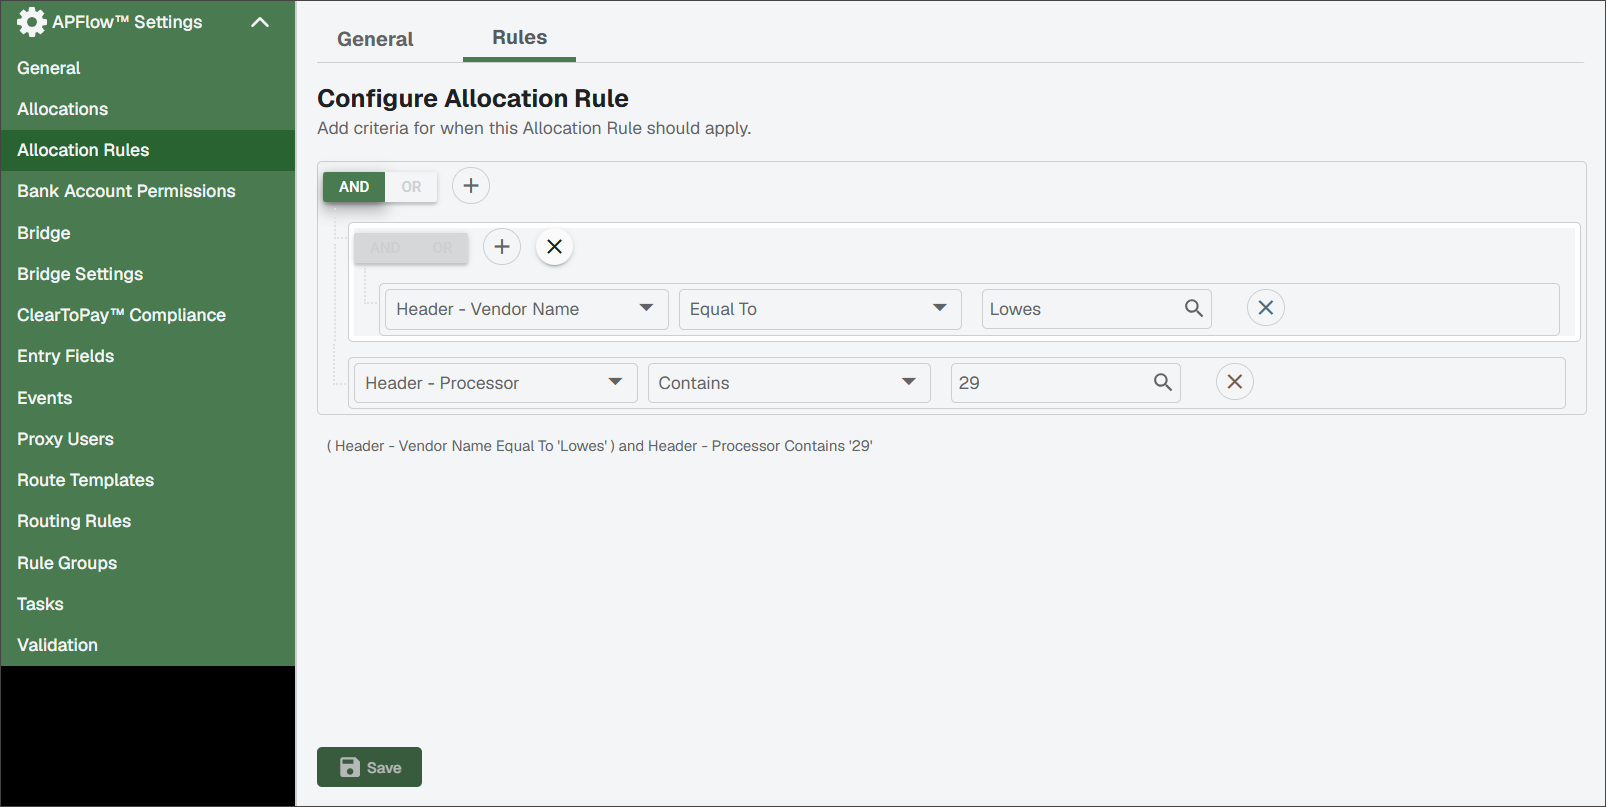
From here you can edit, add or remove conditions for this rule.
Click .
From the main Allocation Rules page, select an existing allocation from the list.
Click .
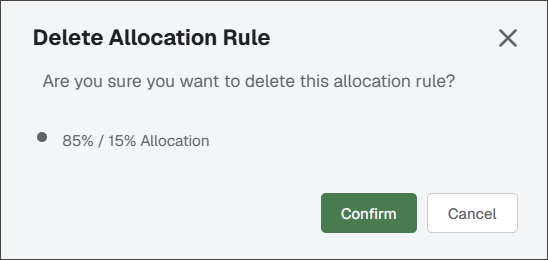
A Delete Allocation Rule confirmation dialog displays:
Click .
The selected rule is permanently deleted from the Allocations list.