DocRoute™ Routing Rules
You can create (and edit) the routing rules your invoice routing process should follow.
From the Routing Rules page, you can set up a list of predefined rules for auto assigning approvers to inputted invoices based on the coding of the invoice. You can define approvers based on job coding, invoice totals, etc.
Note
Instead of assigning individual users to a rule, you can assign a role instead. Then for that role, you can assign one or more individuals. The benefit of this is that when a person changes roles, only the role needs to be updated rather than every routing rule to which that person was assigned as part of their previous role.
From My Paperless, click .
In the DocRoute™ Settings navigation bar, click .
A page similar to the following displays:
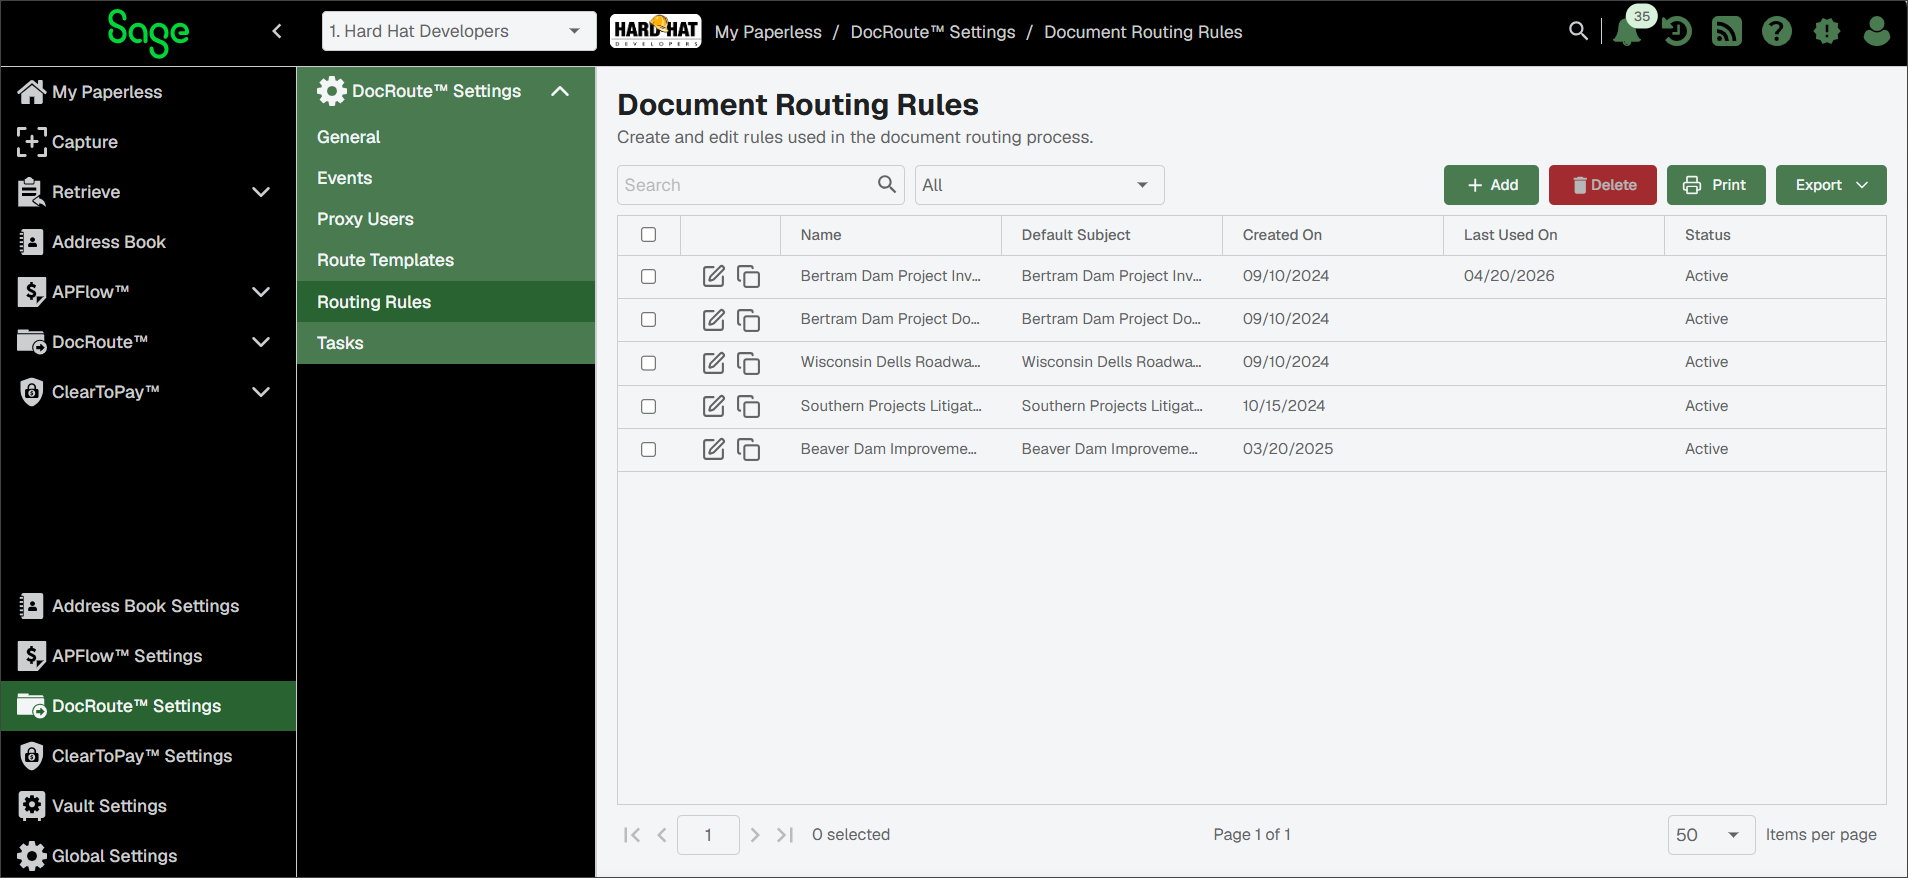
You can use the Routing Rules page to do the following:

To create routing rules, click . For more information, see Add DocRoute™ Routing Rules.

To delete one or more routing rules from the list, select their check box and click .
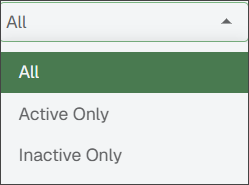
Use to narrow down the list of routing rules that display.

To search for a specific rule, enter a portion of its name. Then, press or click the Search
 icon.
icon.
Click Copy
to duplicate a routing rule.
Click Edit
to update a routing rule. See Edit DocRoute™ Routing Rules for more information.Default Subject Column
If the Default Subject column indicates the default subject line that is used for a document routing rule.
Created On Column
The date in this column identifies when a document routing rule was created.
Last Used On Column
The date in this column identifies the last time a document routing rule ran.
Status Column
If the Active check box is selected for a rule, Active displays in this column. If the check box is blank, Inactive displays.
Note
The Active check box is selected by default.
Click .
The following Create Document Routing dialog displays:
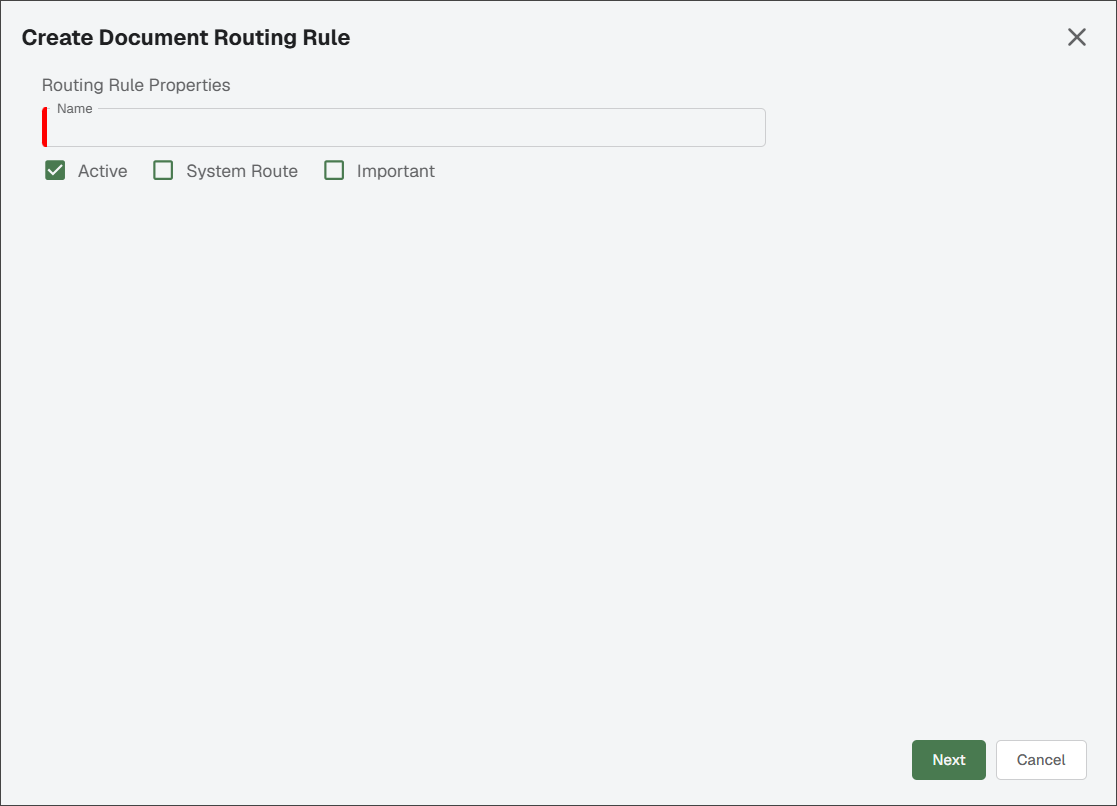
In the Name field, enter the name of the routing rule. This field is required.
Note
For example, "Southern Projects Litigation Group."
The Active check box is selected by default. If the route template should not be active, deselect the check box.
If this is a system route, meaning that the document route is driven systematically from Sage Paperless Construction, select the check box.
If this rule should be identified as an important route, select the check box.
Note
Use the Important check box with a routing rule to indicate that the associated route has special importance. All recipients on a route with this routing rule see an Important indicator.
Click .
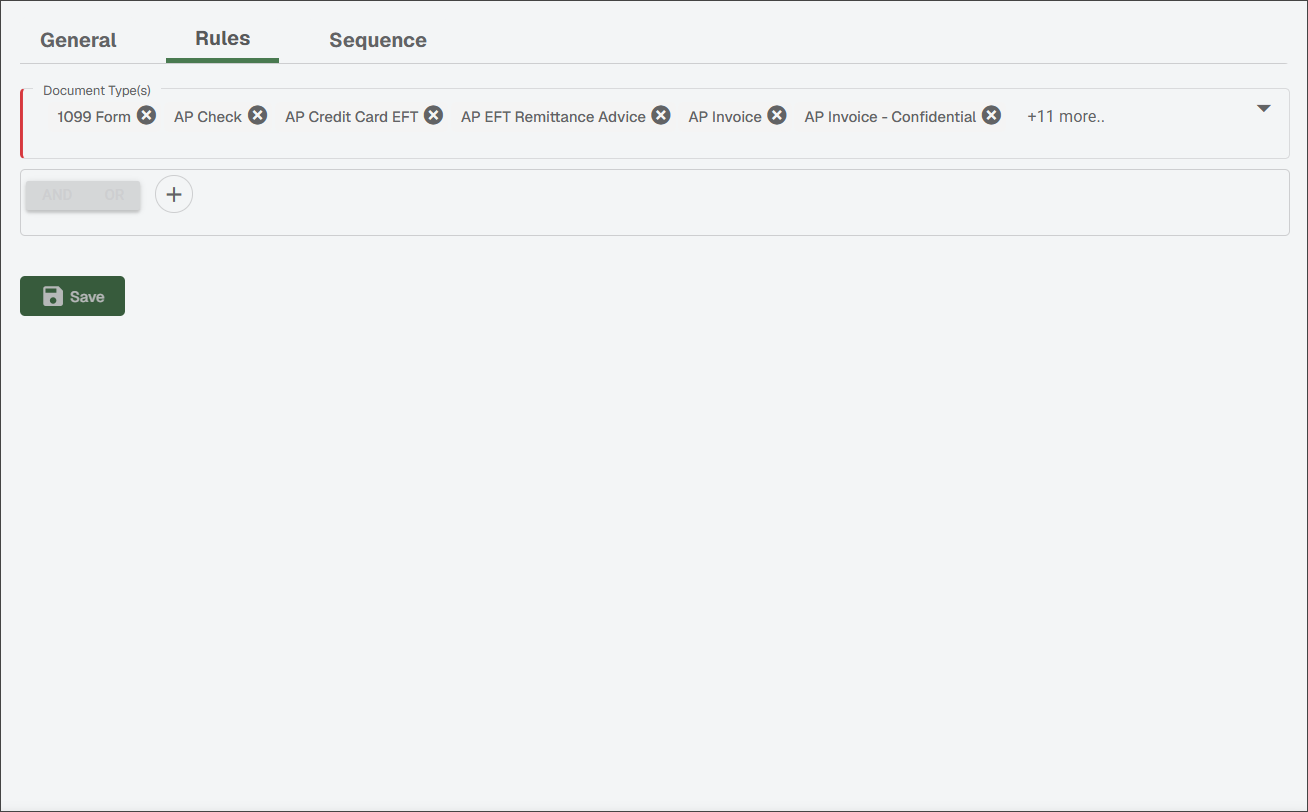
In the Create Document Routing Rules dialog, select one or more document types you want to include from the Document Types dropdown.
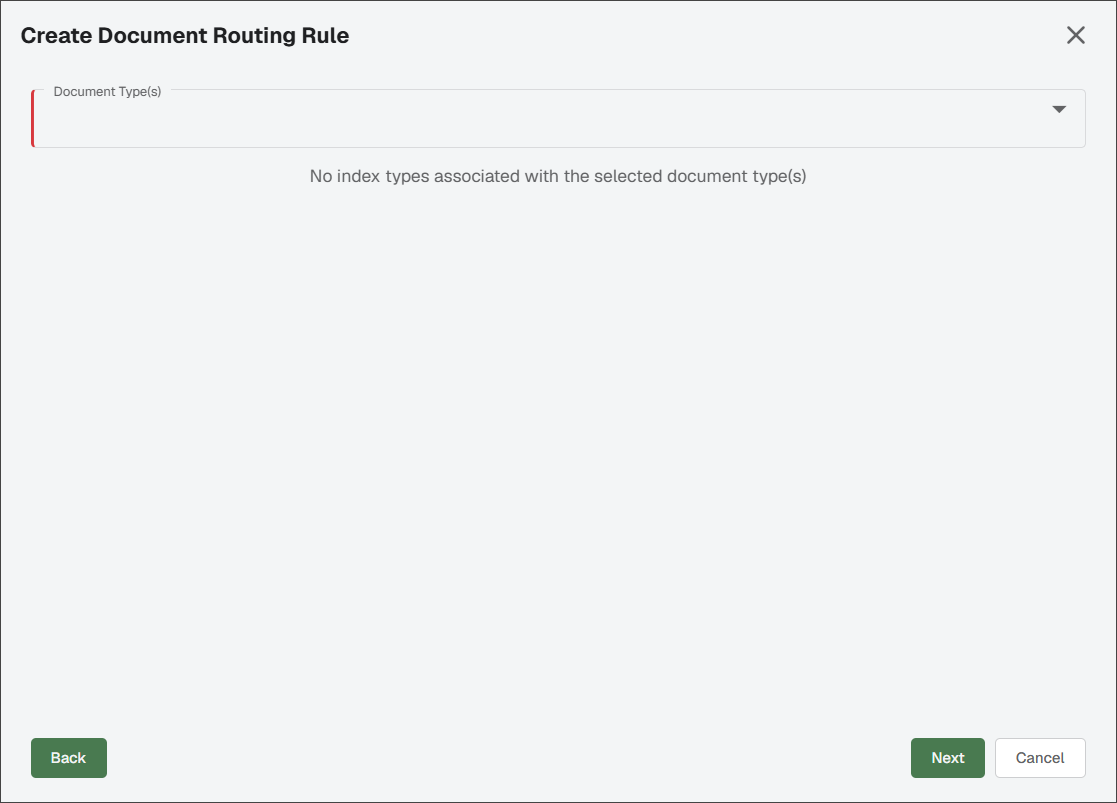
A pane displays where you can enter index criteria:
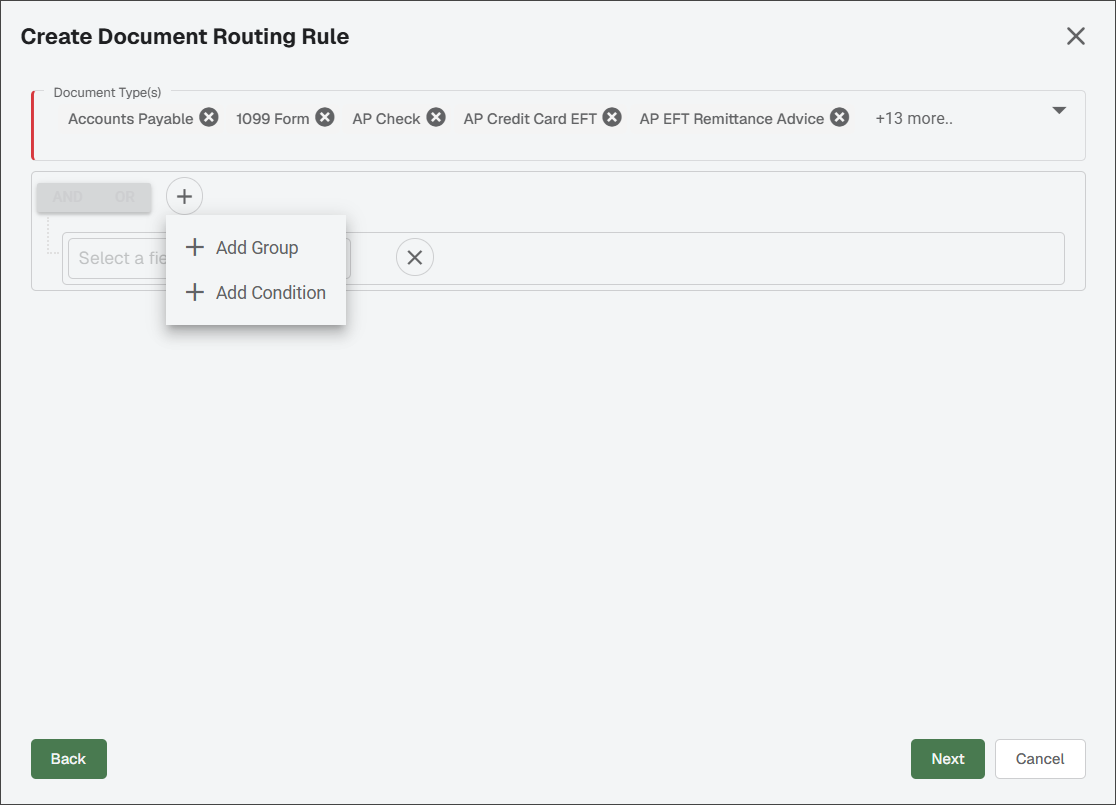
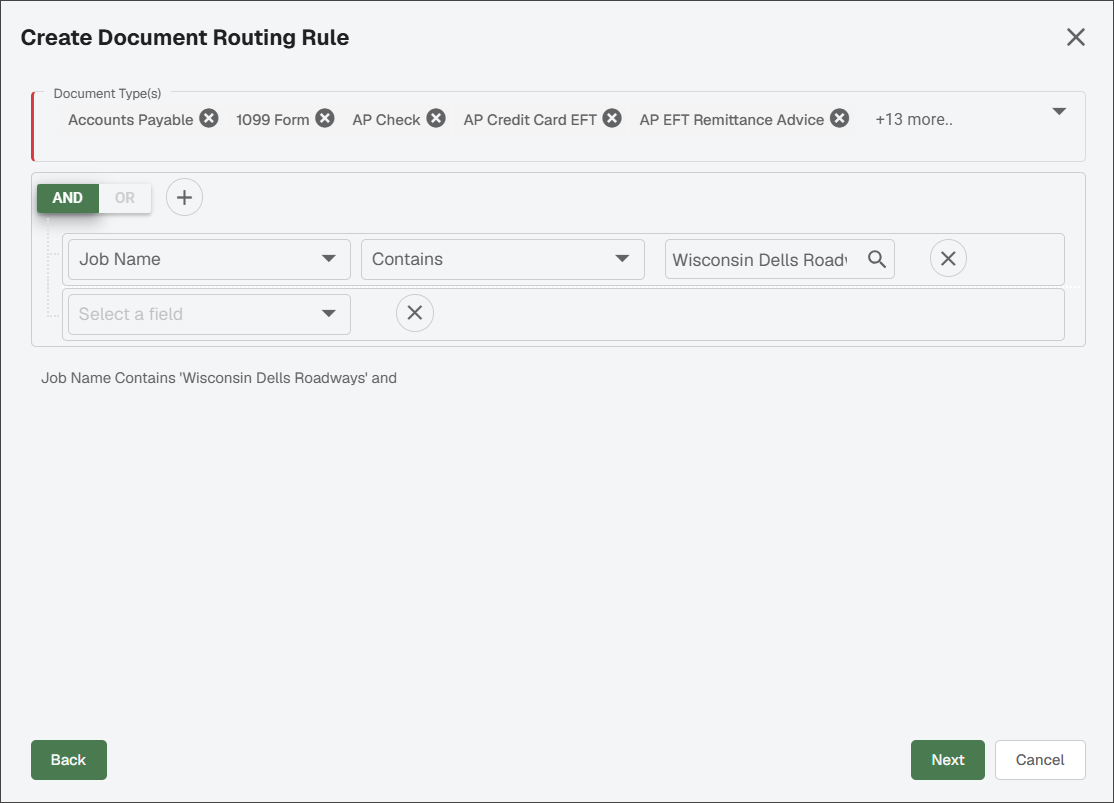
Click .
In the Default Subject field, enter the appropriate subject line text. This field is required.
In the Default Body field, enter text explaining the tasks that accompany this route. This field is required.
Note
Review all project-related documents (job photos, subcontractor correspondence, legal documents, etc.). Be prepared to discuss these documents along with any concerns, comments you have at the next project meeting.
Click .
Click either or :
Note
Users you want to add must be configured with Processor or Supervisor permissions.
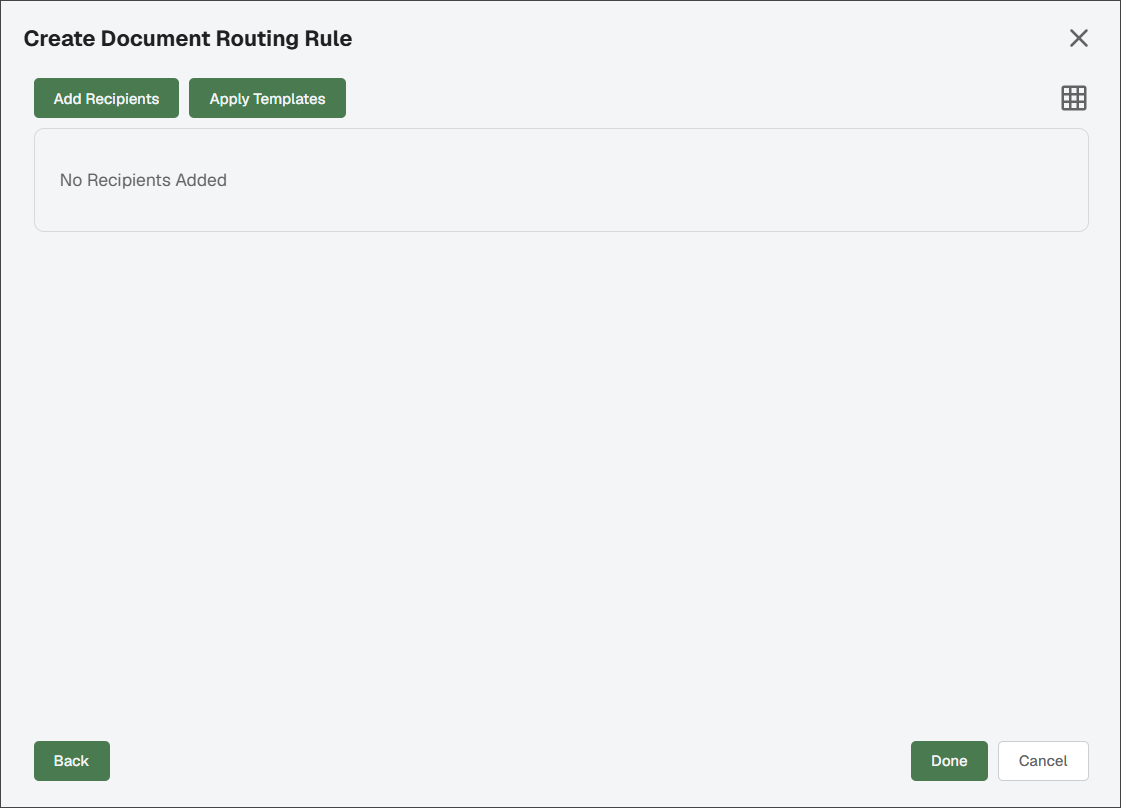
Important
You can select to use only a template, create a new sequence of recipients specific to this rule or combine the two. If you manually add the same reviewer with a different route sequence outside the route template to this route, that reviewer displays twice.
Select to create a new sequence of recipients unique to this routing rule:
The Add Recipients to Route dialog displays:
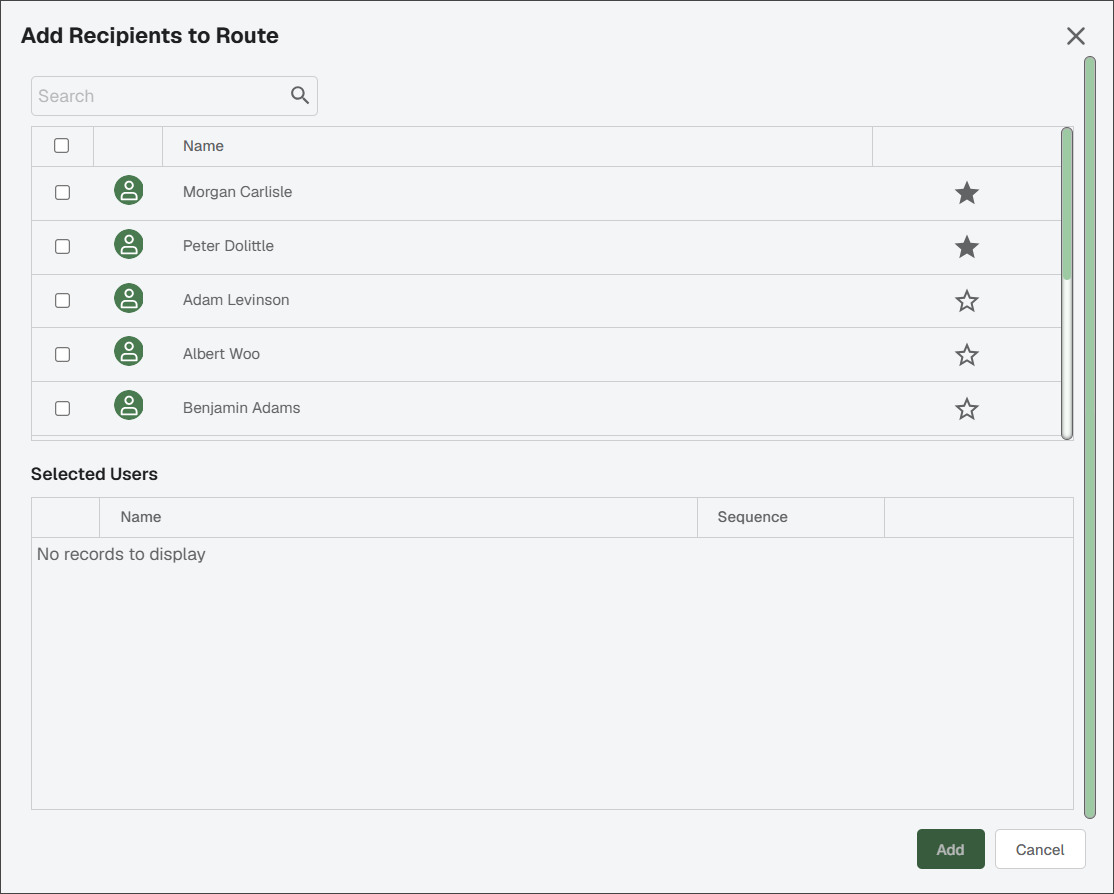
Select users to include in the route. As you do so, the Selected Users section populates:
Note
Adjust the sequence as needed to reflect the order in which they should receive the information.
Click .
Note
The recipients display in a card view or a grid format. Use the
 or
or  icon in the upper right to switch between views.
Select to reuse an established sequence of recipients already created. See APFlow™ Route Templates for more information.
The Choose Route Templates dialog displays:
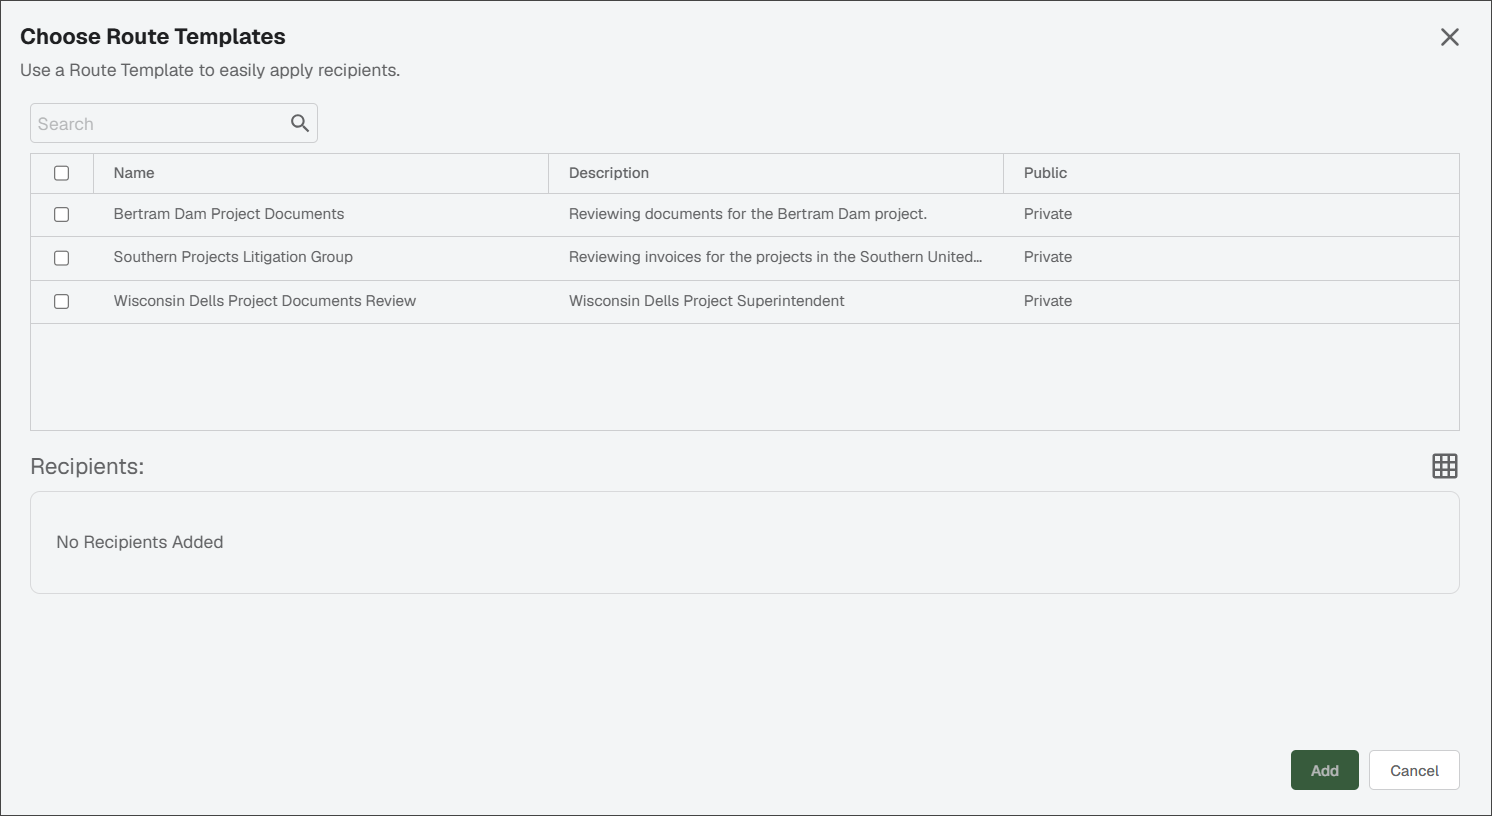
Select the route template you want to use. The recipients associated with the route template populate in the Recipients section:
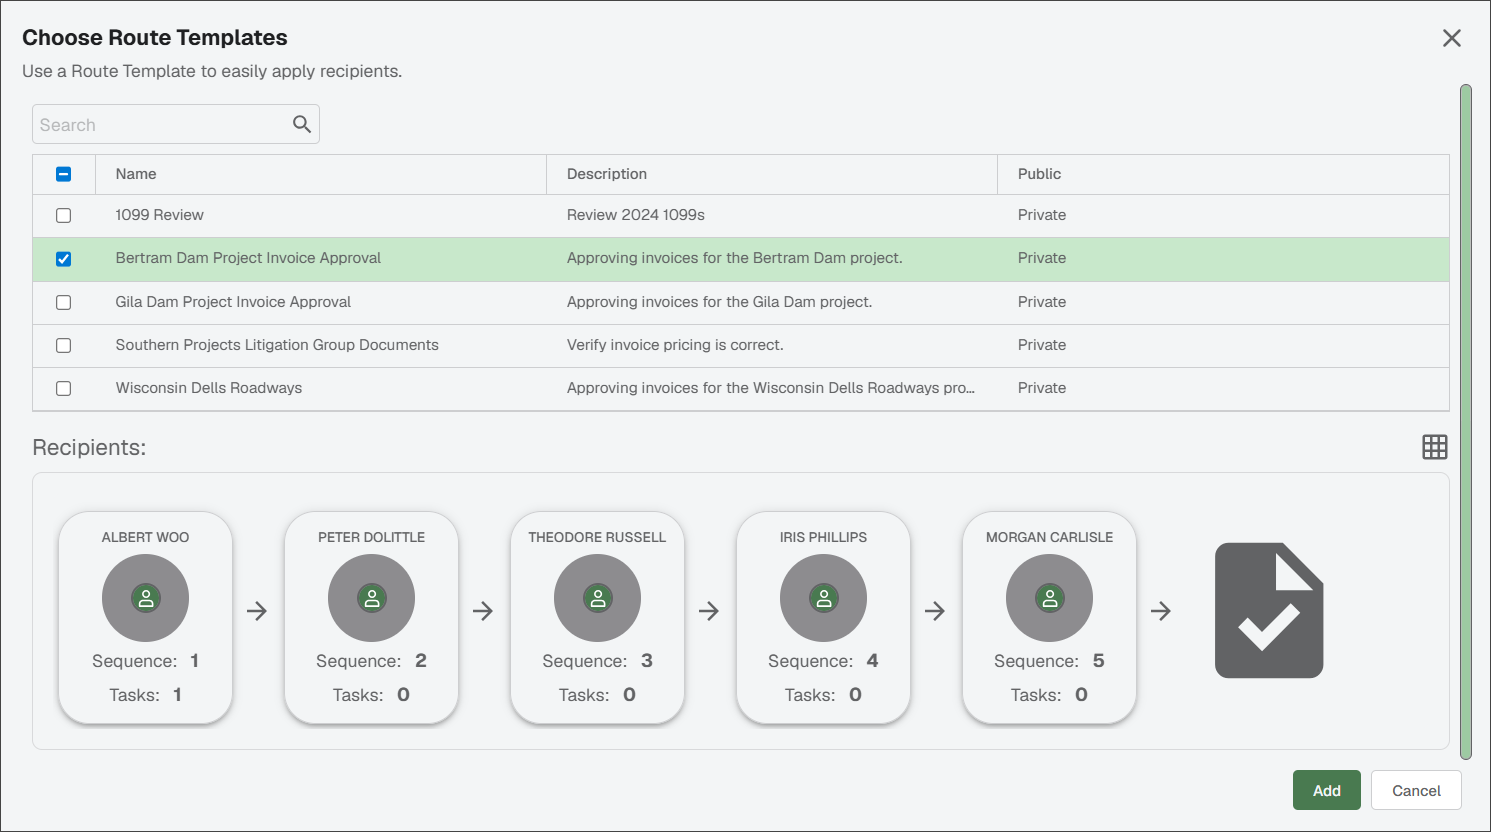
Click .
Note
The recipients display in a card view or a grid format. Use the
or icon in the upper right to switch between views.
Review the route recipients and their sequence, especially if you combined a route template with additional recipients.
Important
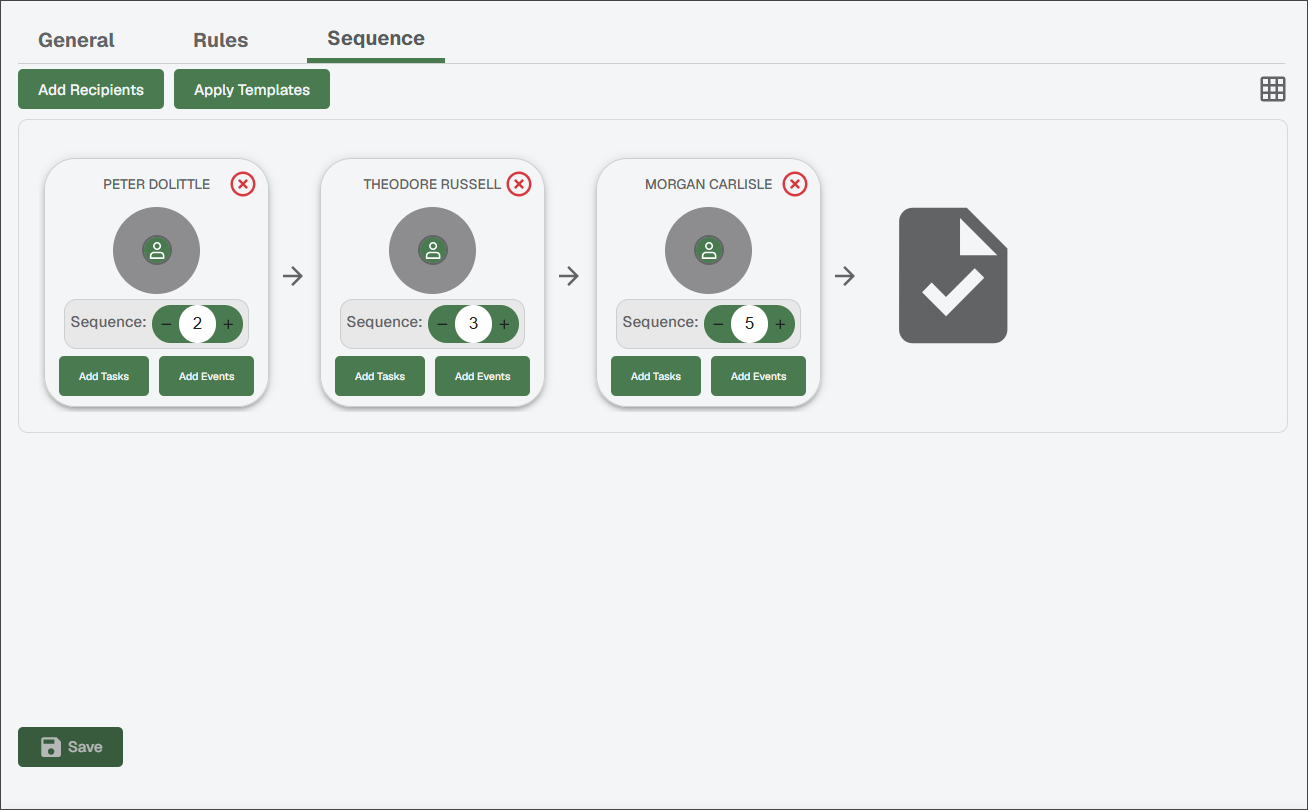
The same reviewer can display more than once in your route. When the route template was created, specific reviewers were identified and route sequences assigned. Those reviewers with their route sequences systematically display. If you manually add the same reviewer with a different route sequence outside the route template, that reviewer displays twice based on the order of their route sequences. Your sequence could resemble the following:
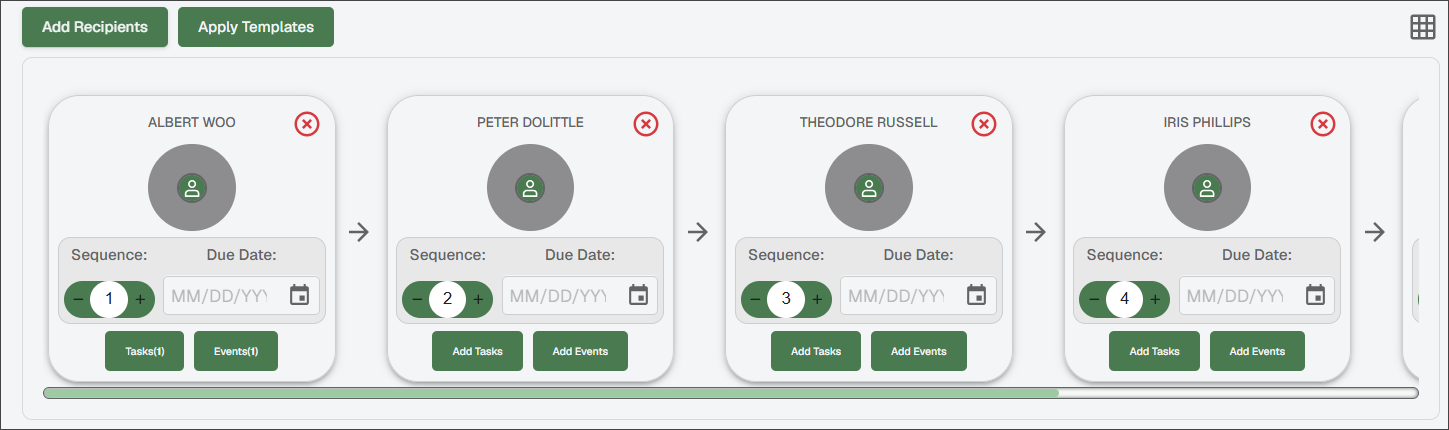
Optional: If there are tasks you want to add to one or more recipients, see Configure DocRoute™ Tasks. If there are events you want to add to one or more recipients, see DocRoute™ Events.
Click .
From the Routing Rules page, find the rule you want to edit.
Click the Edit
icon.Make necessary updates routing rule status, subject and body text, and change if the rule should be marked as Important or not.
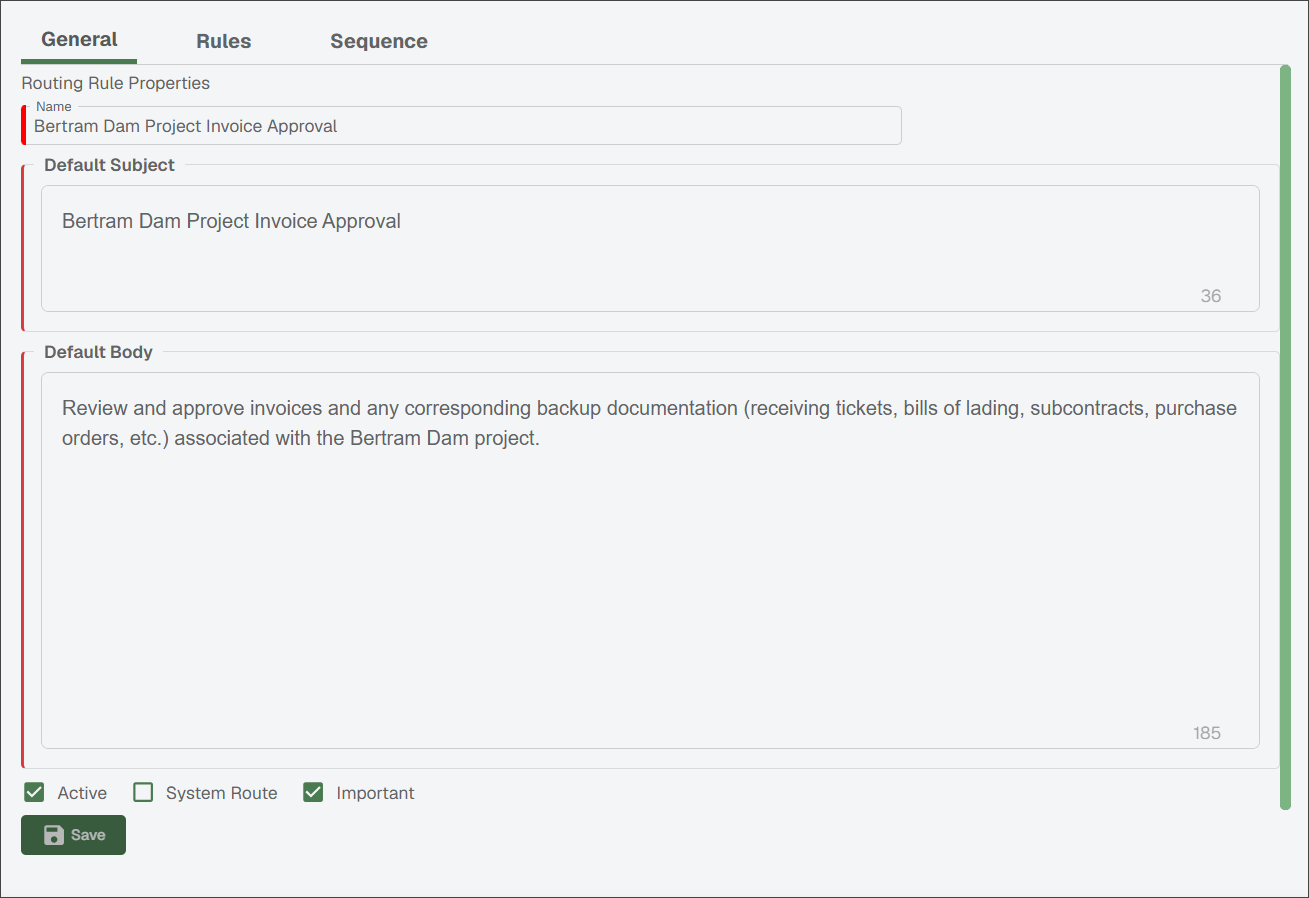
Click .
Click the tab:
Make necessary updates to the routing rule criteria.
Click .
Click the tab.
Make necessary updates to the routing rule recipients or their sequence.
Note
If appropriate, apply or remove route templates. The same reviewer can display more than once in your route.
Click .