Allocations
Allocations in APFlow™ are pre-defined invoice line coding templates typically used for recurring invoices that follow consistent coding patterns, such as those split by fixed percentages across expense accounts or those with identical amounts every month
Allocations are vault-specific and must be configured by an administrator before they can be used during the invoice entry process.
For more information about setting up percentage-based and fixed amount allocations, see APFlow™ Allocations.
For more information about allocation rules, which can be used to identify when a specific allocation should be applied, see APFlow™ Allocation Rules.
Complete the following steps to apply allocations to an invoice:
Note
The Allocations button is visible in the toolbar only if allocations are supported and configured for the vault. The button is only enabled when lines are added (by populating the Vendor and Invoice Number fields).
From My Paperless, click .
From the APFlow™ navigation bar, click .
Use the APFlow™ Queues dropdown to select the queue you are using to enter invoices.
Note
The dropdown lists any user queue to which the Processor has security rights.
In the Document Status dropdown, select .
Click on the invoice in the grid to select it.
The document image displays to the right of the queue.
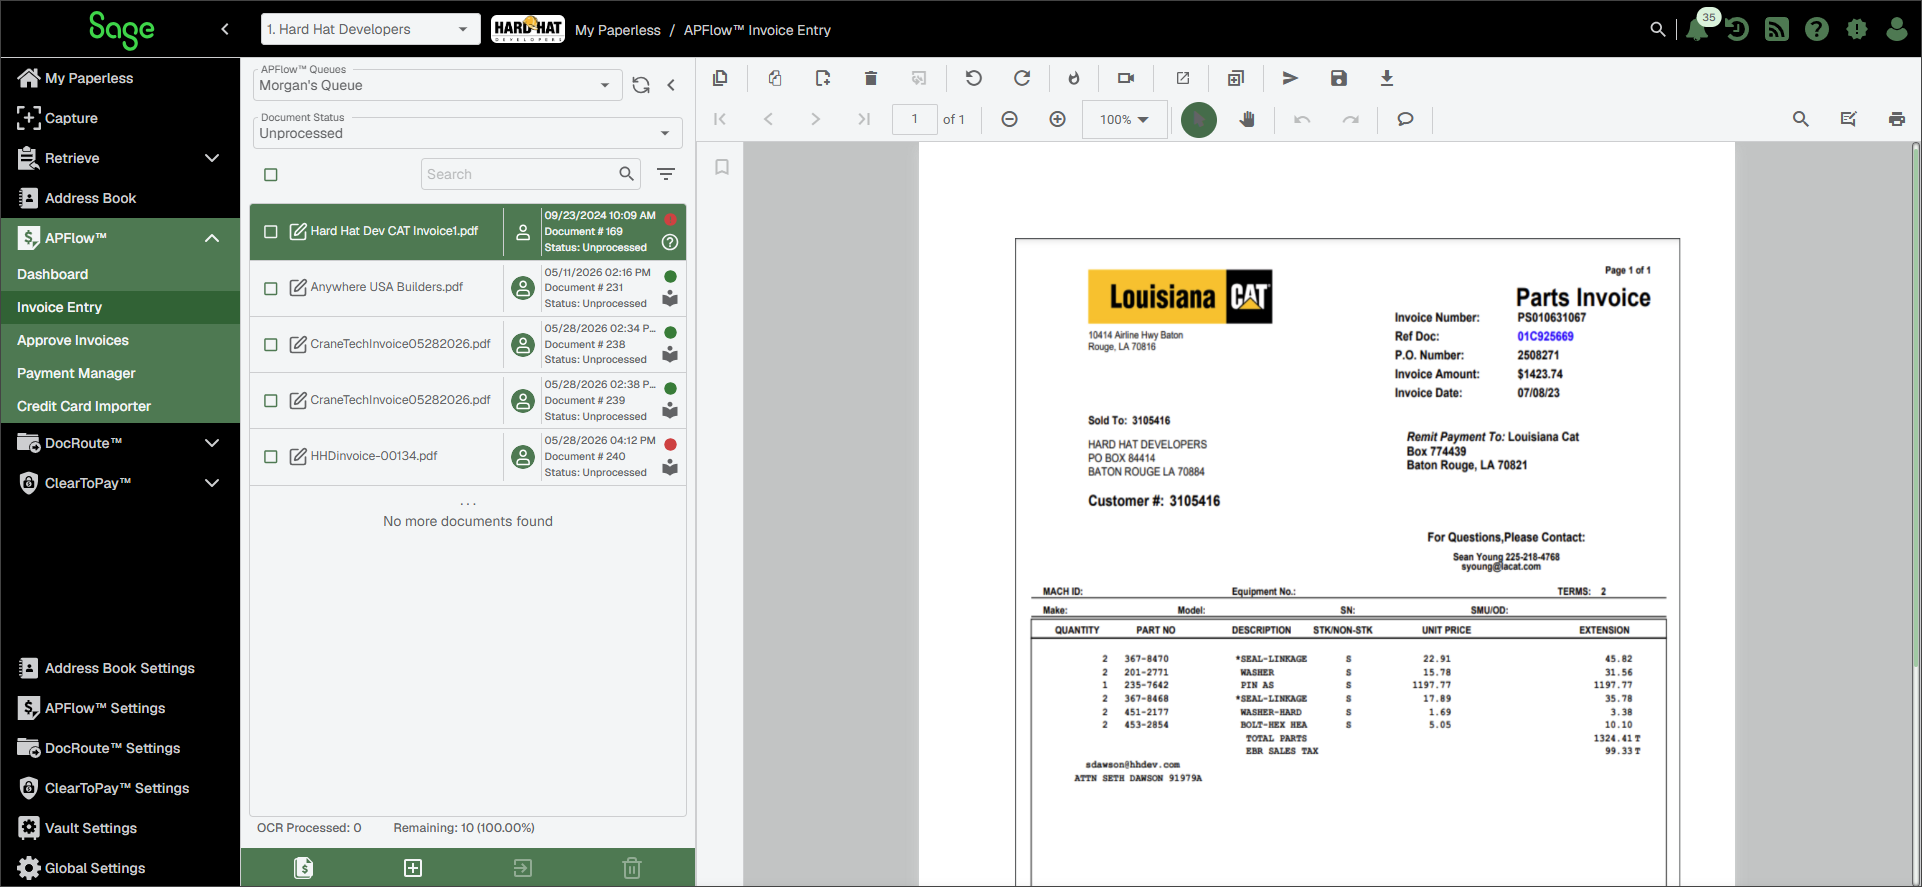
With the check box for the invoice selected, click the Create New Invoice
 icon at the bottom of the APFlow™ Queues pane.
A blank invoice template is generated. As fields are populated, italicized text descriptions may display below fields.
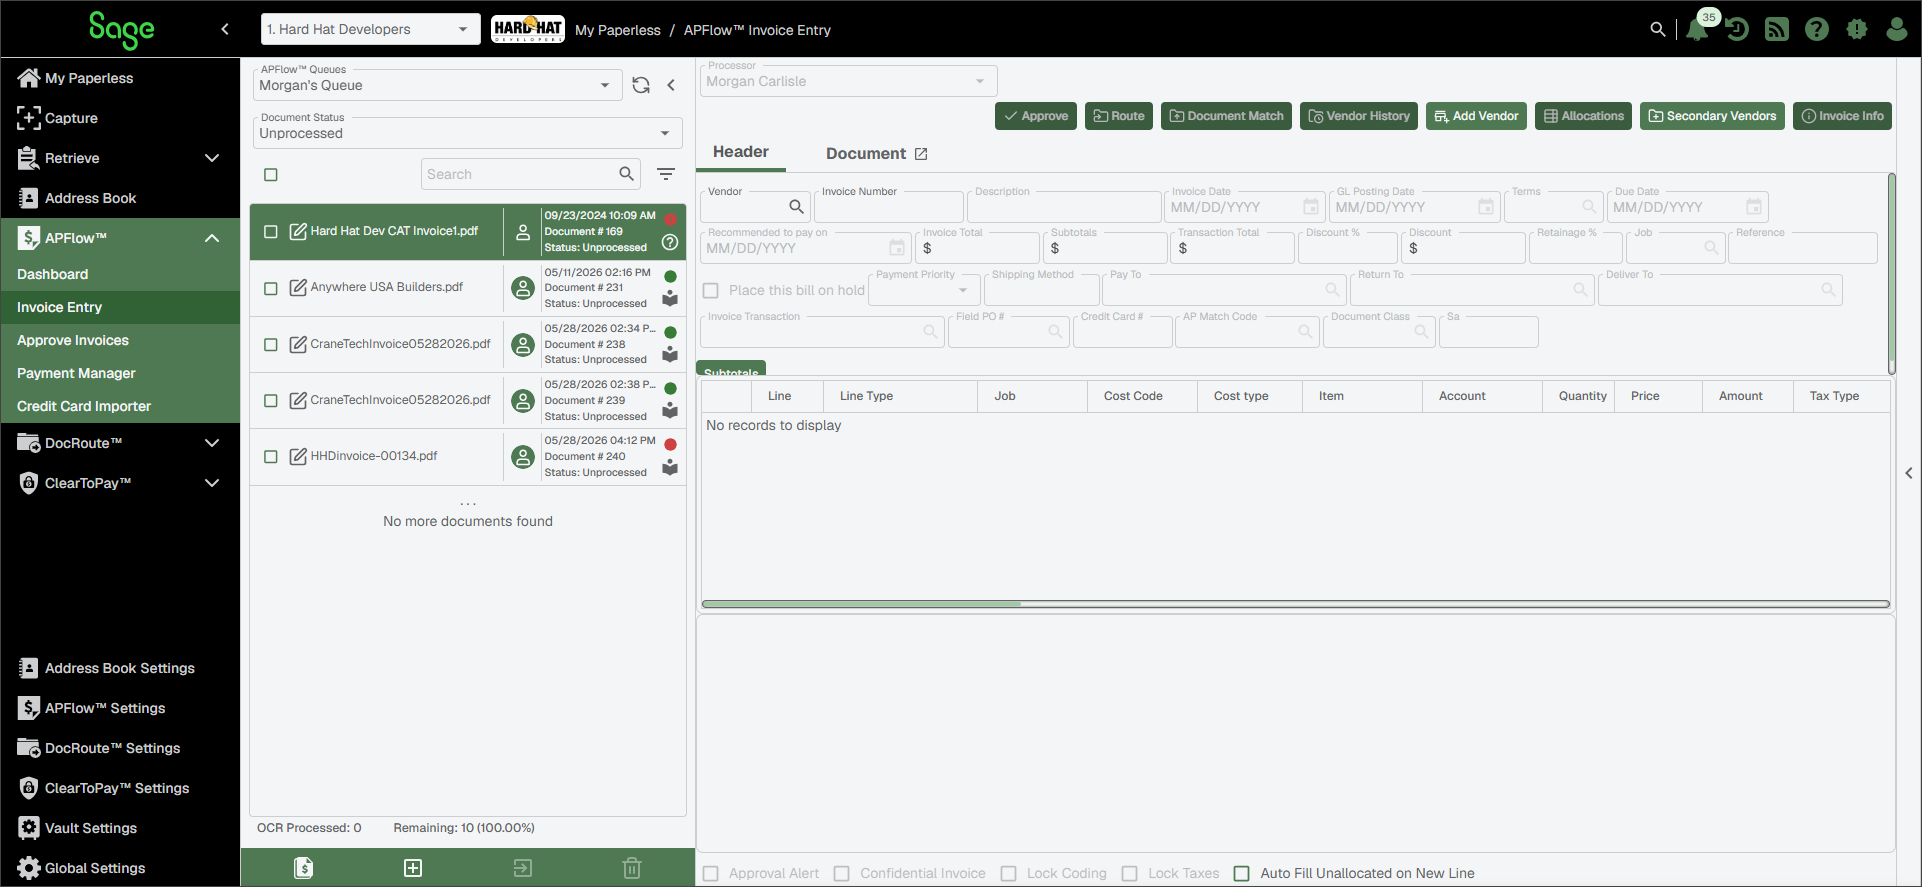
In the Header, enter the values in the Vendor and Invoice Number fields.
Click the Allocations button.
The Allocations dialog displays:
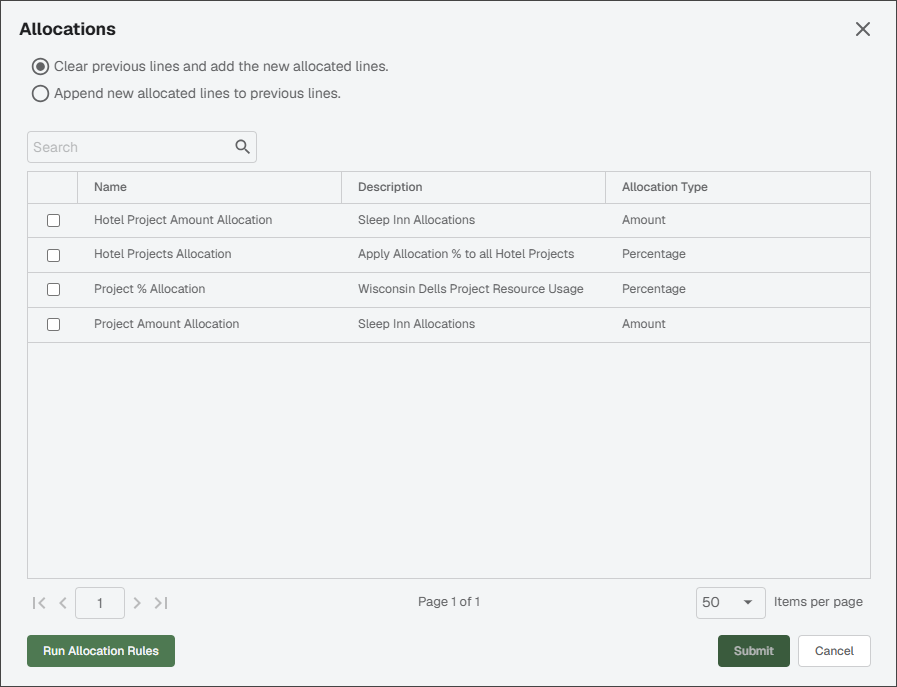
Select one of the following radio buttons:
If you already entered lines and they should be removed and new allocated lines added, select .
If new allocated lines should be added to previous lines (which should remain), select .
Select one of the listed allocations.
Click .
The dialog closes and Invoice Entry redisplays with the selected allocation applied.
Continue to code the invoice beyond those fields pre-filled through Allocations:
Add lines, as appropriate, to allocate the identified remaining Unallocated amount.
Remove a single line or multiple lines, as appropriate.
Complete any additional actions such as routing or approval.
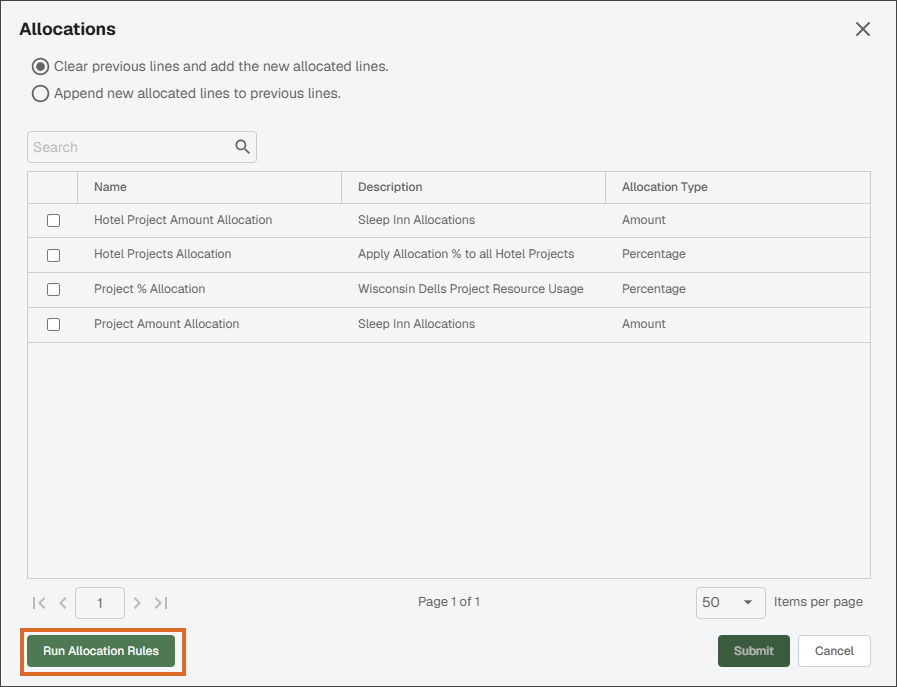
Run Allocation Rules
To have the system automatically apply templates matching the information you entered, you can click the button on the Allocations dialog without selecting an allocation.
Note
Allocation Rules automate the coding process by identifying exactly when a specific allocation should be applied, saving Processors from having to remember which template belongs to which vendor or other specific circumstances.
 |
It is possible that this may add allocation lines and recall the route.