Create a New Import
Complete the steps below to create new imports:
Note
For information on viewing and editing an existing import, see Use Credit Card Importer and its Features.
From My Paperless, click .
From the APFlow™ navigation bar dropdown, click .
The Credit Card Importer main page displays:
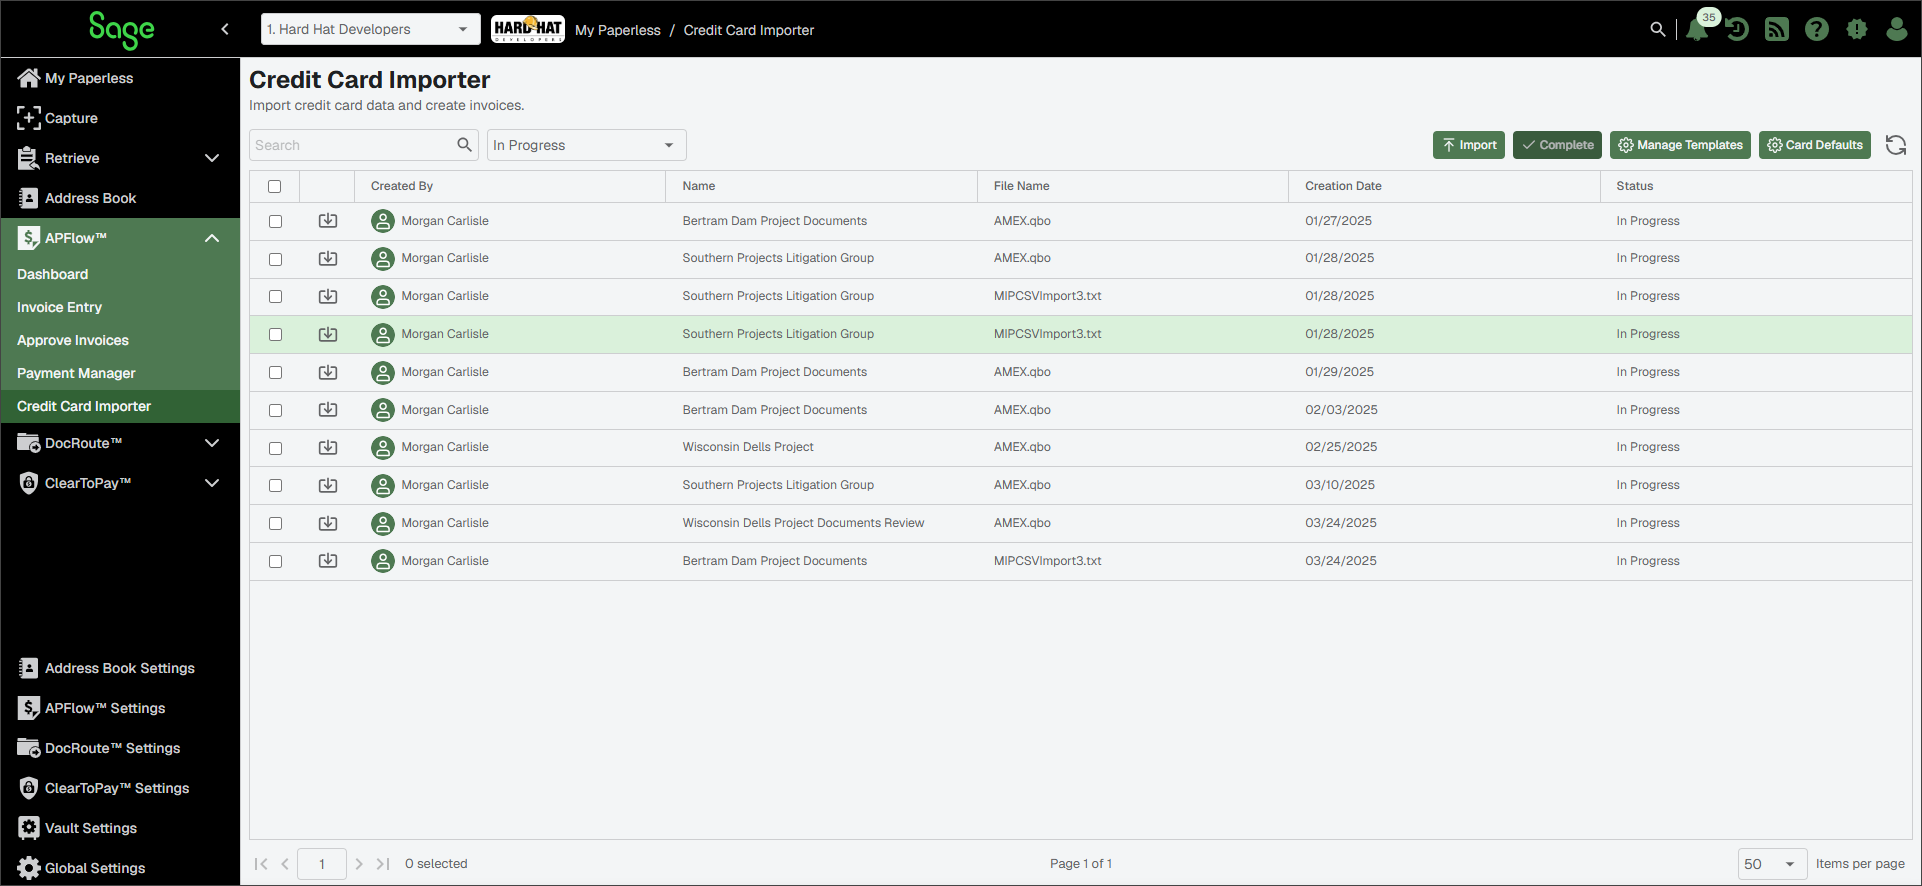
Click .
The New Credit Import dialog displays:
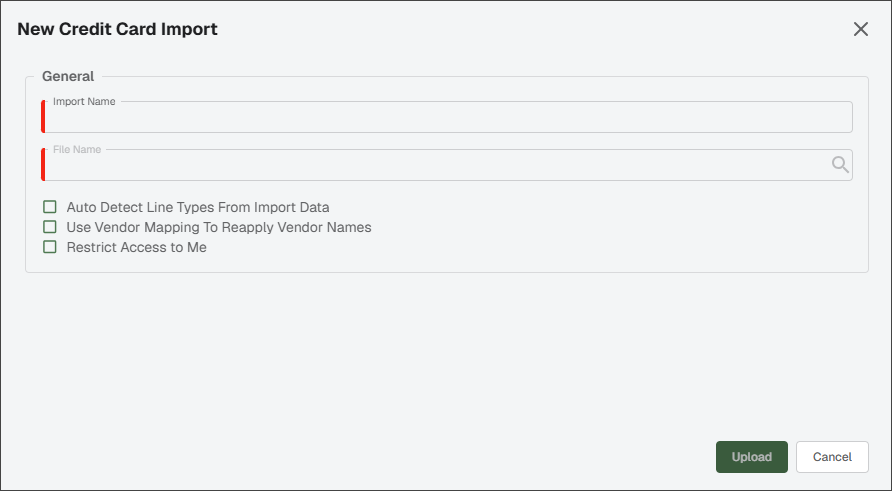
In the Import Name field, enter an appropriate name for the import. This field is required.
In the File Name field, click the Lookup
 icon to access the directory to locate the file to import. This field is required.
The last template used systematically displays in the Template Name field. This is by vault and by user.
If the file ends in one of the three "industry standard" formats (.qbo / .qfx / .ofx), the Template Name field systematically displays the following and cannot be changed:
Note
For more information about templates, see Industry Standard File Import vs. Template-Based Import.
If the file extension is .txt or .csv, a Template Name field displays on the New Credit Card Import dialog. Use the dropdown to populate the field.
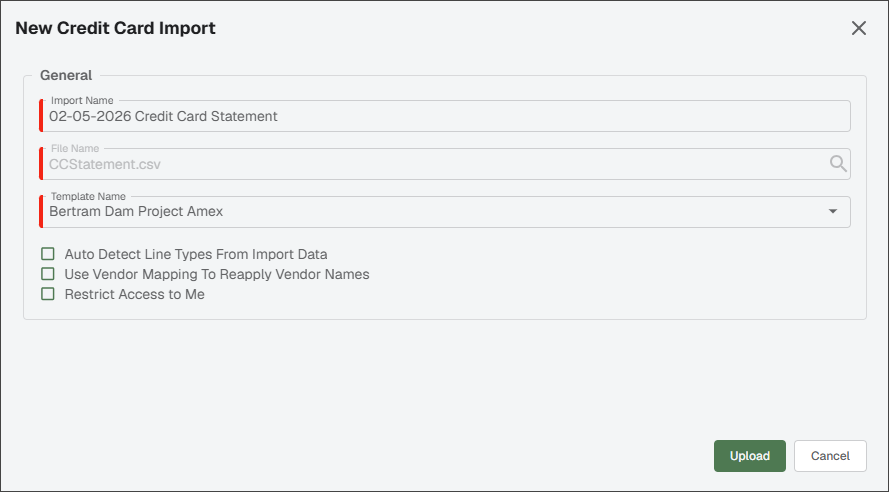
If appropriate, select Auto Detect Line Types From Import Data.
With this checked, the system identifies the line type based on what you pass in. For example, job value = job line and purchase order value = purchase order line
If appropriate, select Use Vendor Mapping to Reapply Vendor Names.
This sets the APFlow™ system to systematically match imported secondary vendors with the vendor information saved from previous imports.
If appropriate, select Restrict Access to Me.
This limits the visibility to only the person who created the import.
Note
Individuals in a Supervisor role can view import files with restricted access.
Click .