How to Use the Sidebar in Sage Paperless Construction
The sidebar (available along the right side of the screen) in Sage Paperless Construction serves as a dynamic, context-based workspace that provides you with immediate access to relevant information and actions as they navigate the system. Available across key modules such as Retrieve, APFlow™, ClearToPay™ and DocRoute™, the sidebar updates automatically based on the active document, page or workflow.
Note
The sidebar can also be collapsed and expanded by selecting the left or right arrow icon.
For more information on adding to and viewing sidebar information, see the sections below:
Note
The Document Information sidebar dropdown is available within the Retrieve, APFlow™, ClearToPay™ and DocRoute™ modules.
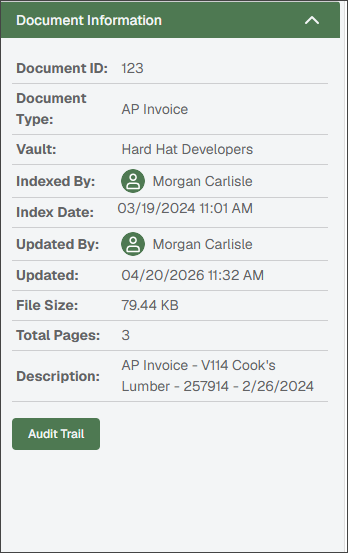
Information specific to the active document displays in the sidebar.
 |
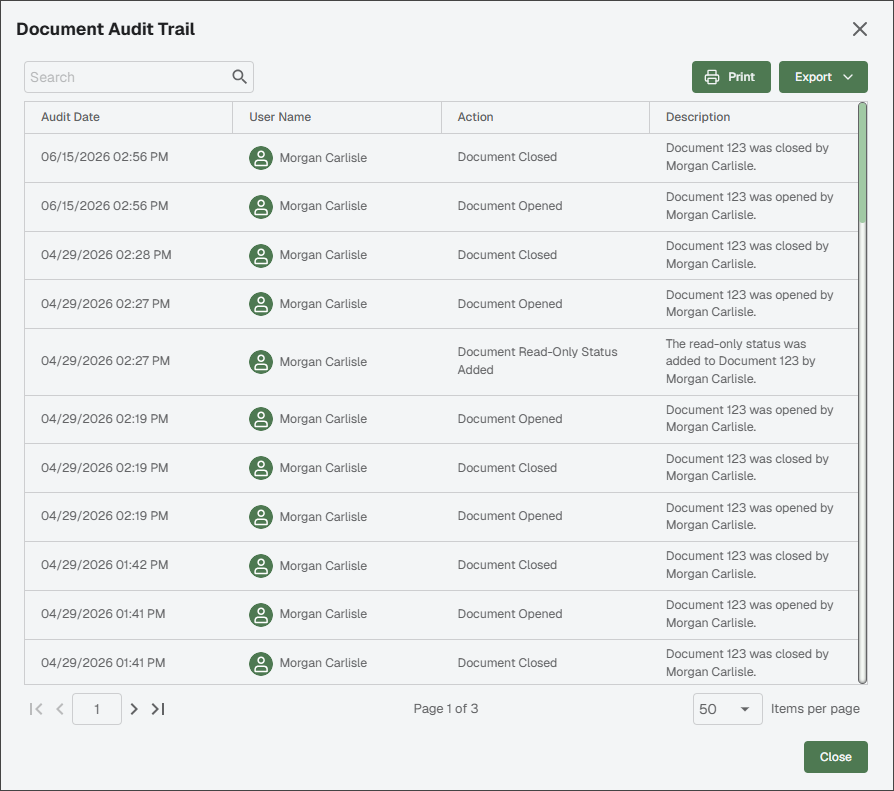
Sage Paperless Construction keeps a complete audit log of all actions taken on a document from the moment it is indexed and stored in the system to the time it is deleted.
You can click the button that displays at the bottom of the Document Information pane to view, export or print historical information about the document and its processing history. The audit trail displays who did what to the document and when. Click when finished.
 |
Note
The Indexes sidebar dropdown is available within the Retrieve, APFlow™, ClearToPay™ and DocRoute™ modules.
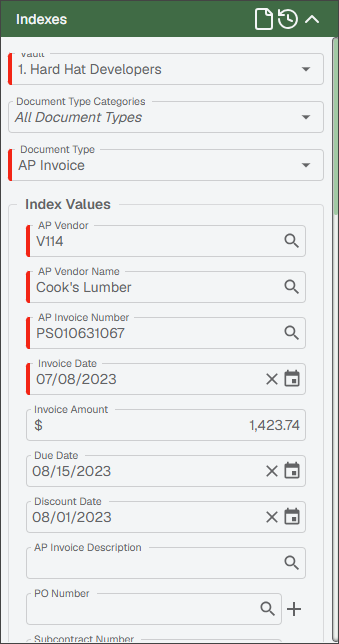
Index information and fields specific to the active document displays in the sidebar. You can use the Indexes dropdown to view all the existing index values.
 |
If you need to change any index values, complete the steps below:
Click the
 icon to index the document. For information on proper document indexing, see Index Documents in Sage Paperless Construction.
(Optional) Click the
 icon to revert your changes back to the document's original index values.
Note
Changes are tracked in .
Note
The Document Notes sidebar dropdown is available within the Retrieve, APFlow™, ClearToPay™ and DocRoute™ modules.
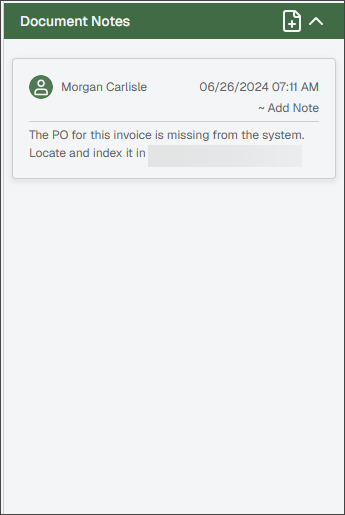
Notes pertinent to the active document display in the sidebar. This includes a note detailing when the document was originally indexed.
 |
Add a New Note
In the sidebar, click the Add Note
 icon.
icon.Enter your information in the Add Note dialog, formatting the text as necessary.
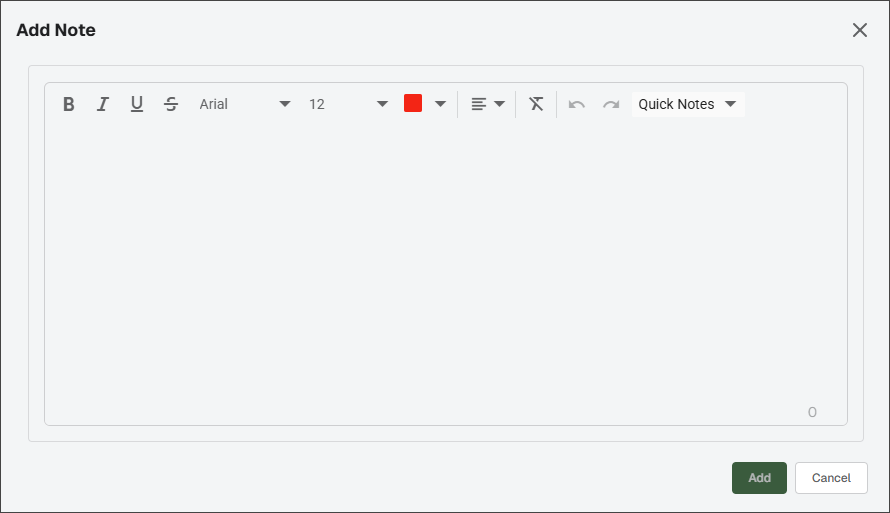
(Optional) If you have notes saved in the system, select the Quick Notes dropdown and choose the pre-created note from the list.
Note
For information on creating Quick Notes, see System Quick Notes.
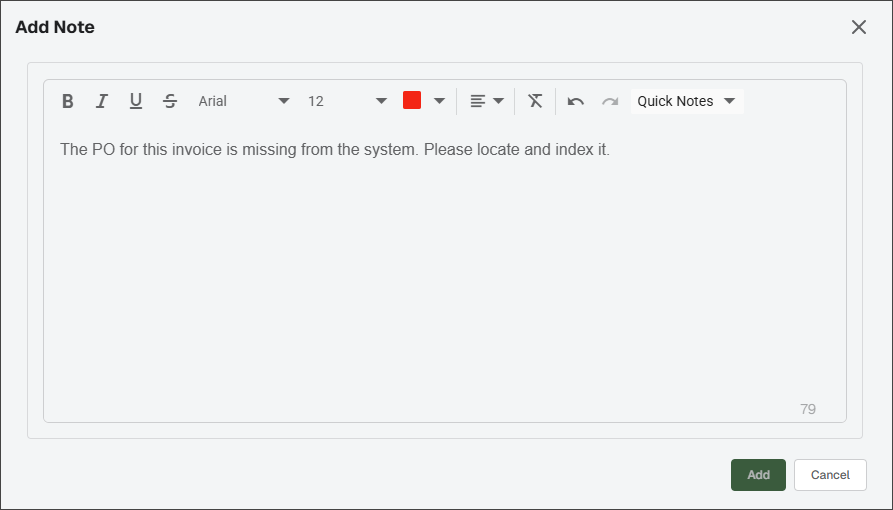
Click Add.
Your new note displays in the sidebar.
Note
The Document Snapshots sidebar dropdown is available within the Retrieve, APFlow™, ClearToPay™ and DocRoute™ modules.
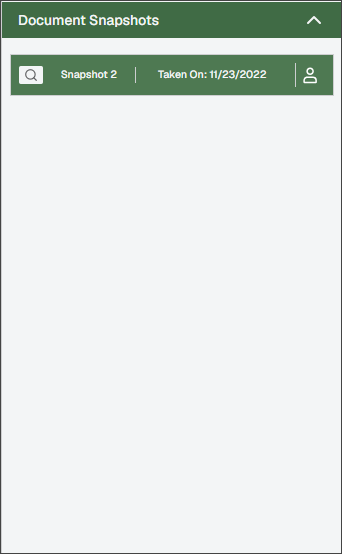
If you have taken any snapshots of the active document, they display in the sidebar. Snapshot details (including the snapshot name, when the snapshot was taken and who took the snapshot) are listed beneath the Document Snapshots dropdown. For information on taking a new snapshot of a document, see Configure and Take Document Snapshots.
Note
All snapshots of the current document display in reverse chronological order, with the most recent snapshot displaying first.
 |
Complete the following steps to view a snapshot and/or update the document:.
Click to open the dialog. From there, you can view snapshot notes and do any of the following:
Note
Any notes associated with the snapshot should display in the Notes section of the dialog box.
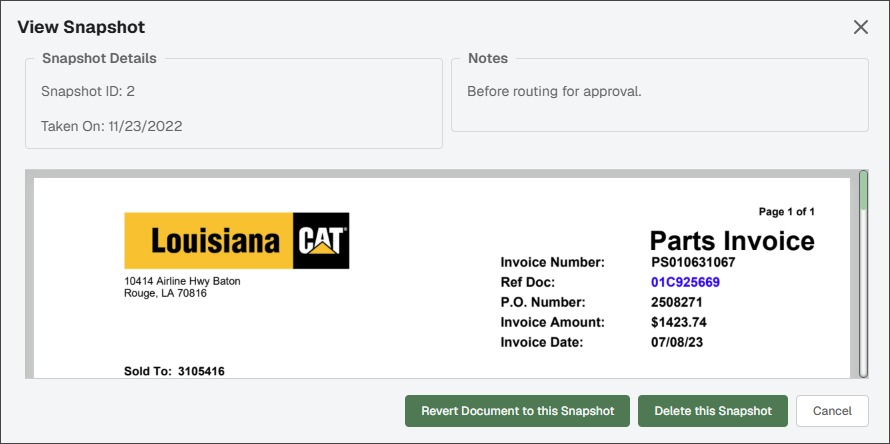
Click to change the document back to the previous version represented by the snapshot. A snapshot of the current document is made and the selected snapshot is copied into the current document's position.
Click to remove it from the system. You must have proper permissions enabled within to be able to do so.
Important
There is no prompt associated with this action. When you click Delete this Snapshot, the snapshot is immediately deleted and cannot be recovered.
Click to close the View Snapshot dialog.
Click the Close
 icon.
icon.
Note
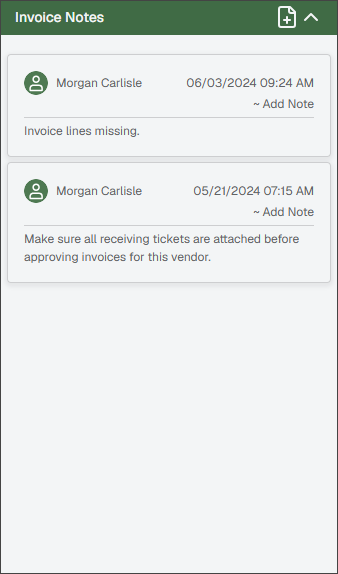
The Invoice Notes sidebar dropdown is available within the APFlow™ module.
Any notes pertinent to the active invoice display here. This includes a note detailing when the invoice was originally indexed.
 |
Add a New Note
In the sidebar, click the Add Note
icon.Enter your information in the Add Note dialog, formatting the text as necessary.
(Optional) If you have notes saved in the system, select the Quick Notes dropdown and choose the pre-created note from the list.
Note
For information on creating Quick Notes, see System Quick Notes.
Click Add.
Your new note displays in the sidebar.
Note
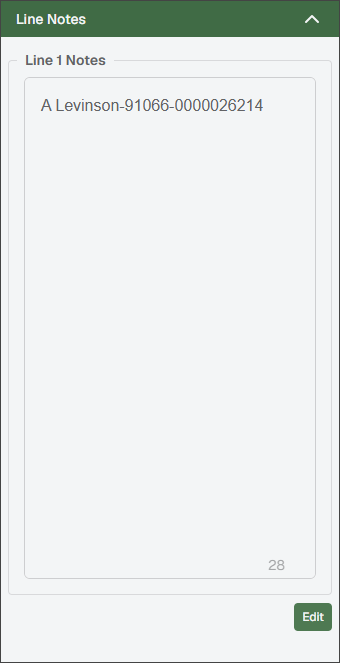
The Line Notes sidebar dropdown is available within the APFlow™ module.
Line notes are relevant to specific lines in the current invoice.
 |
While editing an invoice line item, complete the following steps to add or edit a line note:
In the Line Notes sidebar dropdown, click .
In the text field, enter your note.
Click .
Line notes display with the most recent entry listed first.
Note
The Invoice Image sidebar dropdown is available within the Credit Card Importer APFlow™ module.
The Invoice Image section contains any matches associated with the document currently highlighted.
 |
To add an Invoice Image page, click  . A folder housing invoice images displays. Select the image to display in the sidebar.
Note
The Reviewer Information sidebar dropdown is available within the APFlow™ module.
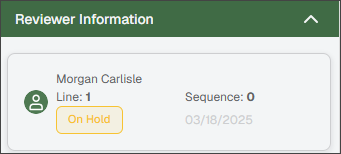
The Reviewer Information section identifies the reviewers from the APFlow route.
Look here to determine the reviewer of each line, that individual's sequence number, the status of the document routed (for example On Hold, Approved, etc.) and the date the document was routed.
 |
Note
The Tasks sidebar dropdown is available within the APFlow™ module.
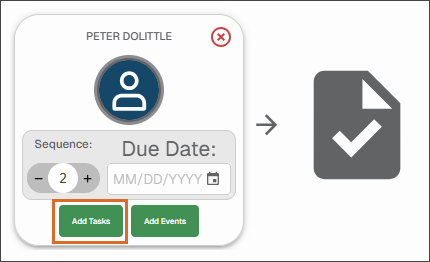
Tasks can be assigned manually to particular recipients during routing (image example below), or may be systematically included in route templates or routing rules. For information on creating tasks, see Configure APFlow™ Tasks.
 |
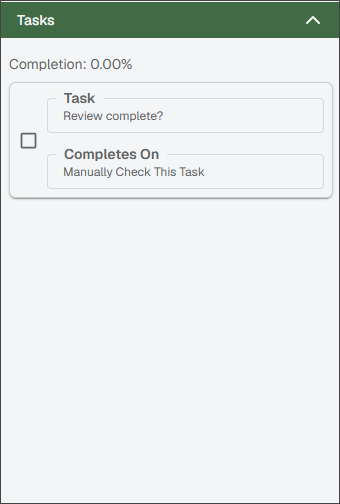
Tasks assigned to individuals during the APFlow process display here:
 |
Note
The Route Messages sidebar dropdown is only available within the DocRoute™ module.
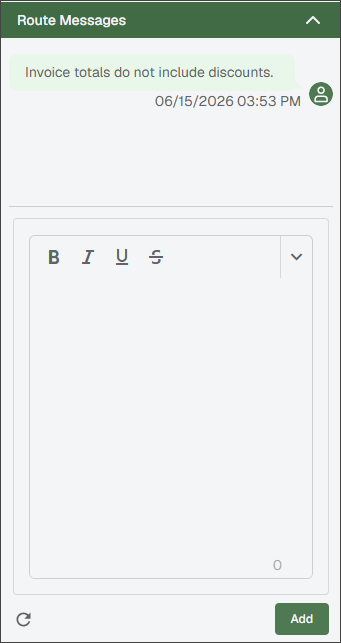
You can enter a route message to send a response to all users in a particular route's sequence or enter a message explaining why you rejected a route. Any route messages associated with the route display in the sidebar.
 |
Note
The Preview and sidebar dropdown is only available within the DocRoute™ module. The Document Preview sidebar dropdown functions similarly, and is available within the Retrieve module.
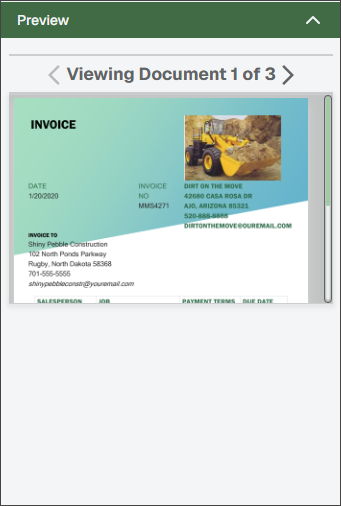
Use the Preview dropdown to view a thumbnail image for all documents included in a route.
 |
Note
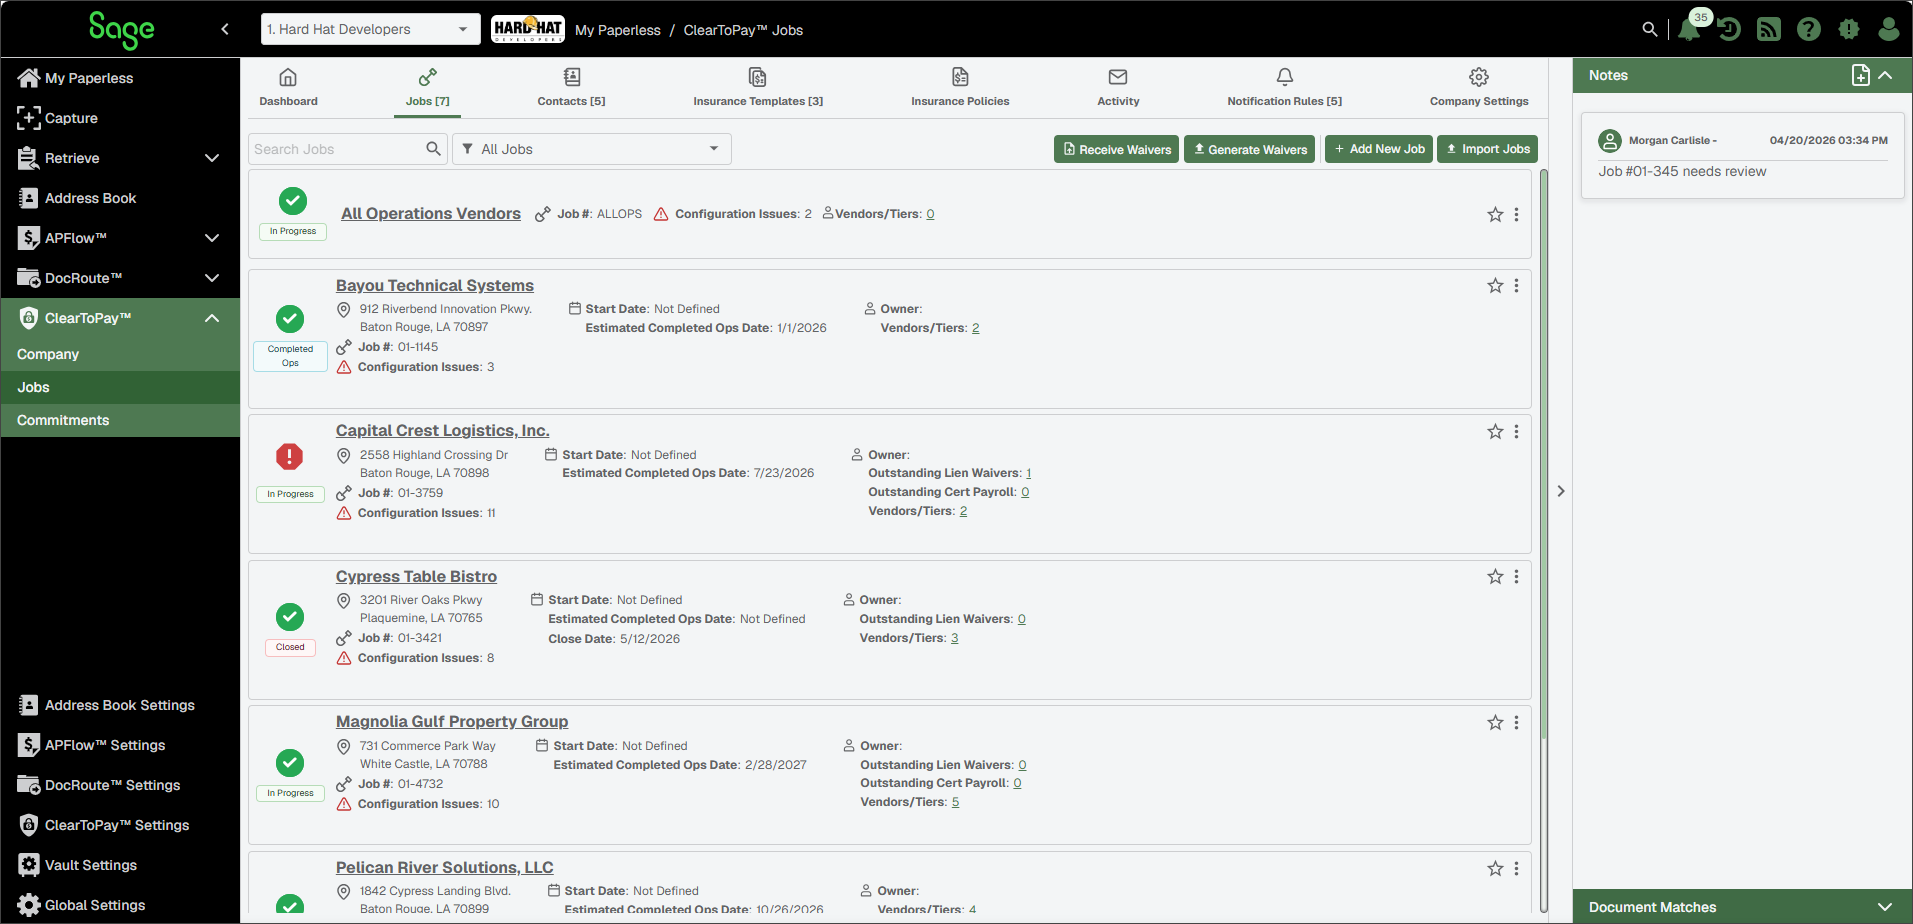
The Notes sidebar dropdown is only available within the ClearToPay™ module.
Notes pertinent to the active page display in the sidebar. Notes can be added to convey relevant information or recommendations to other ClearToPay users. Keep in mind that if a note is added at the company level, it displays on all company pages and tabs. If a note is added at the job level, it is visible throughout that job's various tabs, but does not display when viewing vendors for that job. Vendor pages also are visible throughout that specific vendor's pages, but do not display on that vendor's job or tier vendor pages.
In the sidebar, notes display the name of the user who submitted the note, the date and time the note was created and a short synopsis of the note's text.
To review the entire text within an existing note, hover over the note and click to open it.
Note
You cannot edit the text in an existing note.
Add a New Note
In the sidebar, click the Add Note
icon.Enter your information in the Add Note dialog, formatting the text as necessary.
(Optional) If you have notes saved in the system, select the Quick Notes dropdown and choose the pre-created note from the list.
Note
For information on creating Quick Notes, see System Quick Notes.
Click Add.
Your new note displays in the sidebar.
Note
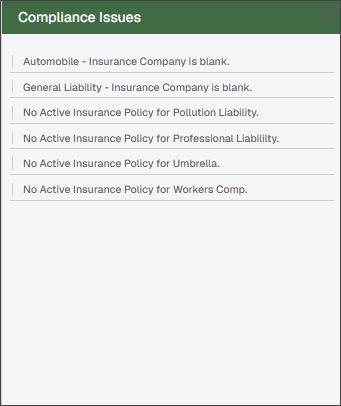
The Compliance Issues sidebar dropdown is only available within the ClearToPay™ module.
When viewing a vendor's dashboard or pages, the compliance issues for that particular vendor (or tier) display in the Compliance Issues sidebar. The list of compliance issues may filter based on the page or record you are viewing.
As you work through issues and make updates, you can see the running list and click the Refresh  icon to clear issues as they are addressed.
 |
Note
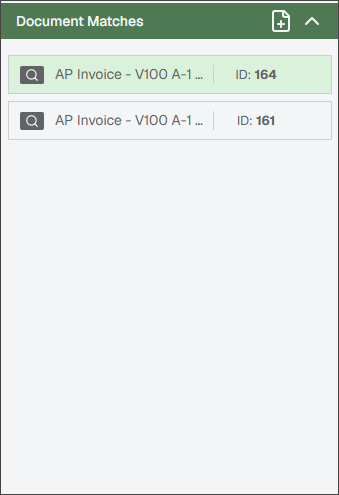
The Document Matches sidebar dropdown is available within the Retrieve, APFlow™, ClearToPay™ and DocRoute™ modules.
Document Matches contains any matches associated with the document currently highlighted. For more information on adding a matched document, see Match a Document.
 |