Global Queue Configuration
Sage Paperless Construction employs a special "listing" or "inbox" of non-indexed documents called a “Queue”. Queues can be assigned to individual users or to groups of users for gathering and routing documents for further processing.
Global Settings is where you can create all queues that are used across the system, define their queue categories, flag if the queue can be used for OCR, configure which users can see the queue and set which vaults the queue is available to. For more information on selecting from a list of existing queues and configuring them for use in a particular vault, see Vault Queue Configuration.
Feature | Global Settings | Vault Settings |
|---|---|---|
Permissions Required | System Administrator | System or Vault Administrator |
Administrator Access | ||
Primary Goal | Create, name and manage the key properties of queues and their categories. | Set up an existing queue for use in one particular vault. |
Users Access | Assign which users can access and use the queue. | N/A |
OCR (if licensed) | Select check box to allow queue to be used for OCR. | Assign specific OCR Workflow and processor. NoteOnly available if queue is flagged for OCR within Global Settings. |
Scope | Organization-wide | Current vault only |
From My Paperless, click .
In the Global Settings navigation bar, click .
From the Queues dropdown, click .
A page similar to the following displays:
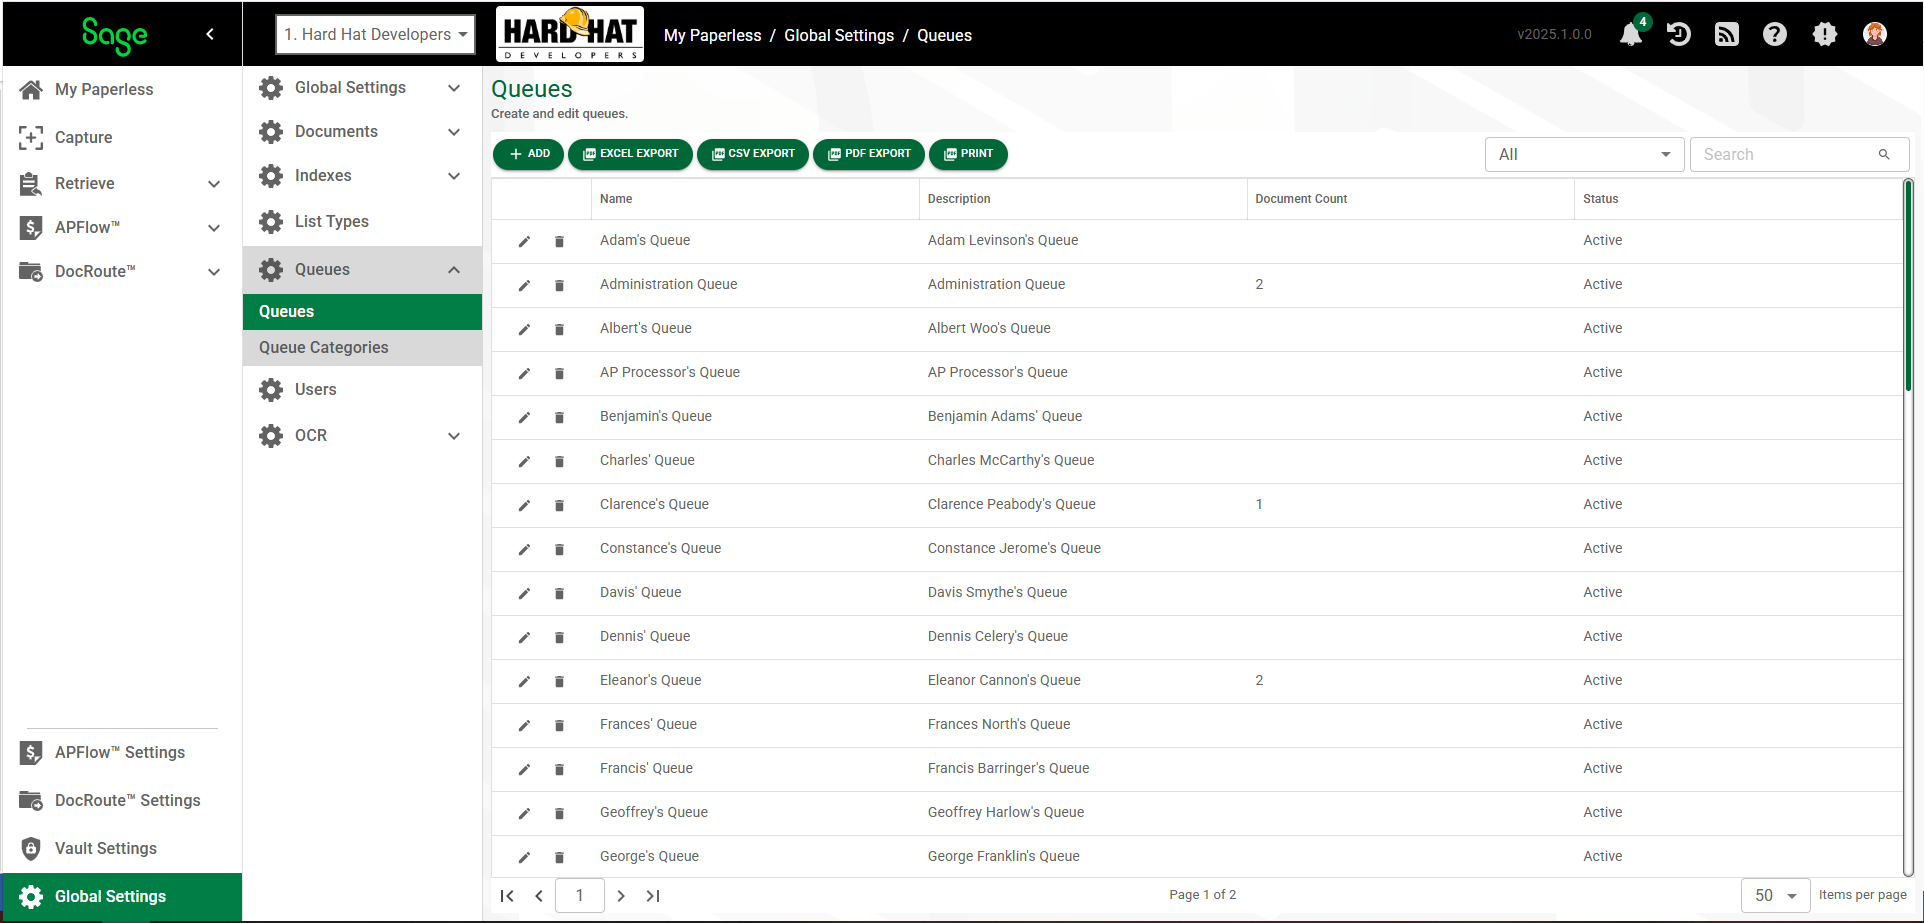
From the Queues page, click .
The Queue Properties page displays with the General tab active:
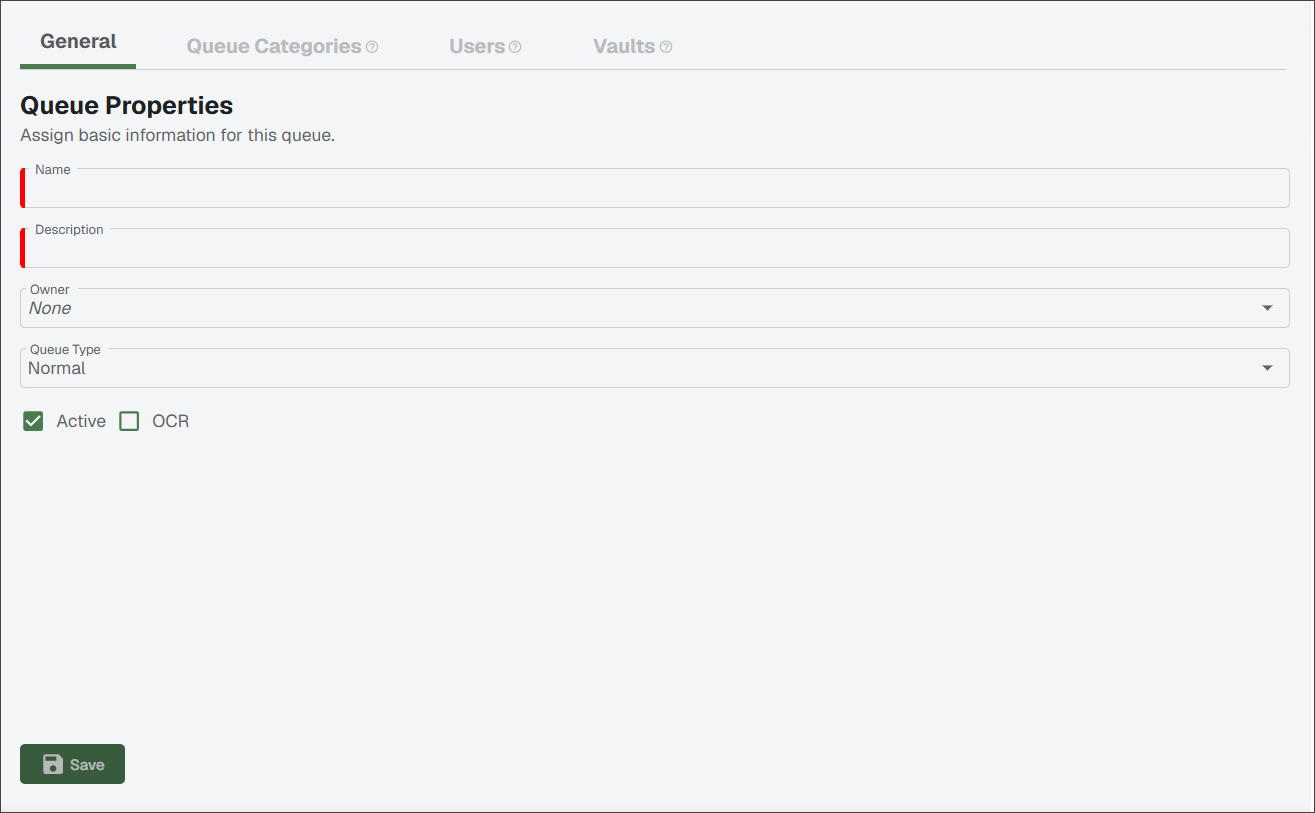
In the Name field, enter the name of the new queue. This field is required.
In the Description field, enter a description of the new queue. This field is required.
Use the Owner dropdown to assign a Sage Paperless Construction user as the principal "owner".
Note
This is an optional field used for reporting purposes only.
Use the Queue Type dropdown to associate this queue with specific modules or workflows. Normal is the default.
Click to indicate the queue is active in the Sage Paperless Construction system.
Click to associate the appropriate OCR workflow. See Configure OCR Queues for more information.
Click to activate the remaining tabs.
Click the tab.
A page similar to the following displays:
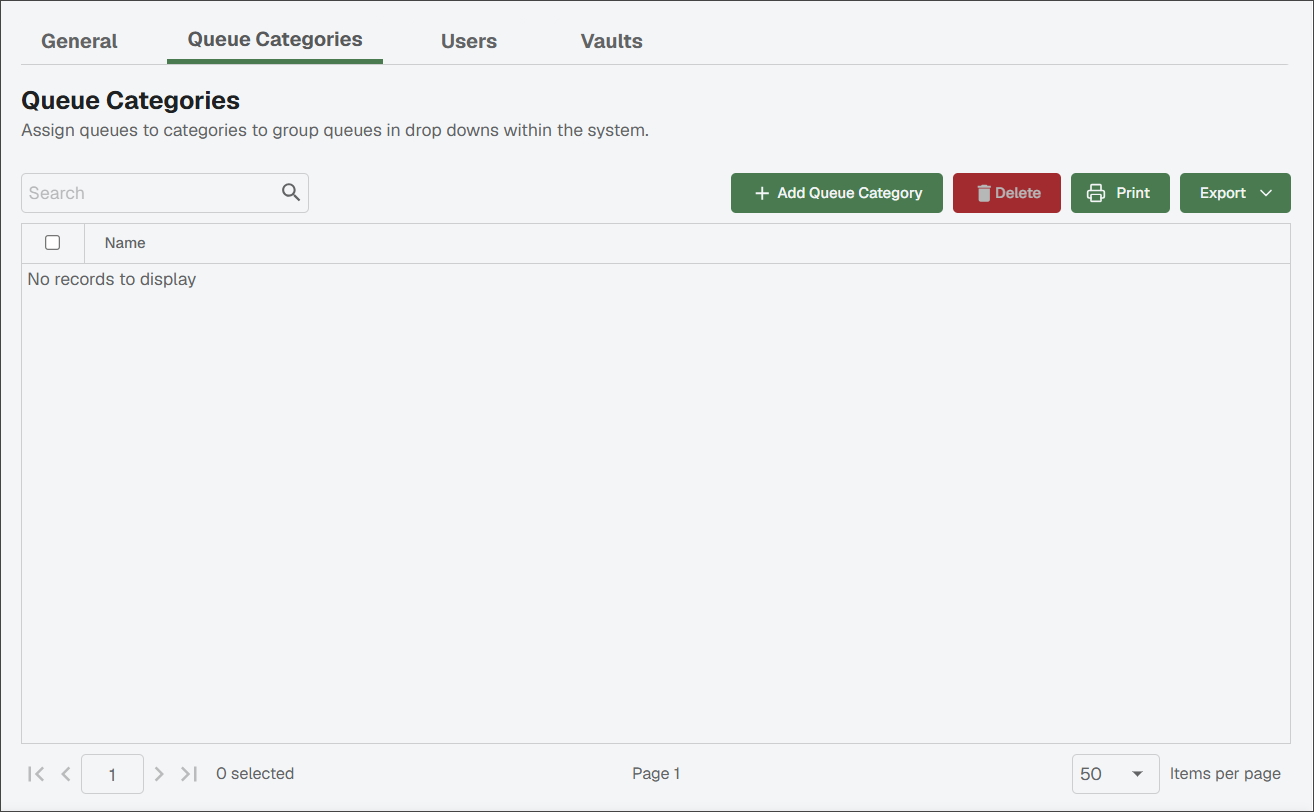
Click .
The Add Queue Categories dialog displays:
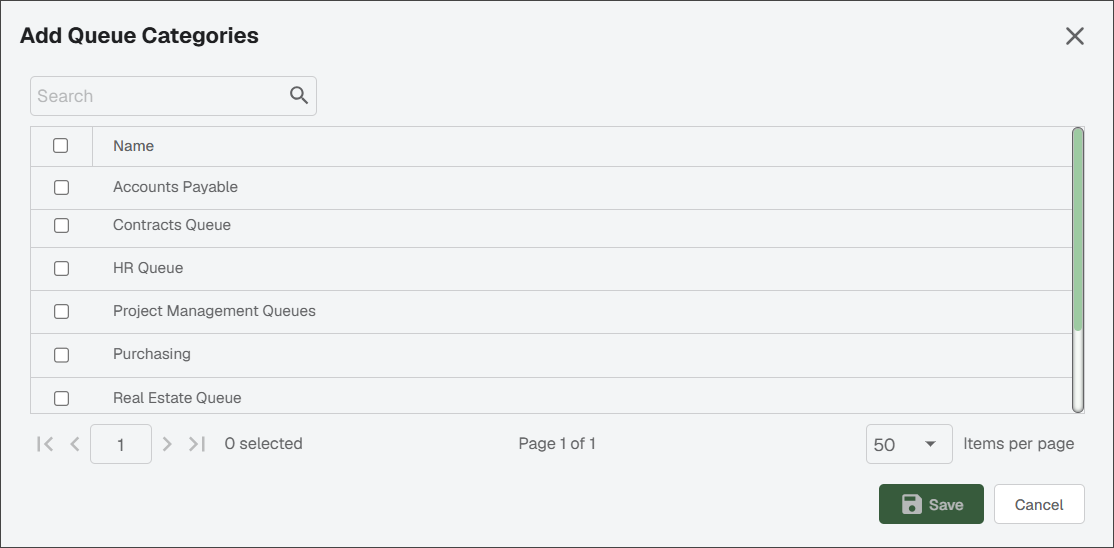
Select check box(es) for the queue categories to which this new user queue should have access.
Click .
Click the tab.
A page similar to the following displays:
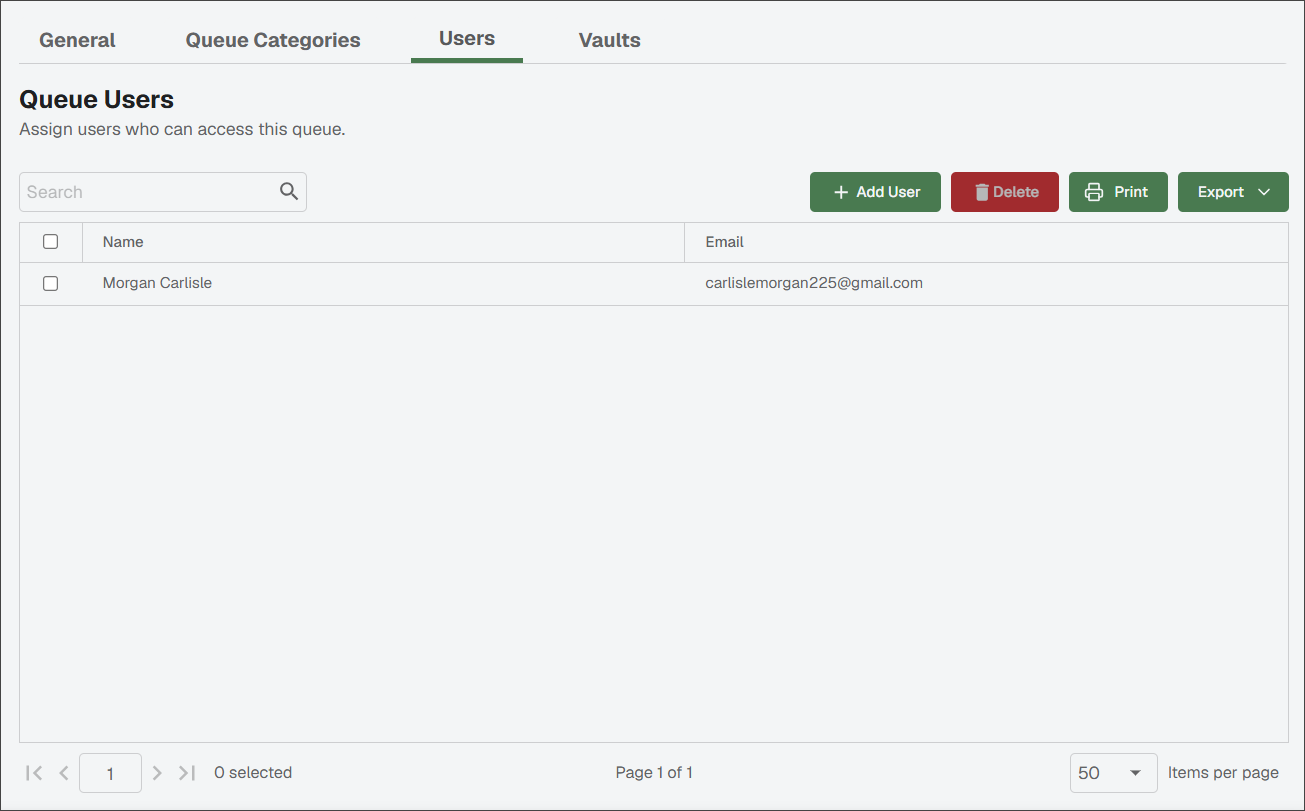
Click .
The Add Users dialog displays:
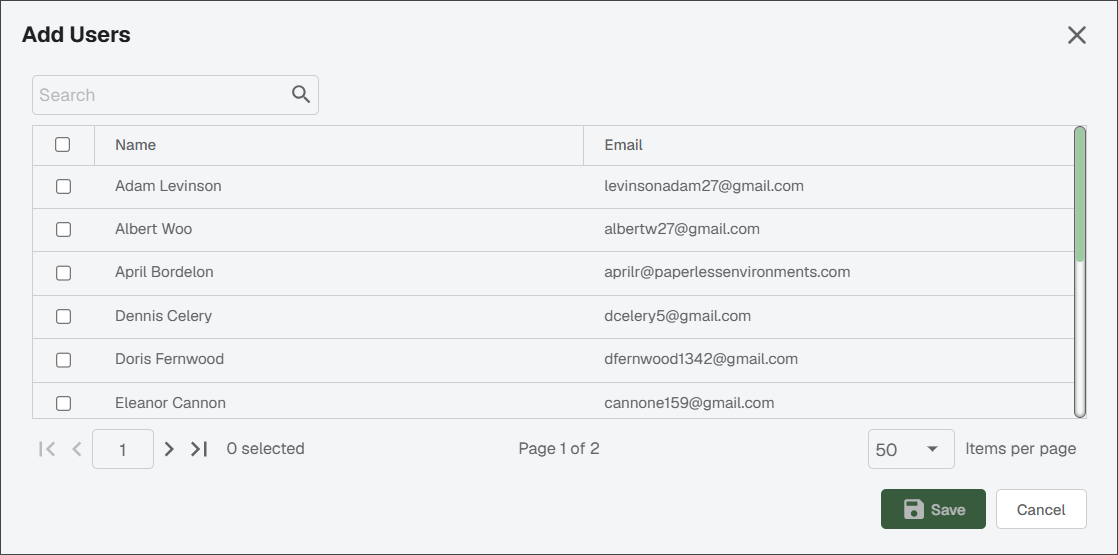
Scroll through the user(s) who should have access to this queue and select the associated check box(es).
Click .
Click the tab.
A page similar to the following displays:
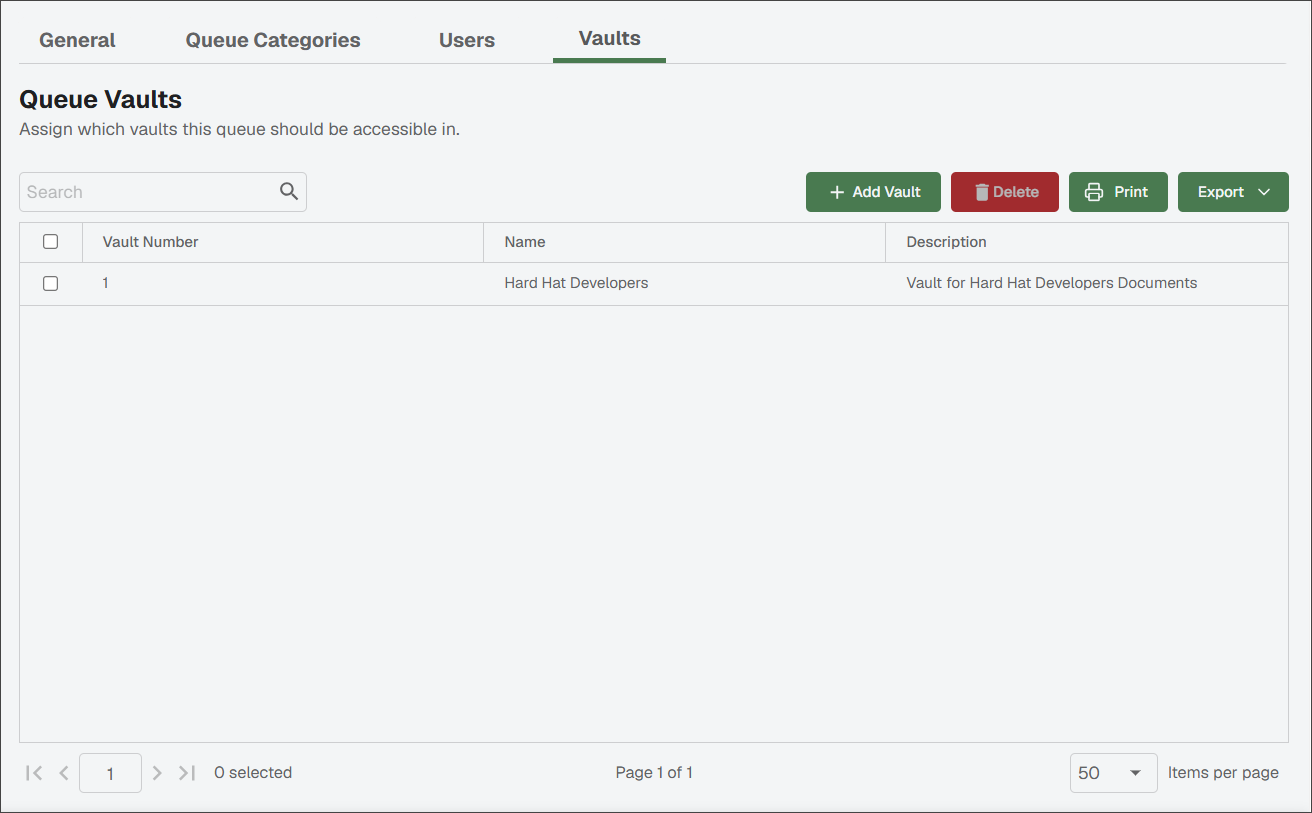
Click .
The Add Vault dialog displays:
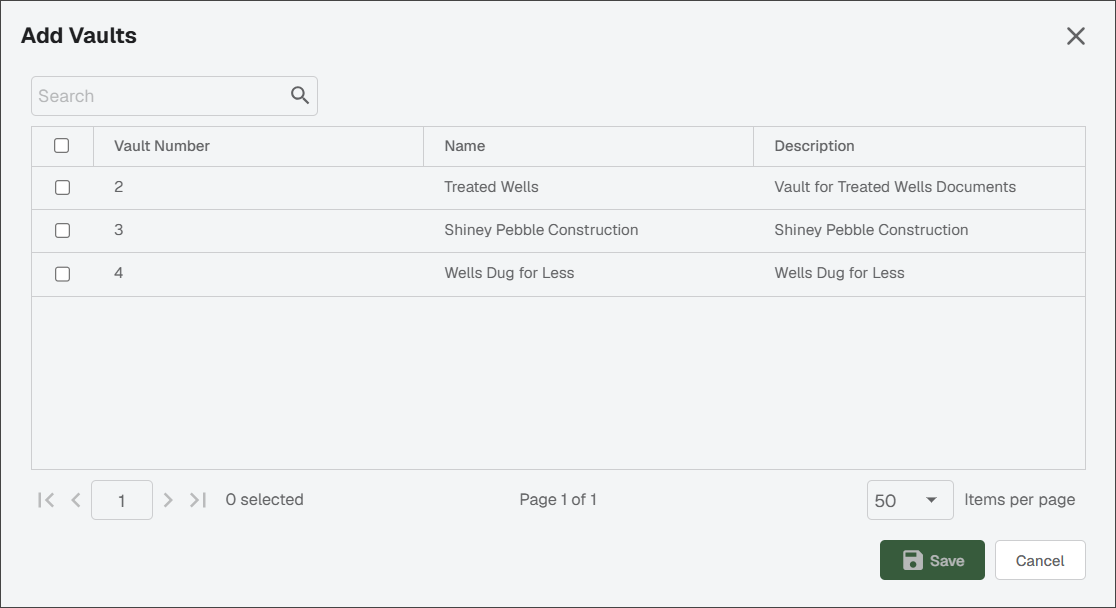
Click the check box(es) to select the vault(s) to which this new user queue should have access.
Click to save the new queue.
Sage Paperless Construction Administrators can create queue categories to group "like" user queues together. This is useful for filtering the queue list when pushing documents to a queue.
From the Queues dropdown, click
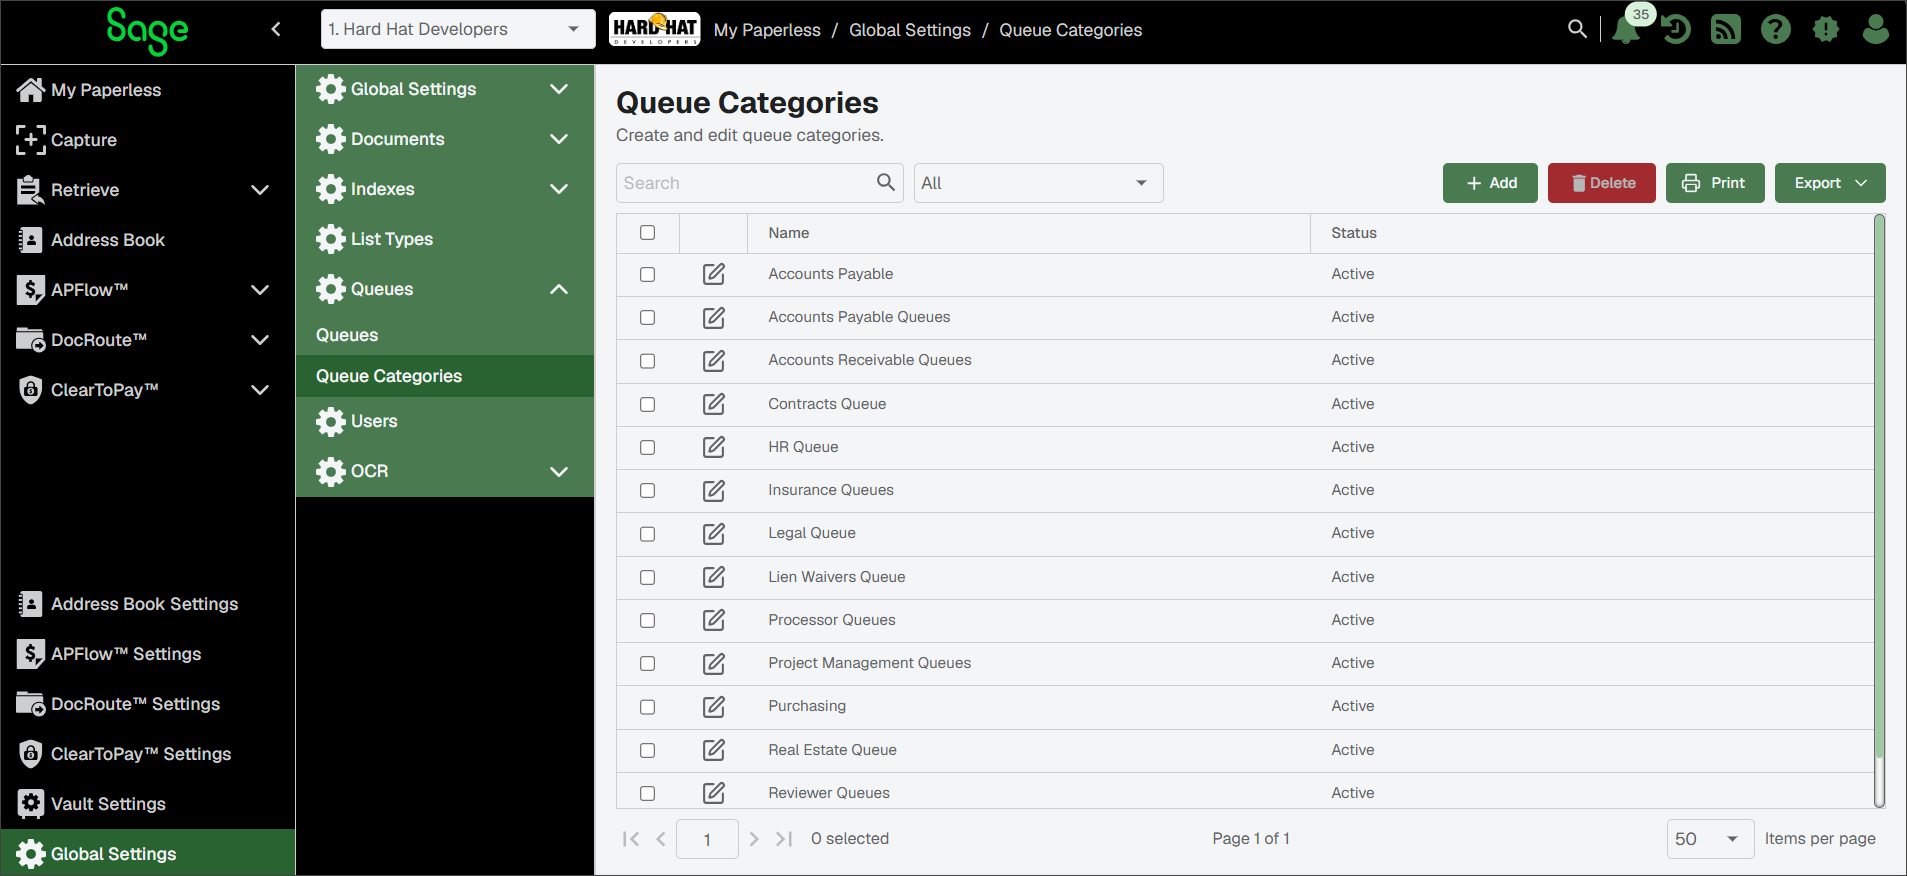
The Queue Categories page displays:
Click .
A Queue Category Properties page similar to the following displays with the General tab active:
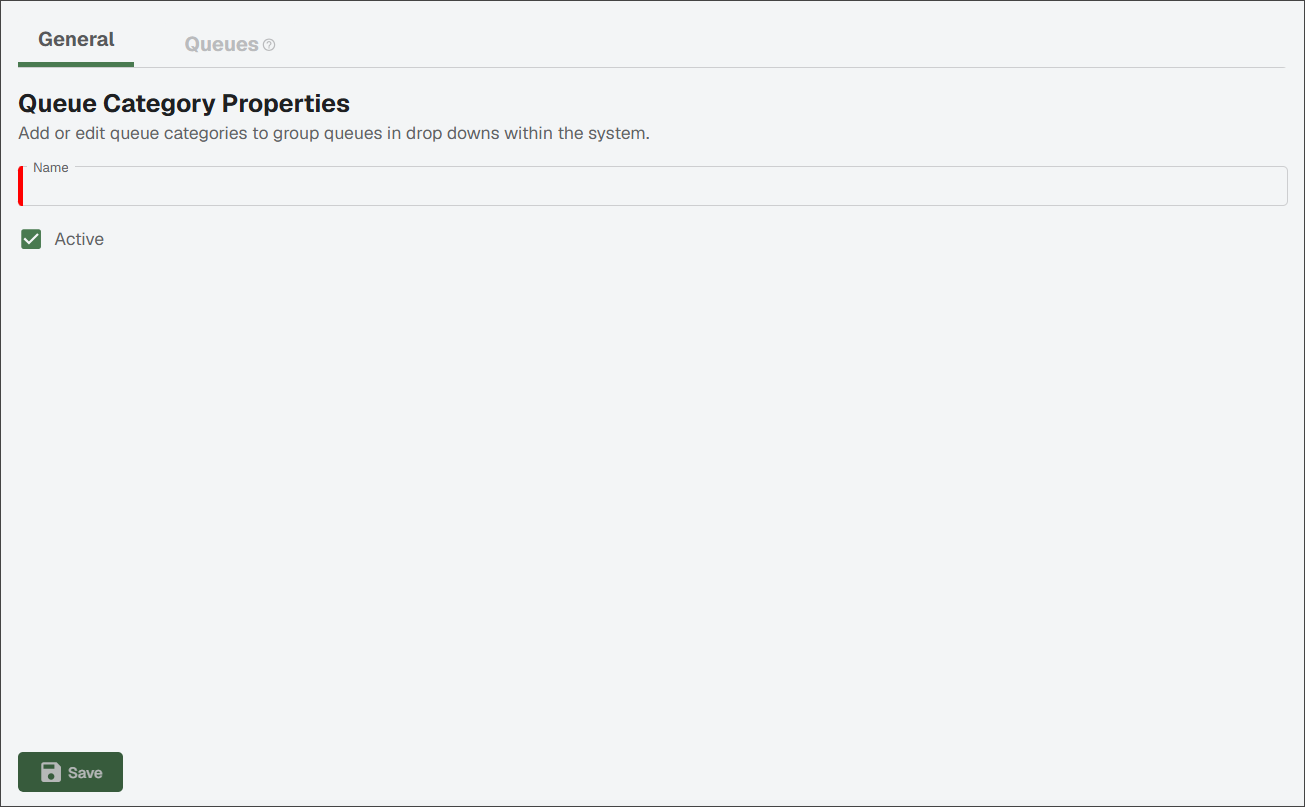
In the Name field, enter the name of the new category.
Select the check box to make the new category active.
Click .
Click the tab.
The Queues page displays:
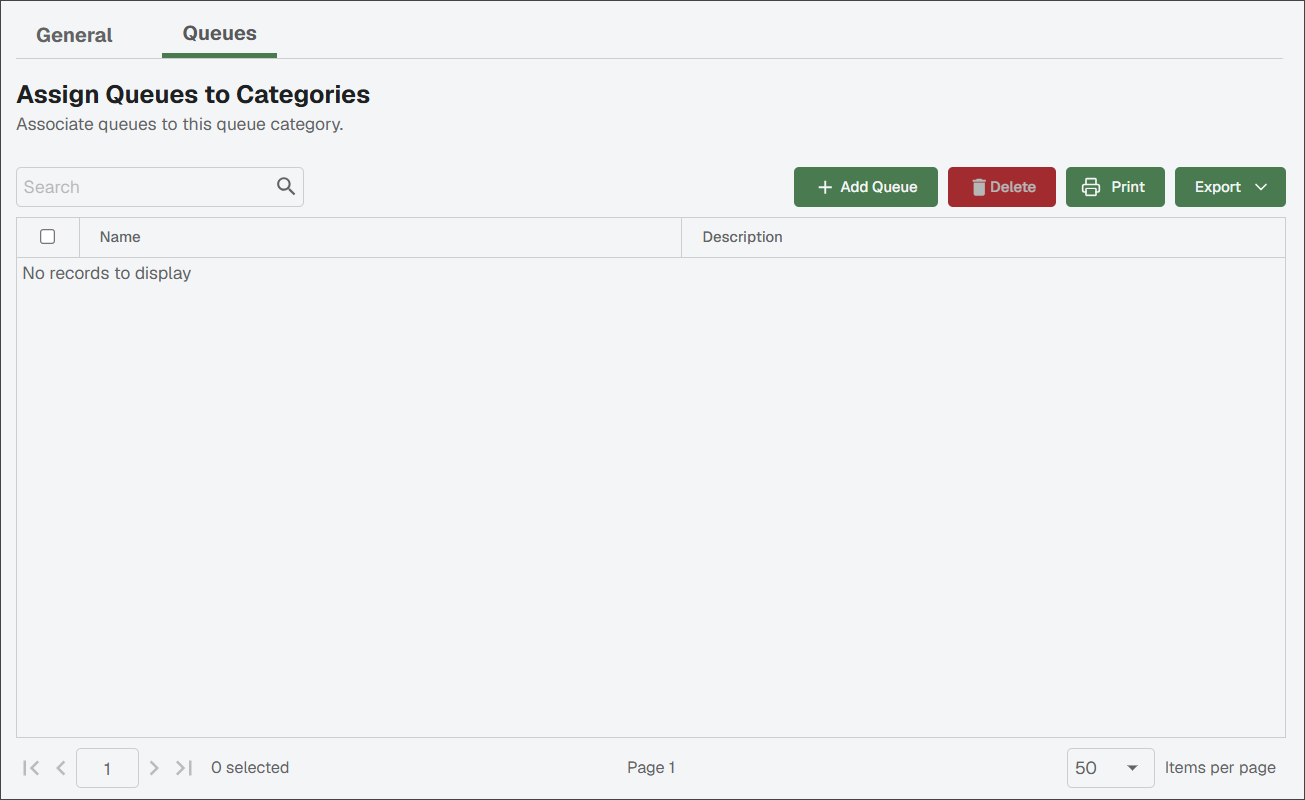
Click .
Scroll through the queues to select the check box(es) for the queues to associate with this new queue category.
Click .