Company Insurance Templates
Important
You must be configured as with Compliance Manager or Auditor access permissions for the current vault to be able to view the Company pages within ClearToPay. Only a user with Compliance Manager permissions can edit this page.
Company insurance templates are used to establish standard insurance requirements that can be assigned to jobs (and then vendors). Complete the following steps to use the Insurance Templates page to manage insurance requirements at the company level:
From My Paperless, click .
In the ClearToPay™ navigation bar, click .
Click .
A page similar to the following displays:
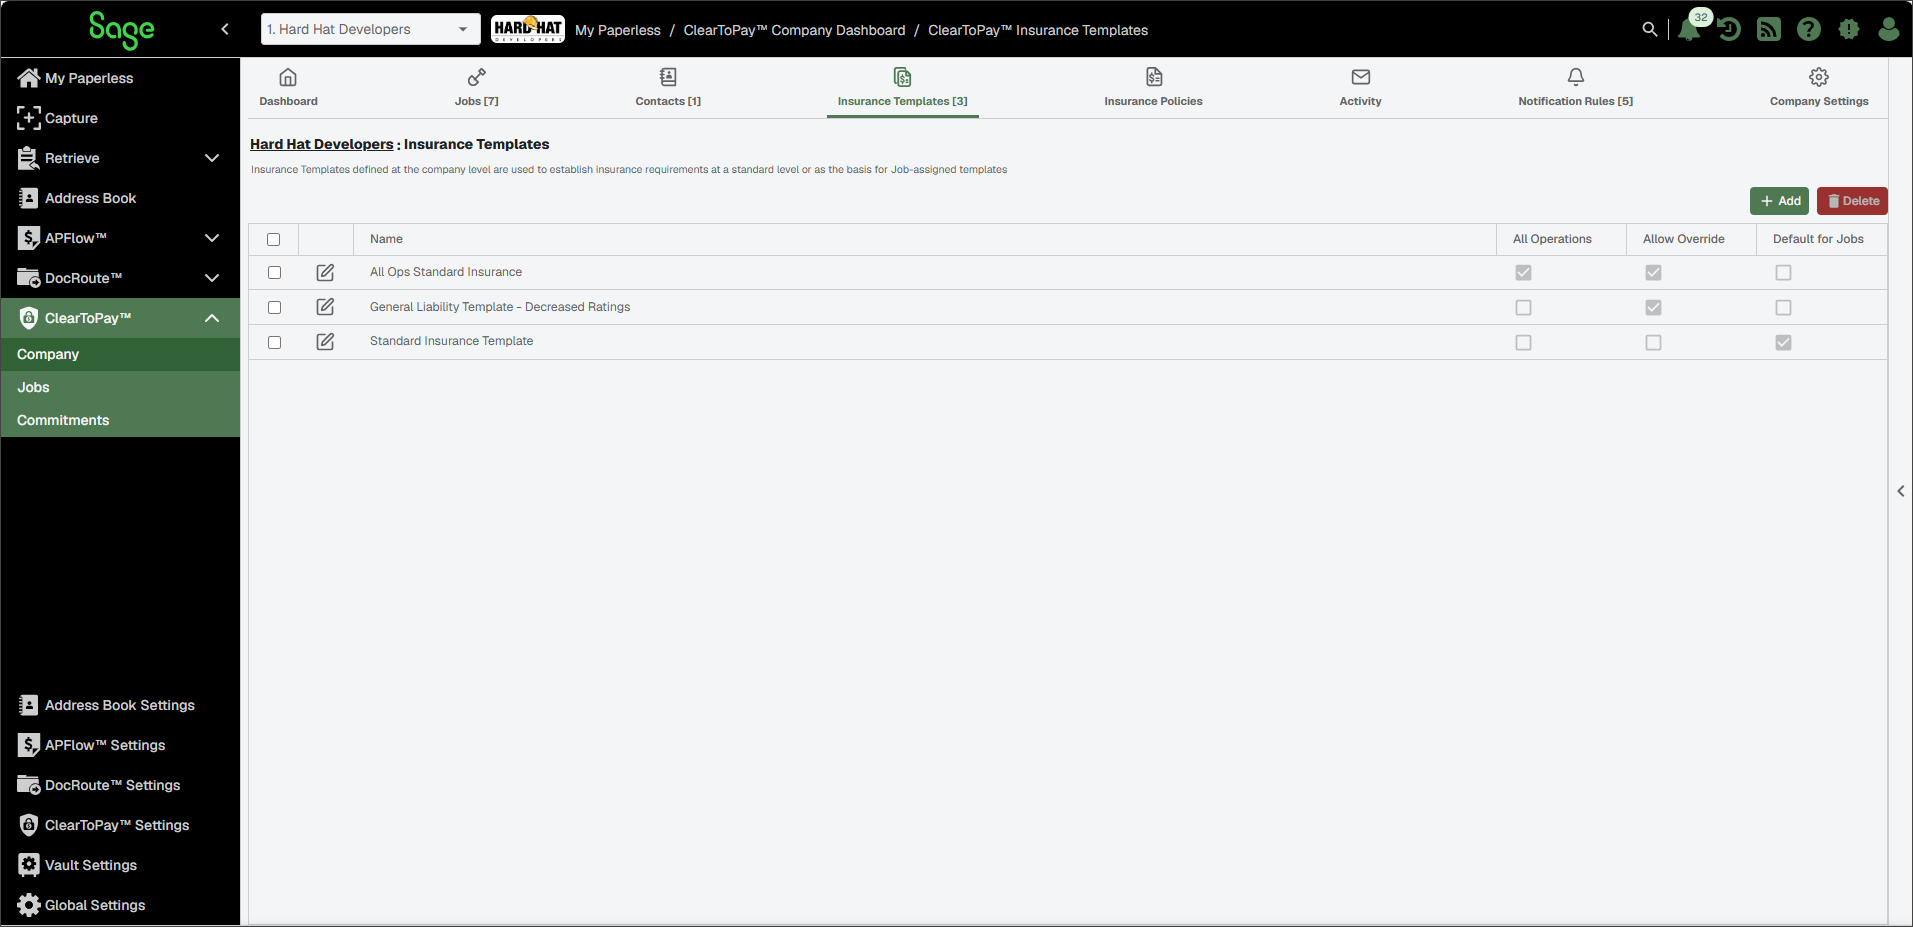
Click .
In the Create Insurance Template dialog, enter the following information:
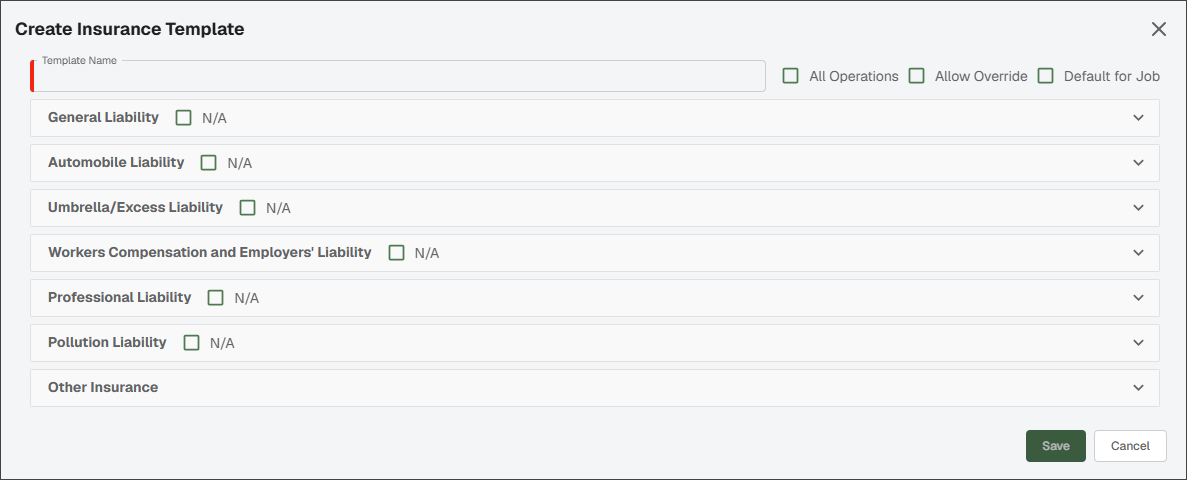
Enter the name in the field.
(Optional) Select the check box if blanket insurance can be applied to subcontractors and vendors who do not need job-specific insurance certificates.
(Optional) Select the check box if you want to allow ClearToPay users to make revisions to insurance templates from a job record. For example, if a job requires more coverage, they can update the template from the job rather than creating or assigning a new template.
(Optional) Select the check box if you want this insurance template to import automatically on your job records, saving you time from having to select your default template for each job.
Expand each applicable liability dropdown and add information to establish the standard requirements for any jobs assigned this insurance template.
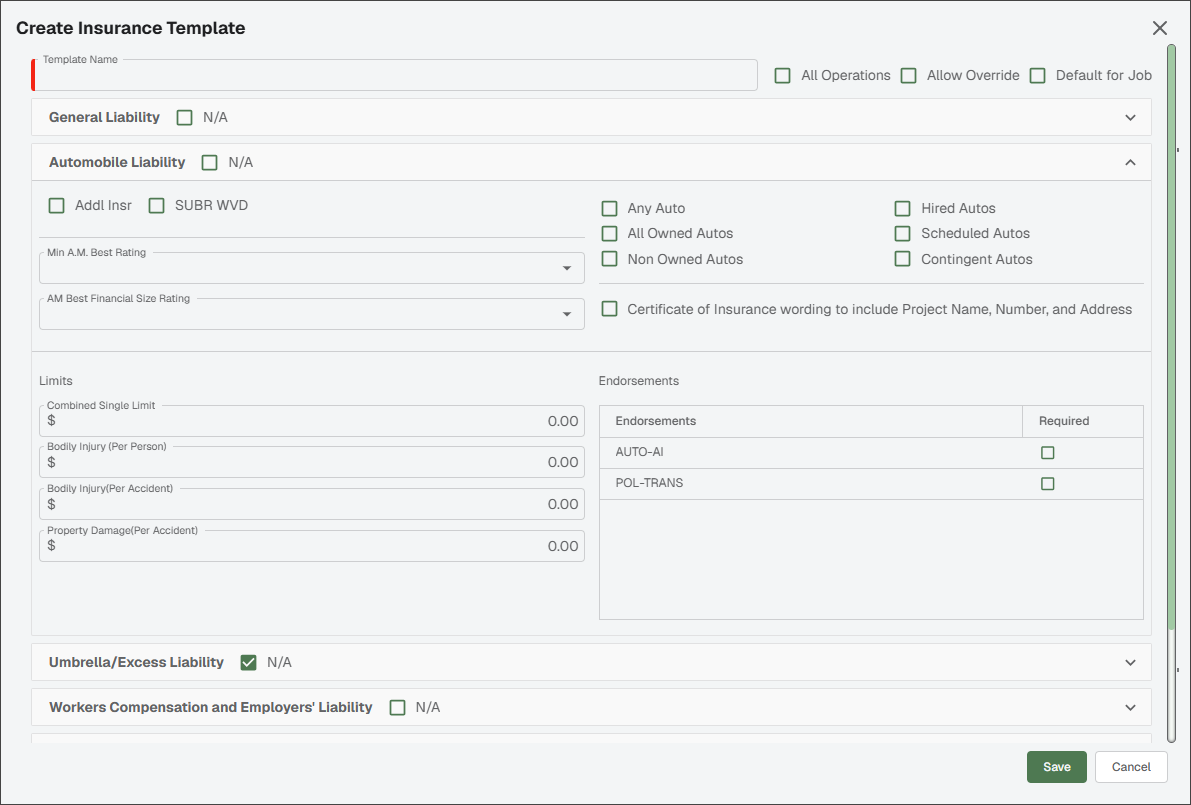
(Optional) For any insurance that is not required by this template, select the check box(es).
Note
When a template is assigned to a vendor or applied to a vendor as the default, if N/A is selected for any of the insurance dropdowns, that insurance type is not tracked.
Click .
Click the Edit
 icon next to the template you want to update.
In the Edit Insurance Template dialog, make the necessary changes.
Note
Changes made to an Insurance Template at the company level are reflected on every job that is currently assigned this template, unless the Allow Override check box is enabled.
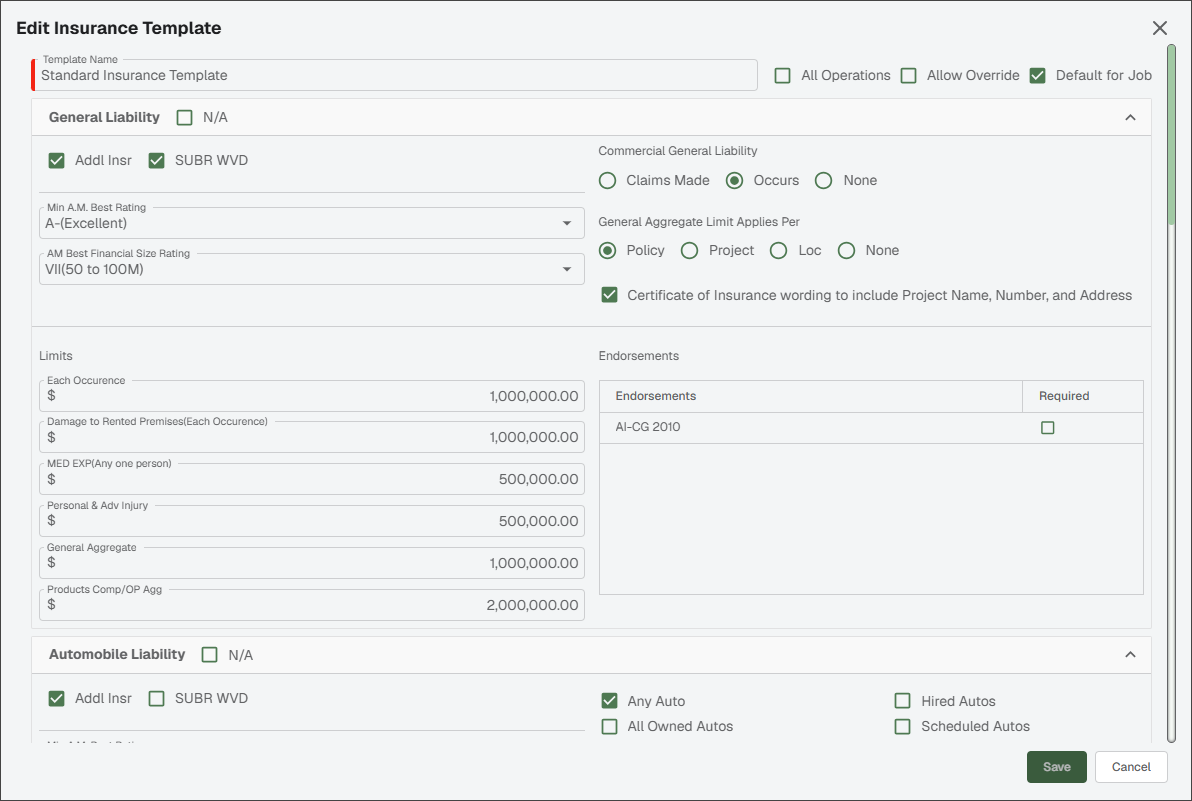
Click .
Important
You are able to delete templates at the company level even if they are assigned to one or more jobs. A different insurance template can be assigned to these jobs (if they have an Active or Pending status) by selecting the Default for Jobs check box on the new template.
Select the check box(es) for the template you want to delete.
Click the button.
In the confirmation dialog, click .