Select eCapture™ Vault and Document Types
Once you are successfully logged in, you are prompted to choose which vault and document types the app uses.
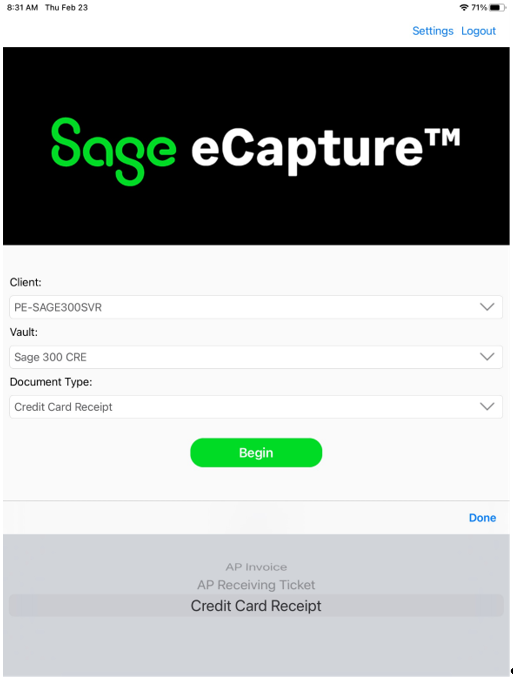 |
Use the Client dropdown to pick which Sage Paperless Construction server to connect to.
Note
Once selected, the selected client is the default until it is changed.
In the Vault field, select the vault where the documents are to be submitted.
Note
Once selected, the selected vault is the default until it is changed.
In the Document Type dropdown, select the type of document you are capturing and submitting.
Note
For example, a or .
Note
Administrators can configure certain Document Types to be eligible for eCapture in Global Settings. See Document Types for more information. This is also where indexes and security groups are assigned for each particular document type.
Click .
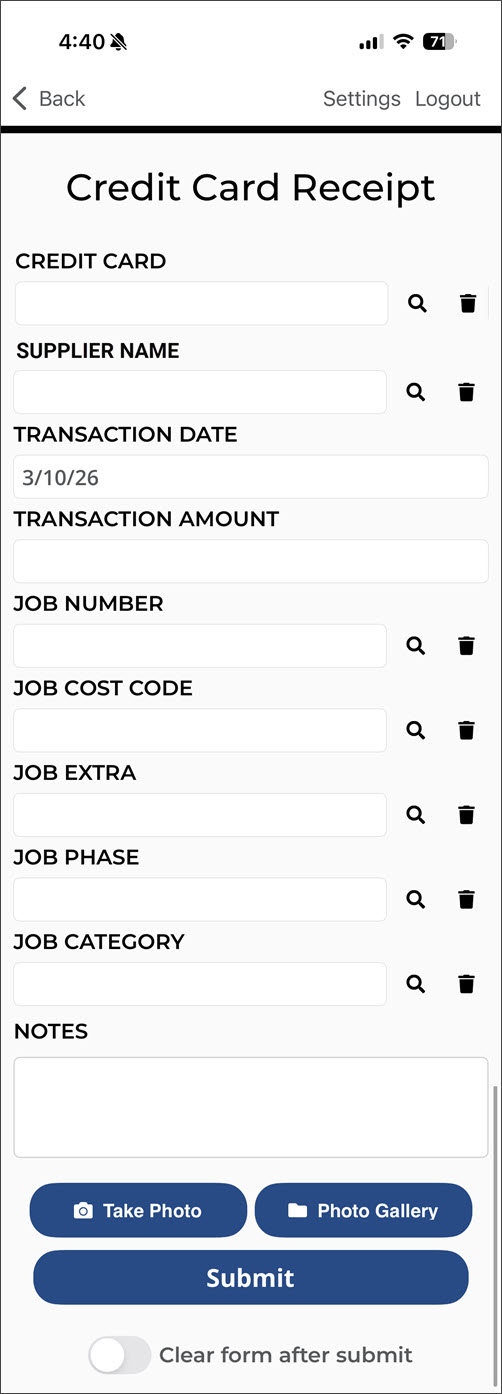
A page similar to the following displays:
Note
The page varies based on the document type selected. Different document types require you to enter different information. Additionally, you may be prompted to enter a queue to send the eCapture files to.
Use eCapture™ to Submit a Photo
Use the Document Type dropdown to select the document type.
Note
This example shows the Job Photo document type.
Click .
The following screen displays:
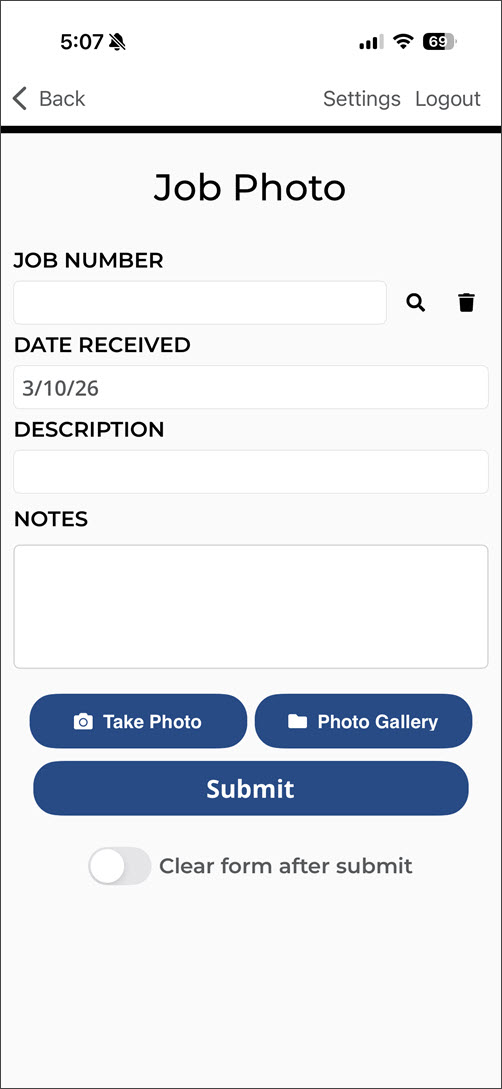
Use the lookups by clicking the Search
 icon to select information from a list, or type the information manually into the field.
Note
The Date Received field systematically populates with the current date.
(Optional) Add a note in the Notes field.
Click either to access the device's camera or click to attach an existing image.
Click .
Use OCR to Submit a Credit Card Receipt in eCapture™
eCapture uses OCR functionality for credit card receipts.
Clicking the  button means you can take a picture of a receipt eCapture systematically "reads" and enters the date, merchant/supplier and amount. This speeds up your credit card receipt entry process.
Use the Document Type dropdown to select .
Click .
A screen similar to the following displays with the Transaction Date field populated with the current date:
Click either to access the device's camera.
When the picture of the receipt displays, click .
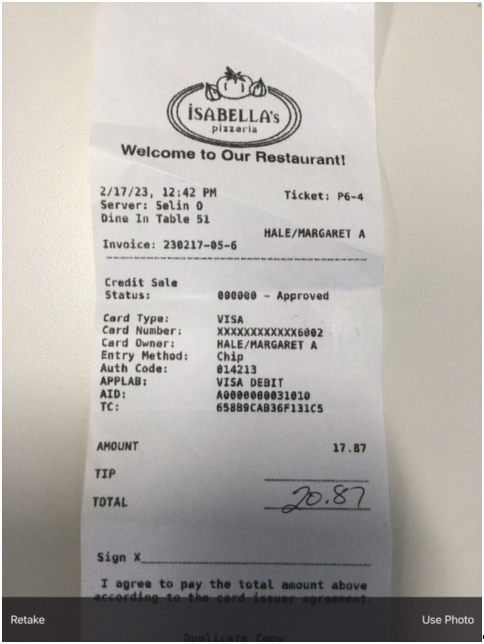
When the picture re-displays on the screen, click the Receipt
icon.Note
eCapture reads the receipt and populates the applicable fields.
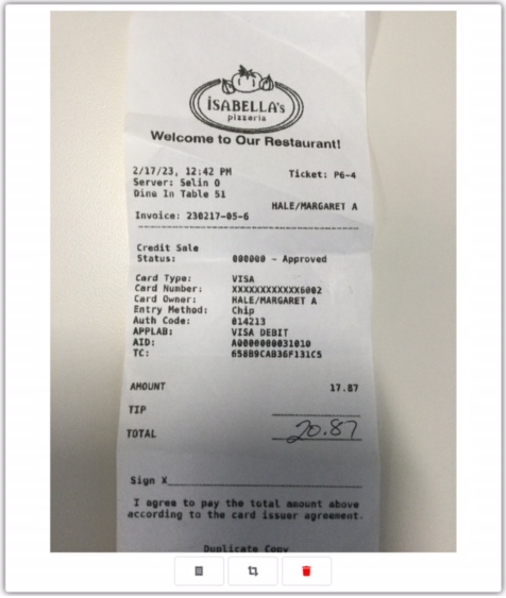
(Optional) Click the
 button to manipulate photo size or rotation. Click when you are finished making changes.
(Optional) Click the
 button to delete the image and take or upload another one.
Click .
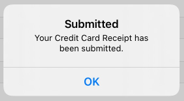
A confirmation message displays letting you know that your credit card receipt was successfully submitted.
Click .