Validation
Administrators can prevent users from routing or approving invoices based on configurable rules through custom invoice validation. Common uses for custom validation include:
Preventing users from entering invoices against specific jobs.
Preventing users from entering invoices against specific vendors.
These rules can be configured beyond the normal validation of the bridged accounting system to incorporate business rules specific to company needs. There is no limit to the number of rules that can be created; however, an excessive number of rules may slow down the approval/route process since each rule must be checked when that action is performed.
Only Administrators can create these rules.
Important
This is custom validation; not to be confused with custom field validation. Validation rules can be created using any field displaying on the invoice—whether it is a custom field or not.
From My Paperless, click .
In the APFlow™ Settings navigation bar, click .
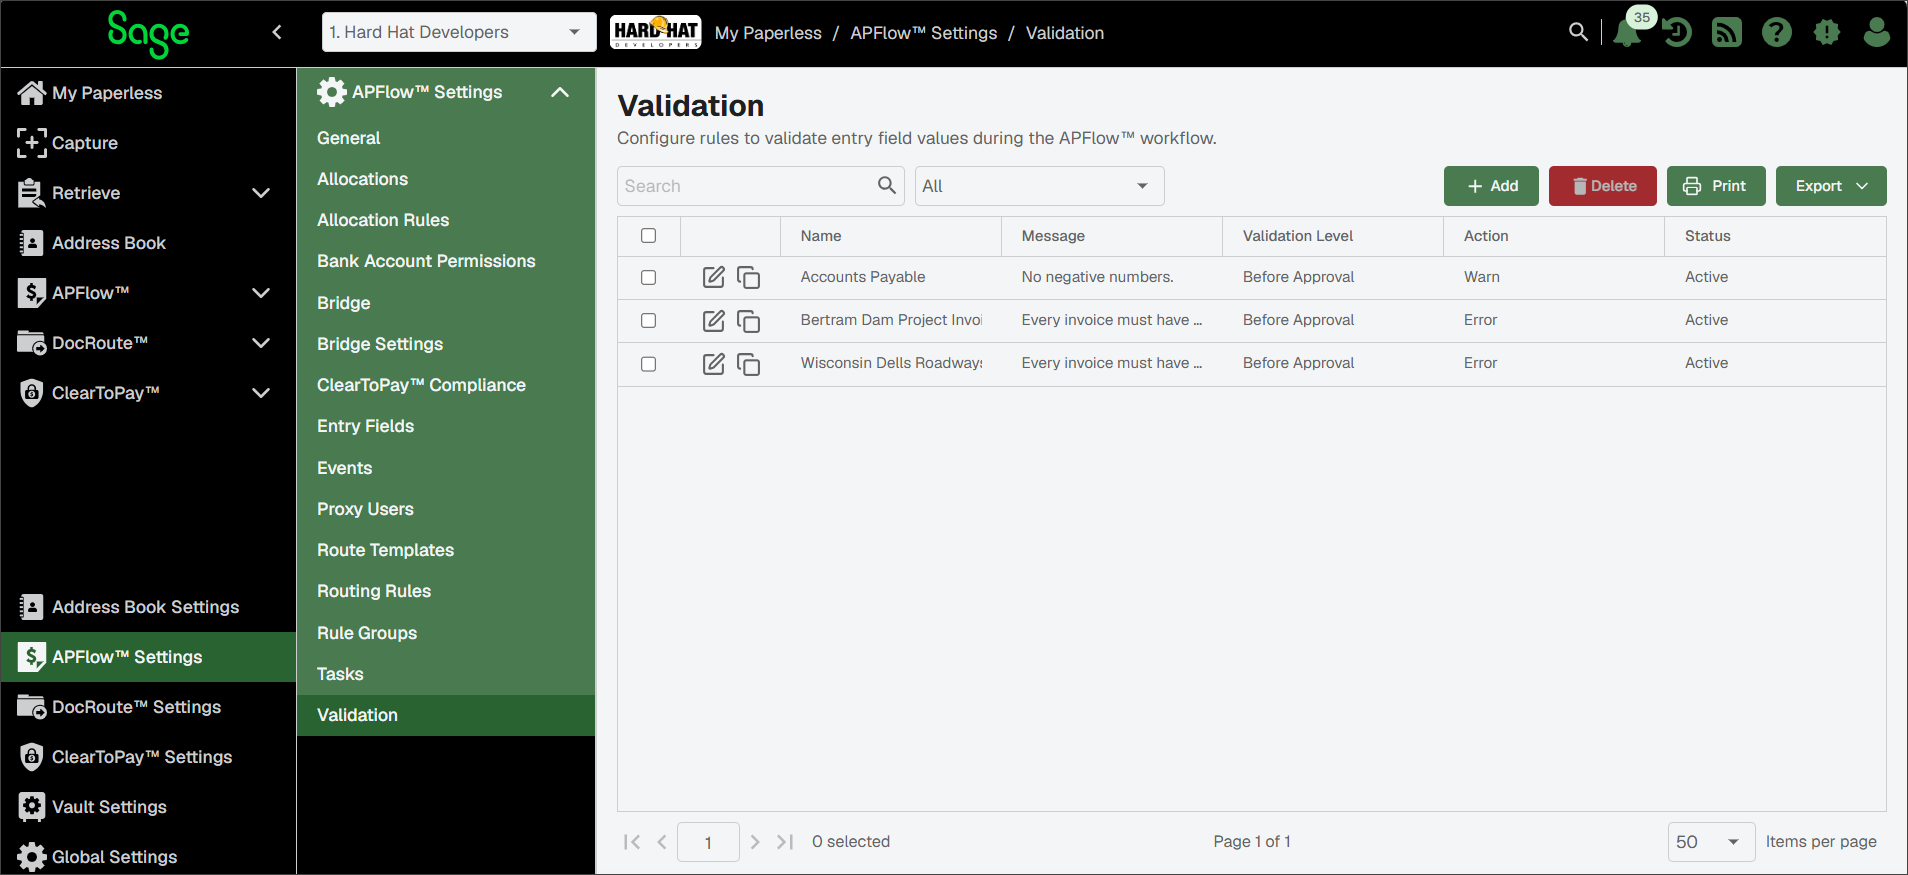
To create a new validation rule, click .
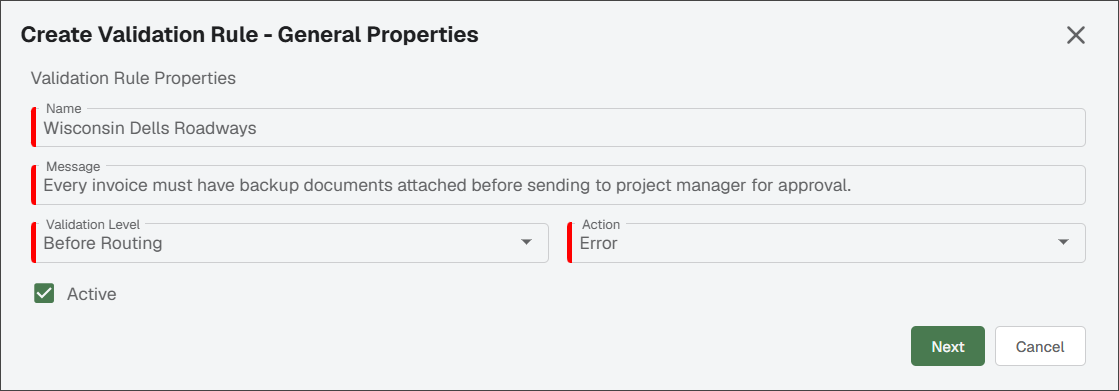
In the Name field, enter the rule name.
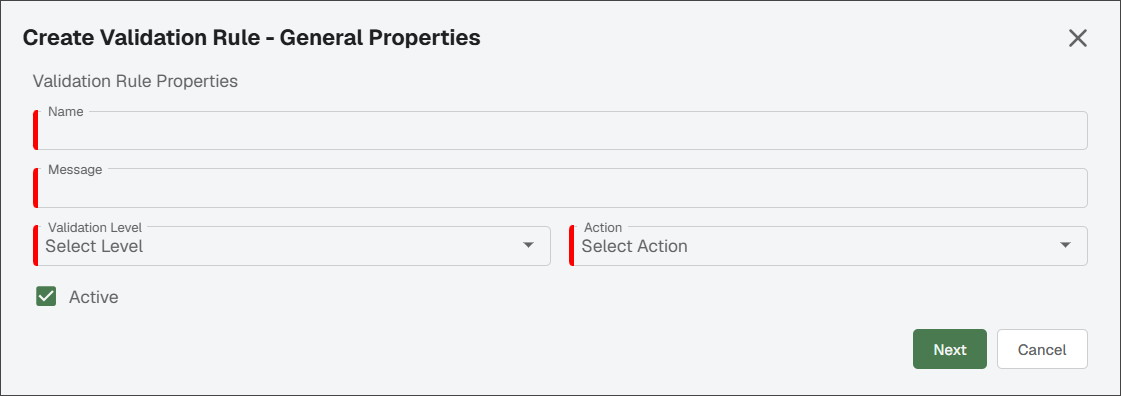
In the Message field, enter the message that displays if the validation on the custom field fails.
Tip
If the check box labeled Signed is not selected but should be when the validation is performed, the Validation Results dialog displays with either a warning or error indicator with the message text: Invoice not signed.
In the Validation Level dropdown, select either or to choose when the validation occurs.
In the Action dropdown, select either or to indicate the failure type:
Errors are represented with a red icon and prevent you from proceeding until the data is corrected.
Warnings are represented with a yellow icon and allow you to proceed if you "waive" the warning. Any waived warnings existing at the time of approval are recorded in the Notes section of the Invoice Entry sidebar.
If you want the validation rule to be active, ensure that the Active check box is selected. Deselect the check box if the invoice validation rule should be inactive.
Click .
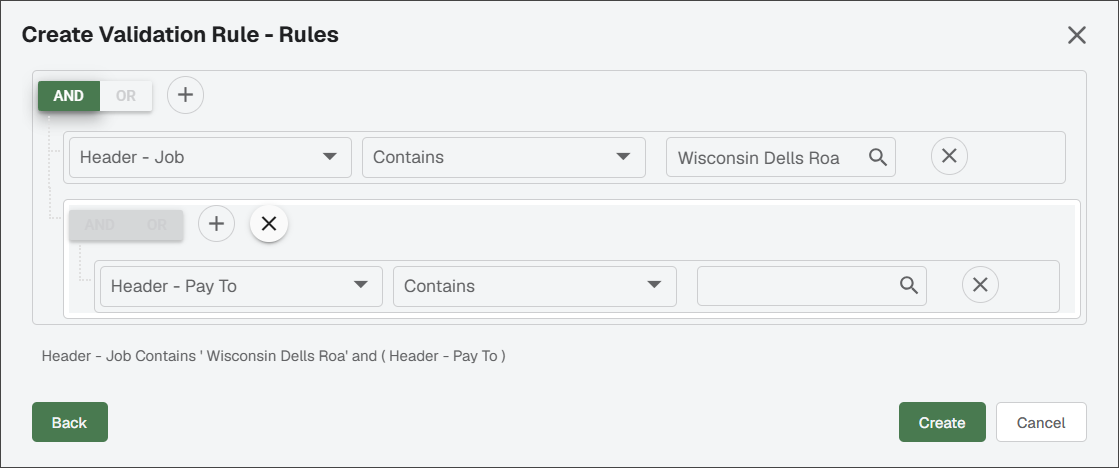
In the Create Validation Rule - Rules dialog, click the Plus
 icon to begin the rule creation process.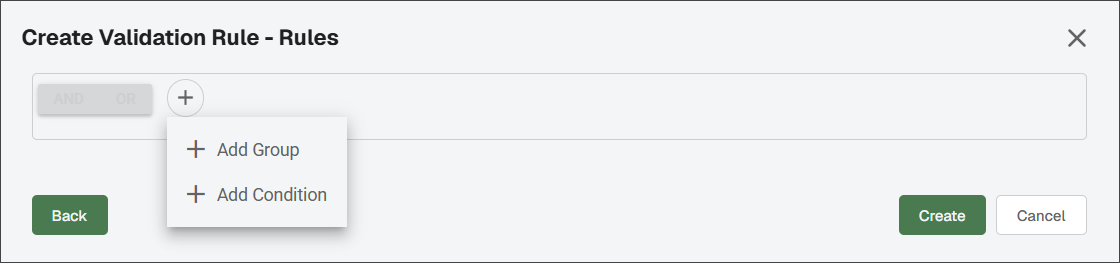
Click to , or use the dropdown in .
Important
At least one rule (Group or Condition) must be added here before the validation rule can actually be created.
Click .
The new validation rule displays in the list on the Validation page.