Configure DocRoute™ Tasks
Use this page to create and edit tasks that are assigned to individuals during the DocRoute process.
Note
Tasks are vault-specific.
From My Paperless, click .
In the DocRoute™ Settings navigation bar, click .
A page similar to the following displays:
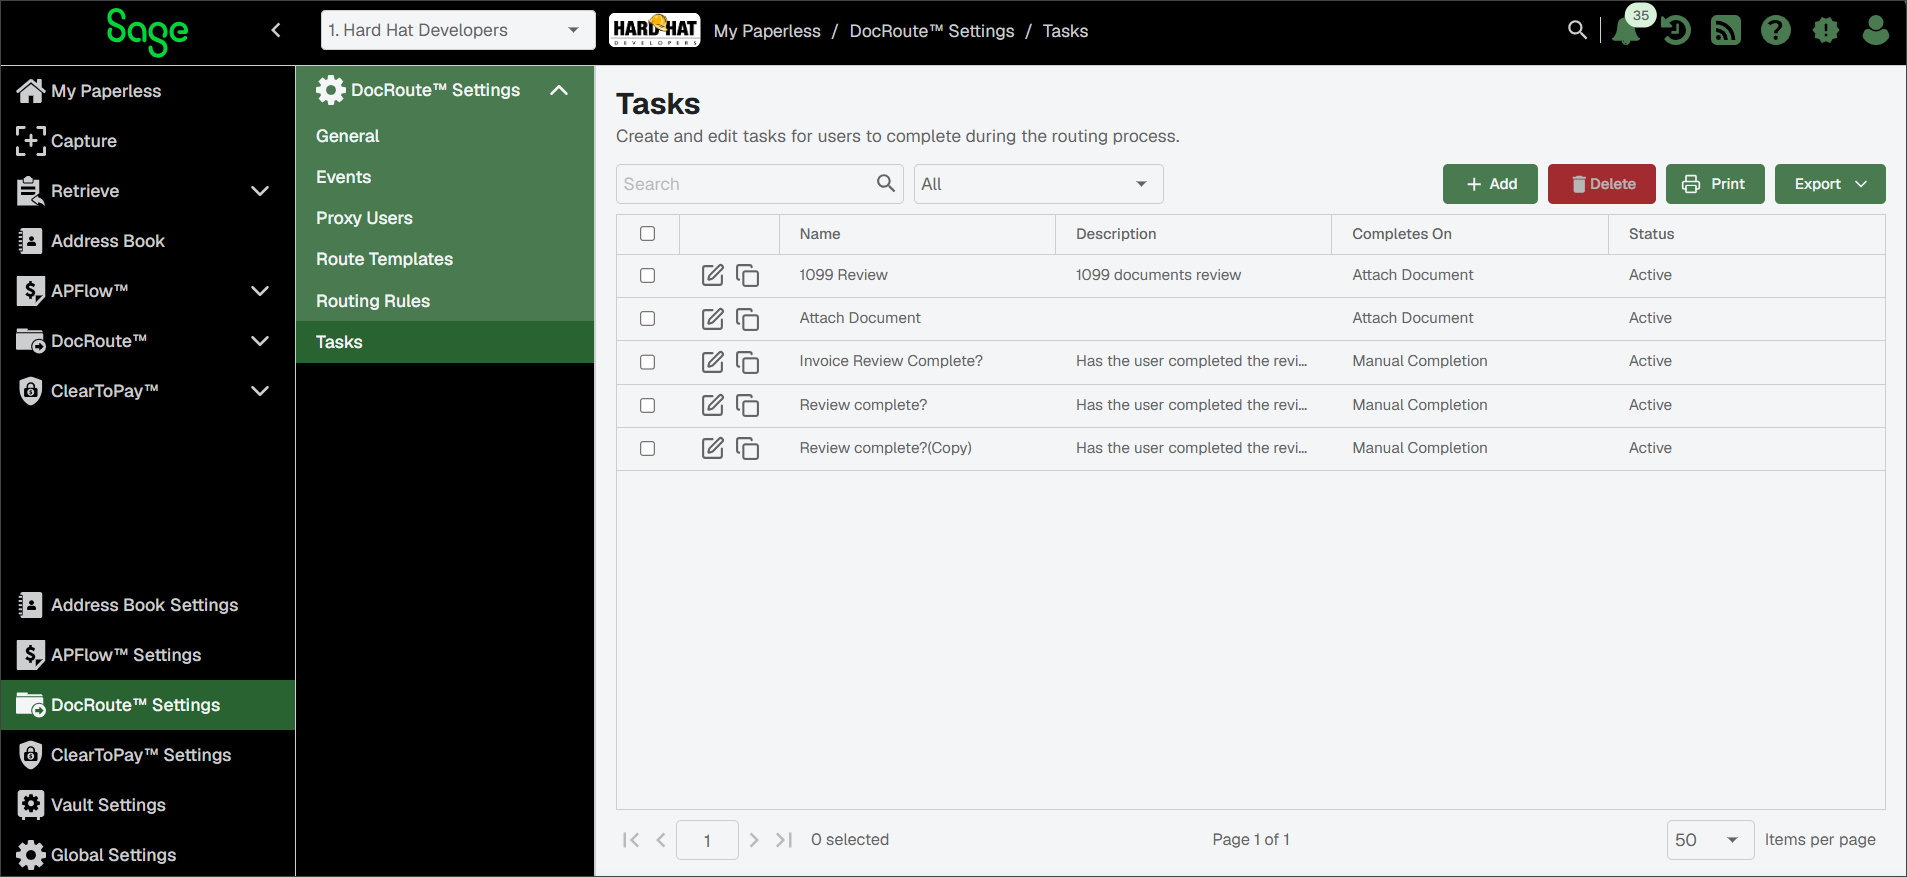
You can use the Tasks page to do the following:

To create a new task, click . For more information, see Configure Attach Document Tasks in DocRoute™ Settings to create a document indexing task or Configure Manual Completion Tasks in DocRoute™ to set up that task criteria.

To delete one or more tasks from the list, select their check box and click .

To search for a specific task, enter a portion of its name. Then, press or click the Search
 icon.
icon.
Click Copy
to duplicate a task. See Copy DocRoute™ Tasks for more information.
Click Edit
to update a task. See Edit Tasks in DocRoute™ for more information.
Use this functionality to index a specific document in a specific way to a route to complete a route task.
From the Tasks page, click .
In the Name field, enter the name of the routing rule. This field is required.
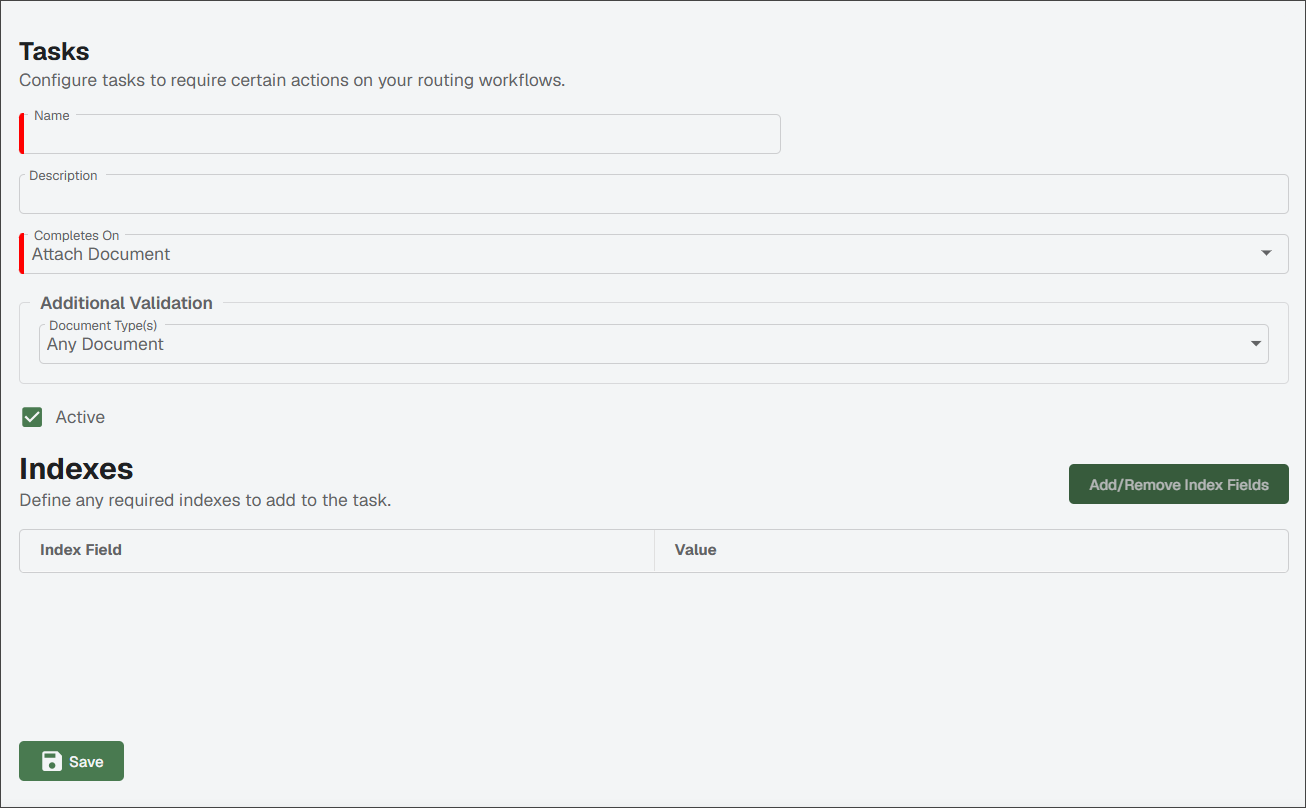
From the Completes On dropdown, select .
Use the dropdown in the Additional Validation Document Type(s) field to access the list of document types:
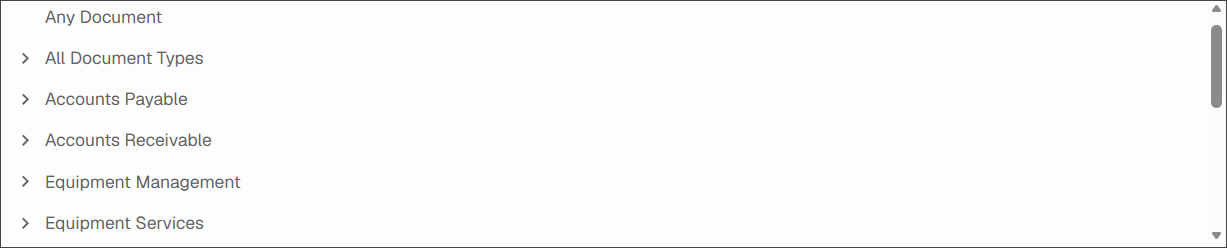
Highlight the document type to select it.
The Active check box is selected by default. If the task should not be active, deselect the check box.
Click .
The Add Index Fields dialog displays:
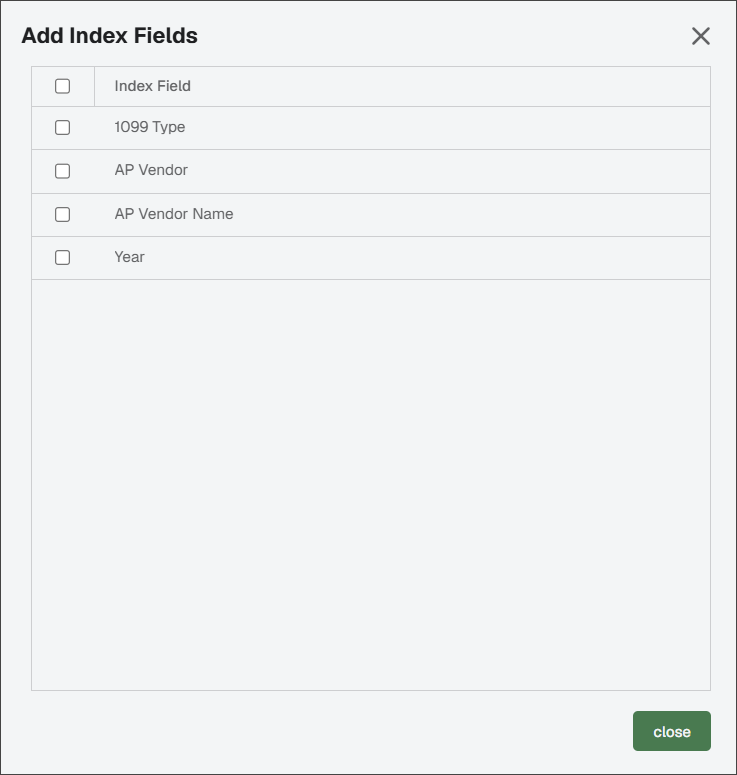
Click the check box(es) to make your selection(s).
Note
The Indexes grid portion of the Tasks Editor can resemble the following:

To populate the Value column(s), click the Search
icon.In the lookup dialog, select the value and then click .
Click .
Repeat steps 9-11 until all appropriate Value column fields are populated.
Important
If you have an Index Field (listed in the Add Index Fields dialog) as part of the Tasks configuration, but that Index Field has no assigned values, it is systematically removed when you click . It is also removed from the Add Index Fields dialog to ensure there are no index fields with blank values.
Click .
From the Tasks page, click .
In the Name field, enter the name of the routing rule. This field is required.
From the Completes On dropdown, select .
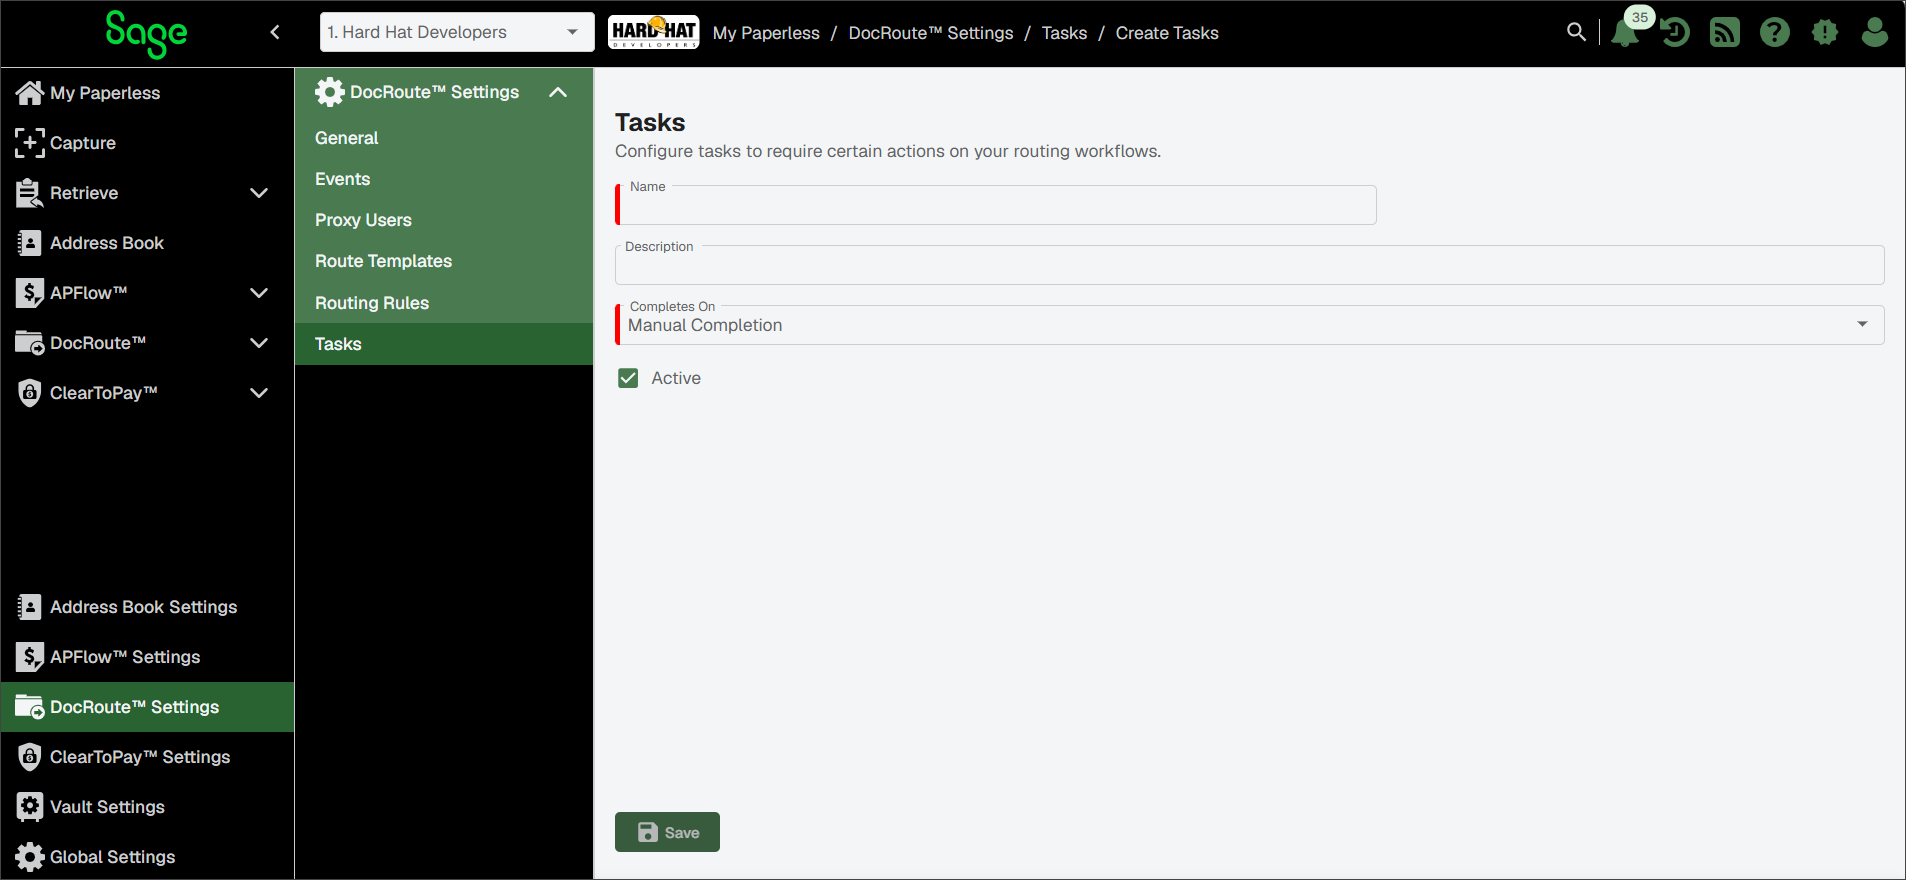
The Active check box is selected by default. If the task should not be active, deselect the check box.
Click .
To make a copy of an existing task, click the Copy
icon.A Copy Task dialog similar to the following displays:

Click .
Click the Edit
 icon to update the copied task.
Click .
From the Tasks page, find the task you want to edit.
Click the Edit
icon.On the General tab, make any necessary updates to the task name, type or index information.
Click .