Invoice Manager
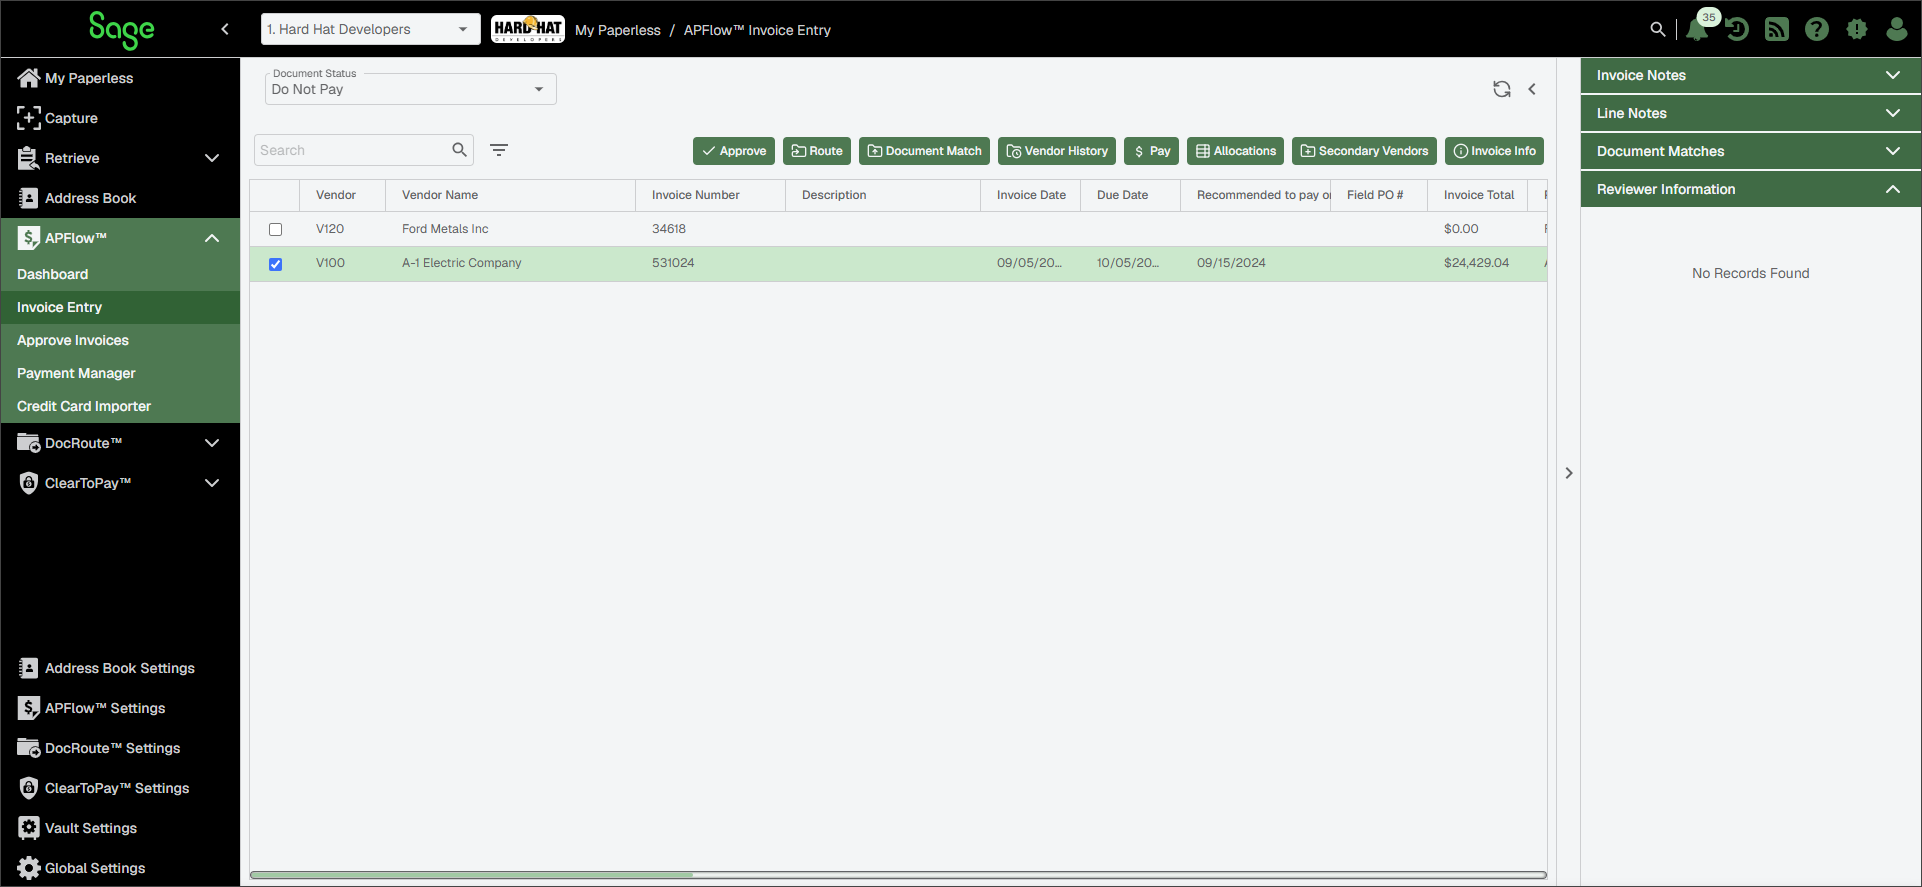
The Invoice Manager page provides an expanded view of invoice data. All header fields display in the Invoice Manager grid, and you can use the left-to-right scrollbar at the bottom of the page to see all the fields. Use the filter and search to locate specific invoices based on header information such as Payment Priority, Job, etc.
From Invoice Manager you can Route, Document Match, access Vendor History and Do Not Pay.
From My Paperless, click .
From the APFlow™ navigation bar, click .
A page similar to the following displays:
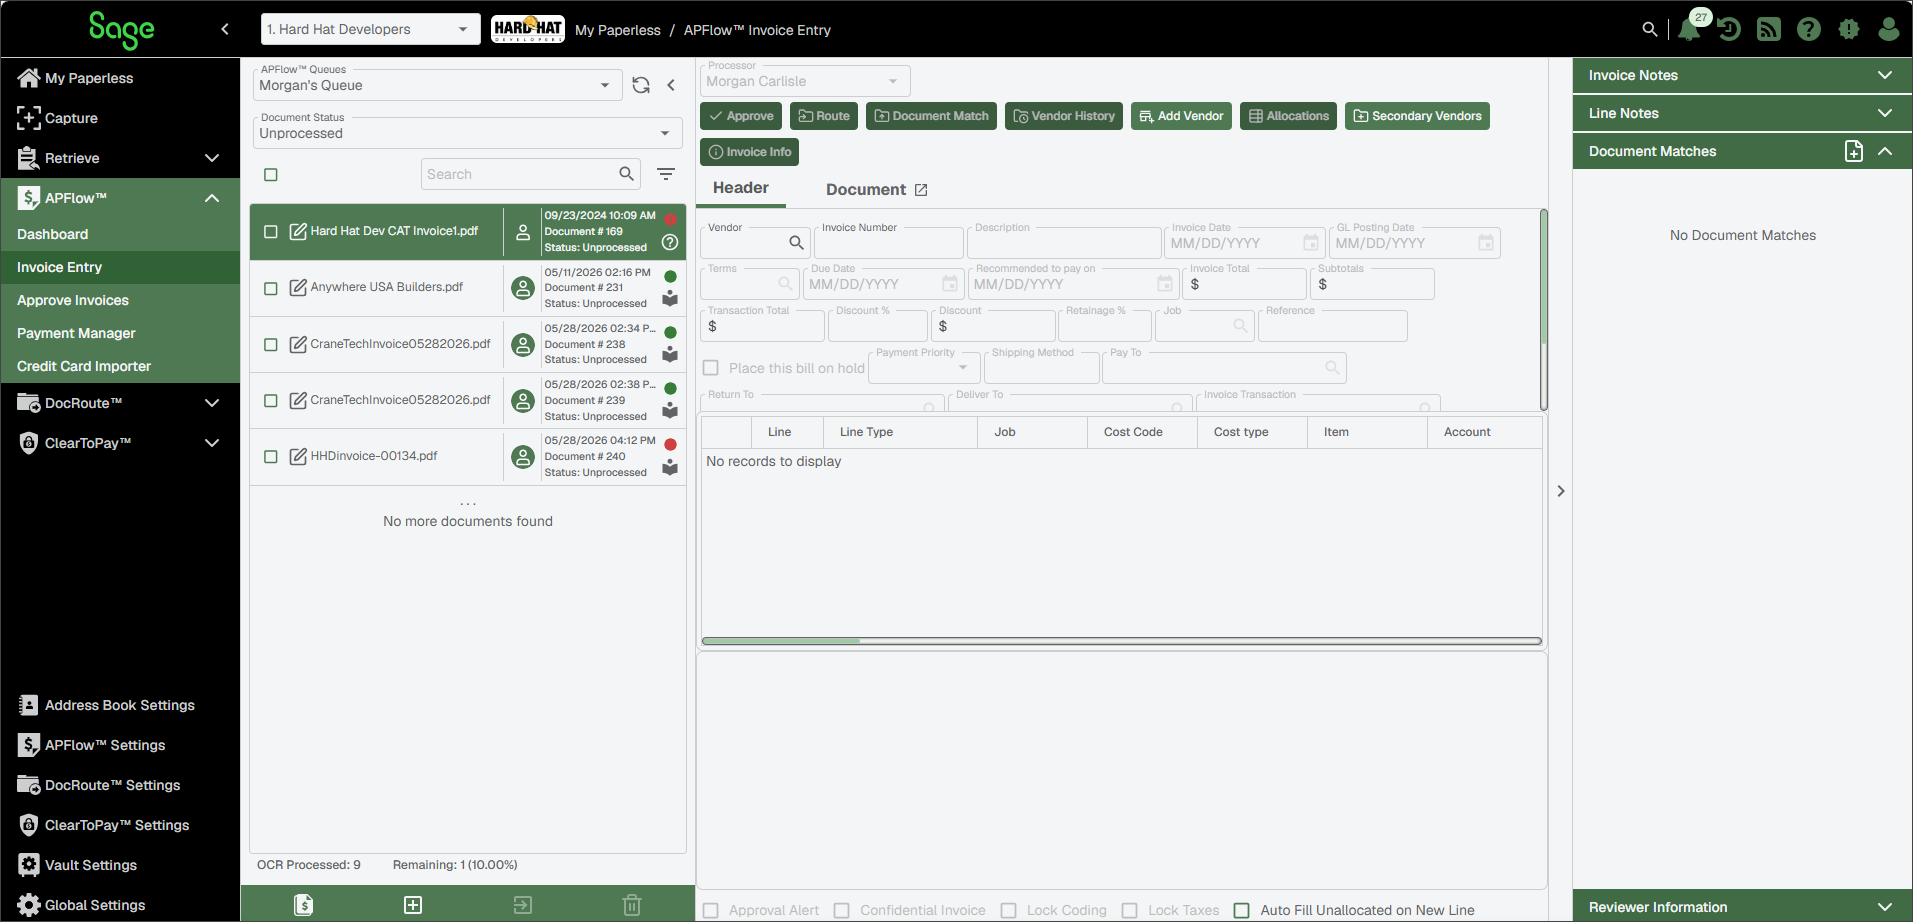
In the Document Status dropdown, select one of the following statuses:
Work In Process
Do Not Pay
Report for Export
Exported
Reset for Edit
The queue updates based on Document Status selected from the dropdown.
Click the Invoice Manager
 icon located at the top of the queue.
An Invoice Manager page similar to the following displays:
Important
This page appearance and button availability varies based on the Document Status.
Double click on a row to navigate to Invoice Entry to make coding changes to an invoice. See Invoice Entry Page Layout for more information on how to navigate the page and use its features and buttons.