Manage Address Book Contacts
From the main Address Book dashboard, click one of the links in the Contacts row to access the Address Book Contacts page.
The Address Book Contacts page alphabetically lists all the contacts in the Address Book, including each contact's name, phone number, email address, the company name that the contact is associated with and their title.
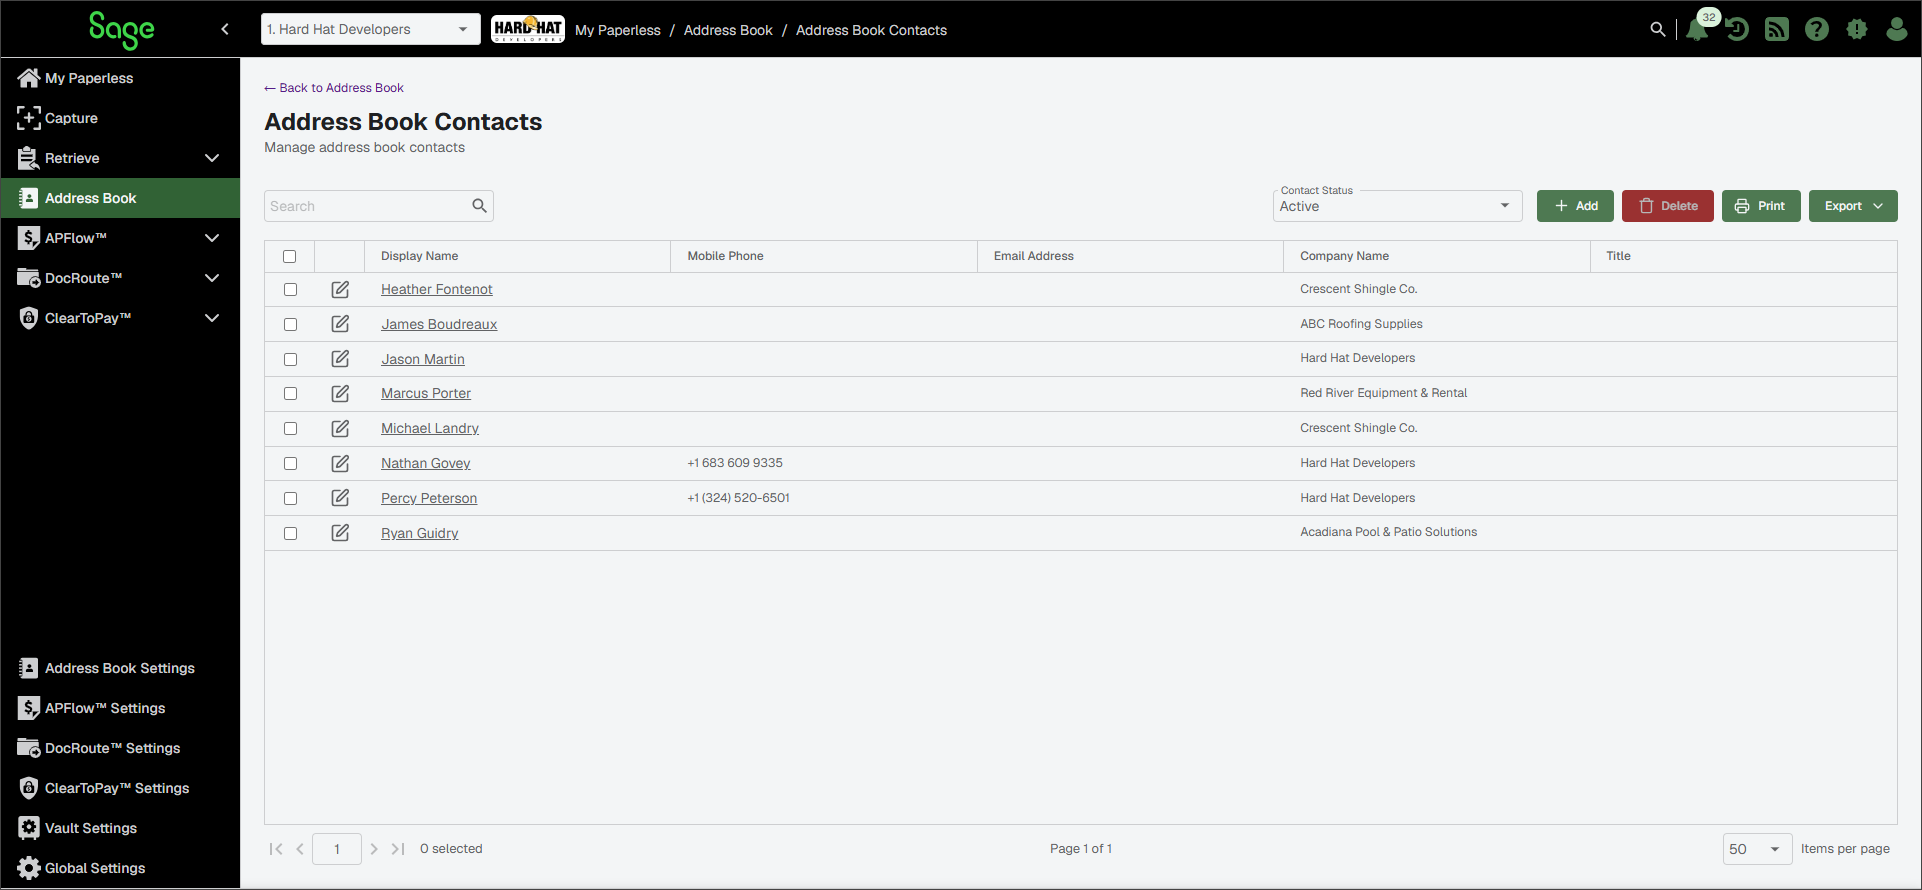
From this page you can perform the following tasks:
| To search for a specific contact, enter their name or part of their name in the Search field. Then, press | |
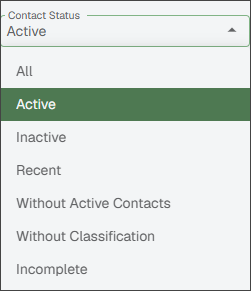
| To narrow the list of contacts that display, click the dropdown to display the filter options shown. | |
 | Click to add a create a new contact in the Address Book. See Add Address Book Contact for more information. | |
 | Select the contact's check box from the list and click to remove it from the Address Book. NoteYou cannot delete contacts that are assigned to a job or linked to data within ClearToPay™. | |
 | Click to print the Address Book Contacts grid. | |
 | Click to export the grid information to Excel, CSV or PDF. | |
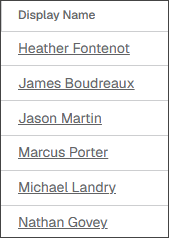
| The contacts in the Display Name column provide links to each contact. Click on the link to view the contact details. See Review Contact Details for more information. | |
 | Click the Edit icon next to the contact you want to edit to open the Edit Contact Information dialog. See Edit Contact Profile for more information. |


Review Contact Details
The contact detail page provides the following sections for the selected contact:
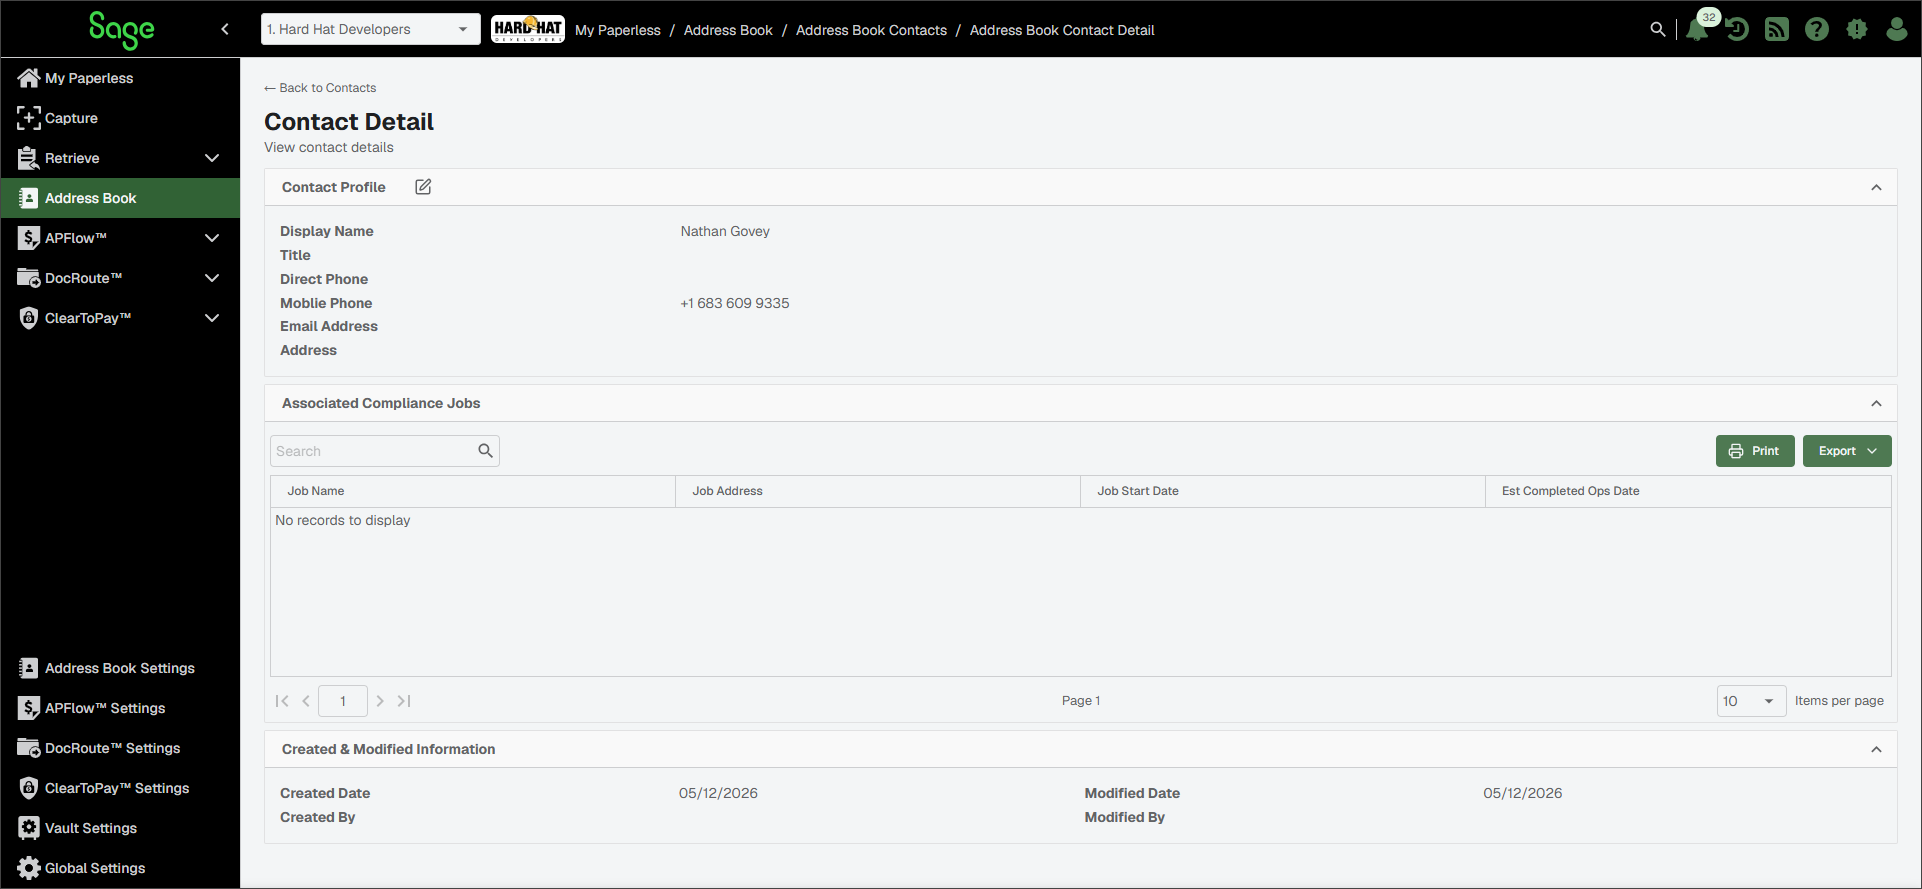
Contact Profile: Use this section to review (and update if needed) the contact details. See Edit Contact Profile for more information.
Associated ClearToPay Jobs: If ClearToPay™ is licensed, the Associated ClearToPay Jobs section lists and links to the job(s) that this individual or business has worked on.
Created & Modified Information: This section provides tracking information and dates for the contact.
To access the Edit Contact Information dialog, do one of the following:
From the Address Book Contacts page: Click the Edit
icon next to the contact you want to update.From the Contact Detail page: Click the Edit
icon next to Contact Profile.
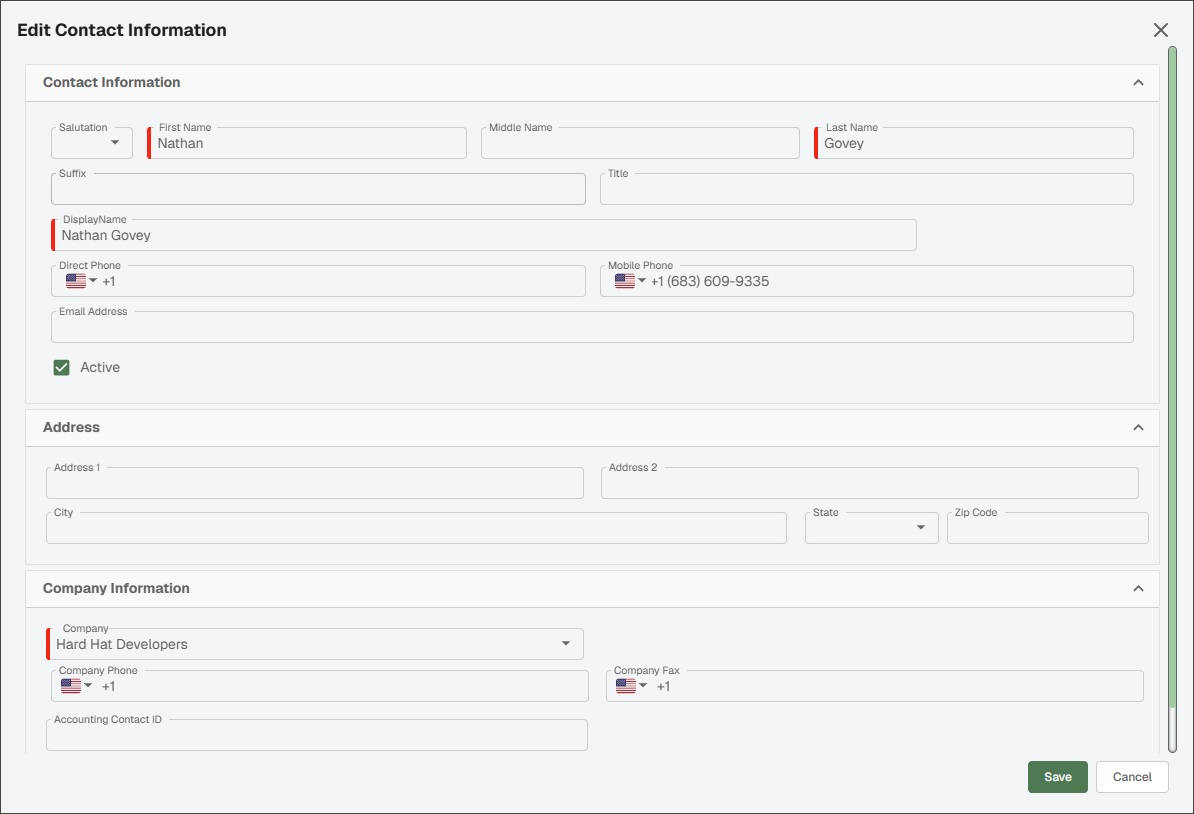
In the Edit Contact Information dialog, expand each section and make any necessary updates:
Note
If the contact's information is updated in the Address Book, the updates are reflected on their respective company, job or vendor Contact page in ClearToPay.
In the Contact Information section, you can change the individual's name(s), title, phone numbers, email and mark them as active or inactive.
In the Address section, you can change the individual's mailing address.
In the Company Information section, you can select which company the individual works for from the Company dropdown, update the company contact information or select/deselect the business entity designators.
Click .
Complete the following steps to add a contact to the Address Book. Contacts created within ClearToPay™ are added to the Address Book within their associated vendor company.
Do one of the following to add a new contact:
From the Address Book Contacts page, click .
From a company's detail page, click .
In the Add Contact Information dialog, expand each section and enter the information shown below:
Note
If the contact's information is updated in the Address Book, the updates are reflected on their respective company, job or vendor Contact page in ClearToPay.
In the Contact Information section, enter the individual's name(s), title, phone numbers, email and mark them as active or inactive using the check box.
In the Address section, enter the individual's mailing address.
In the Company Information section, you can select which company the individual works for from the Company dropdown, update the company contact information or select/deselect the business entity designators.
Note
The Company, Company Phone and Company Fax fields are pre-populated if you are adding a contact from a company detail page.
Click Save.